
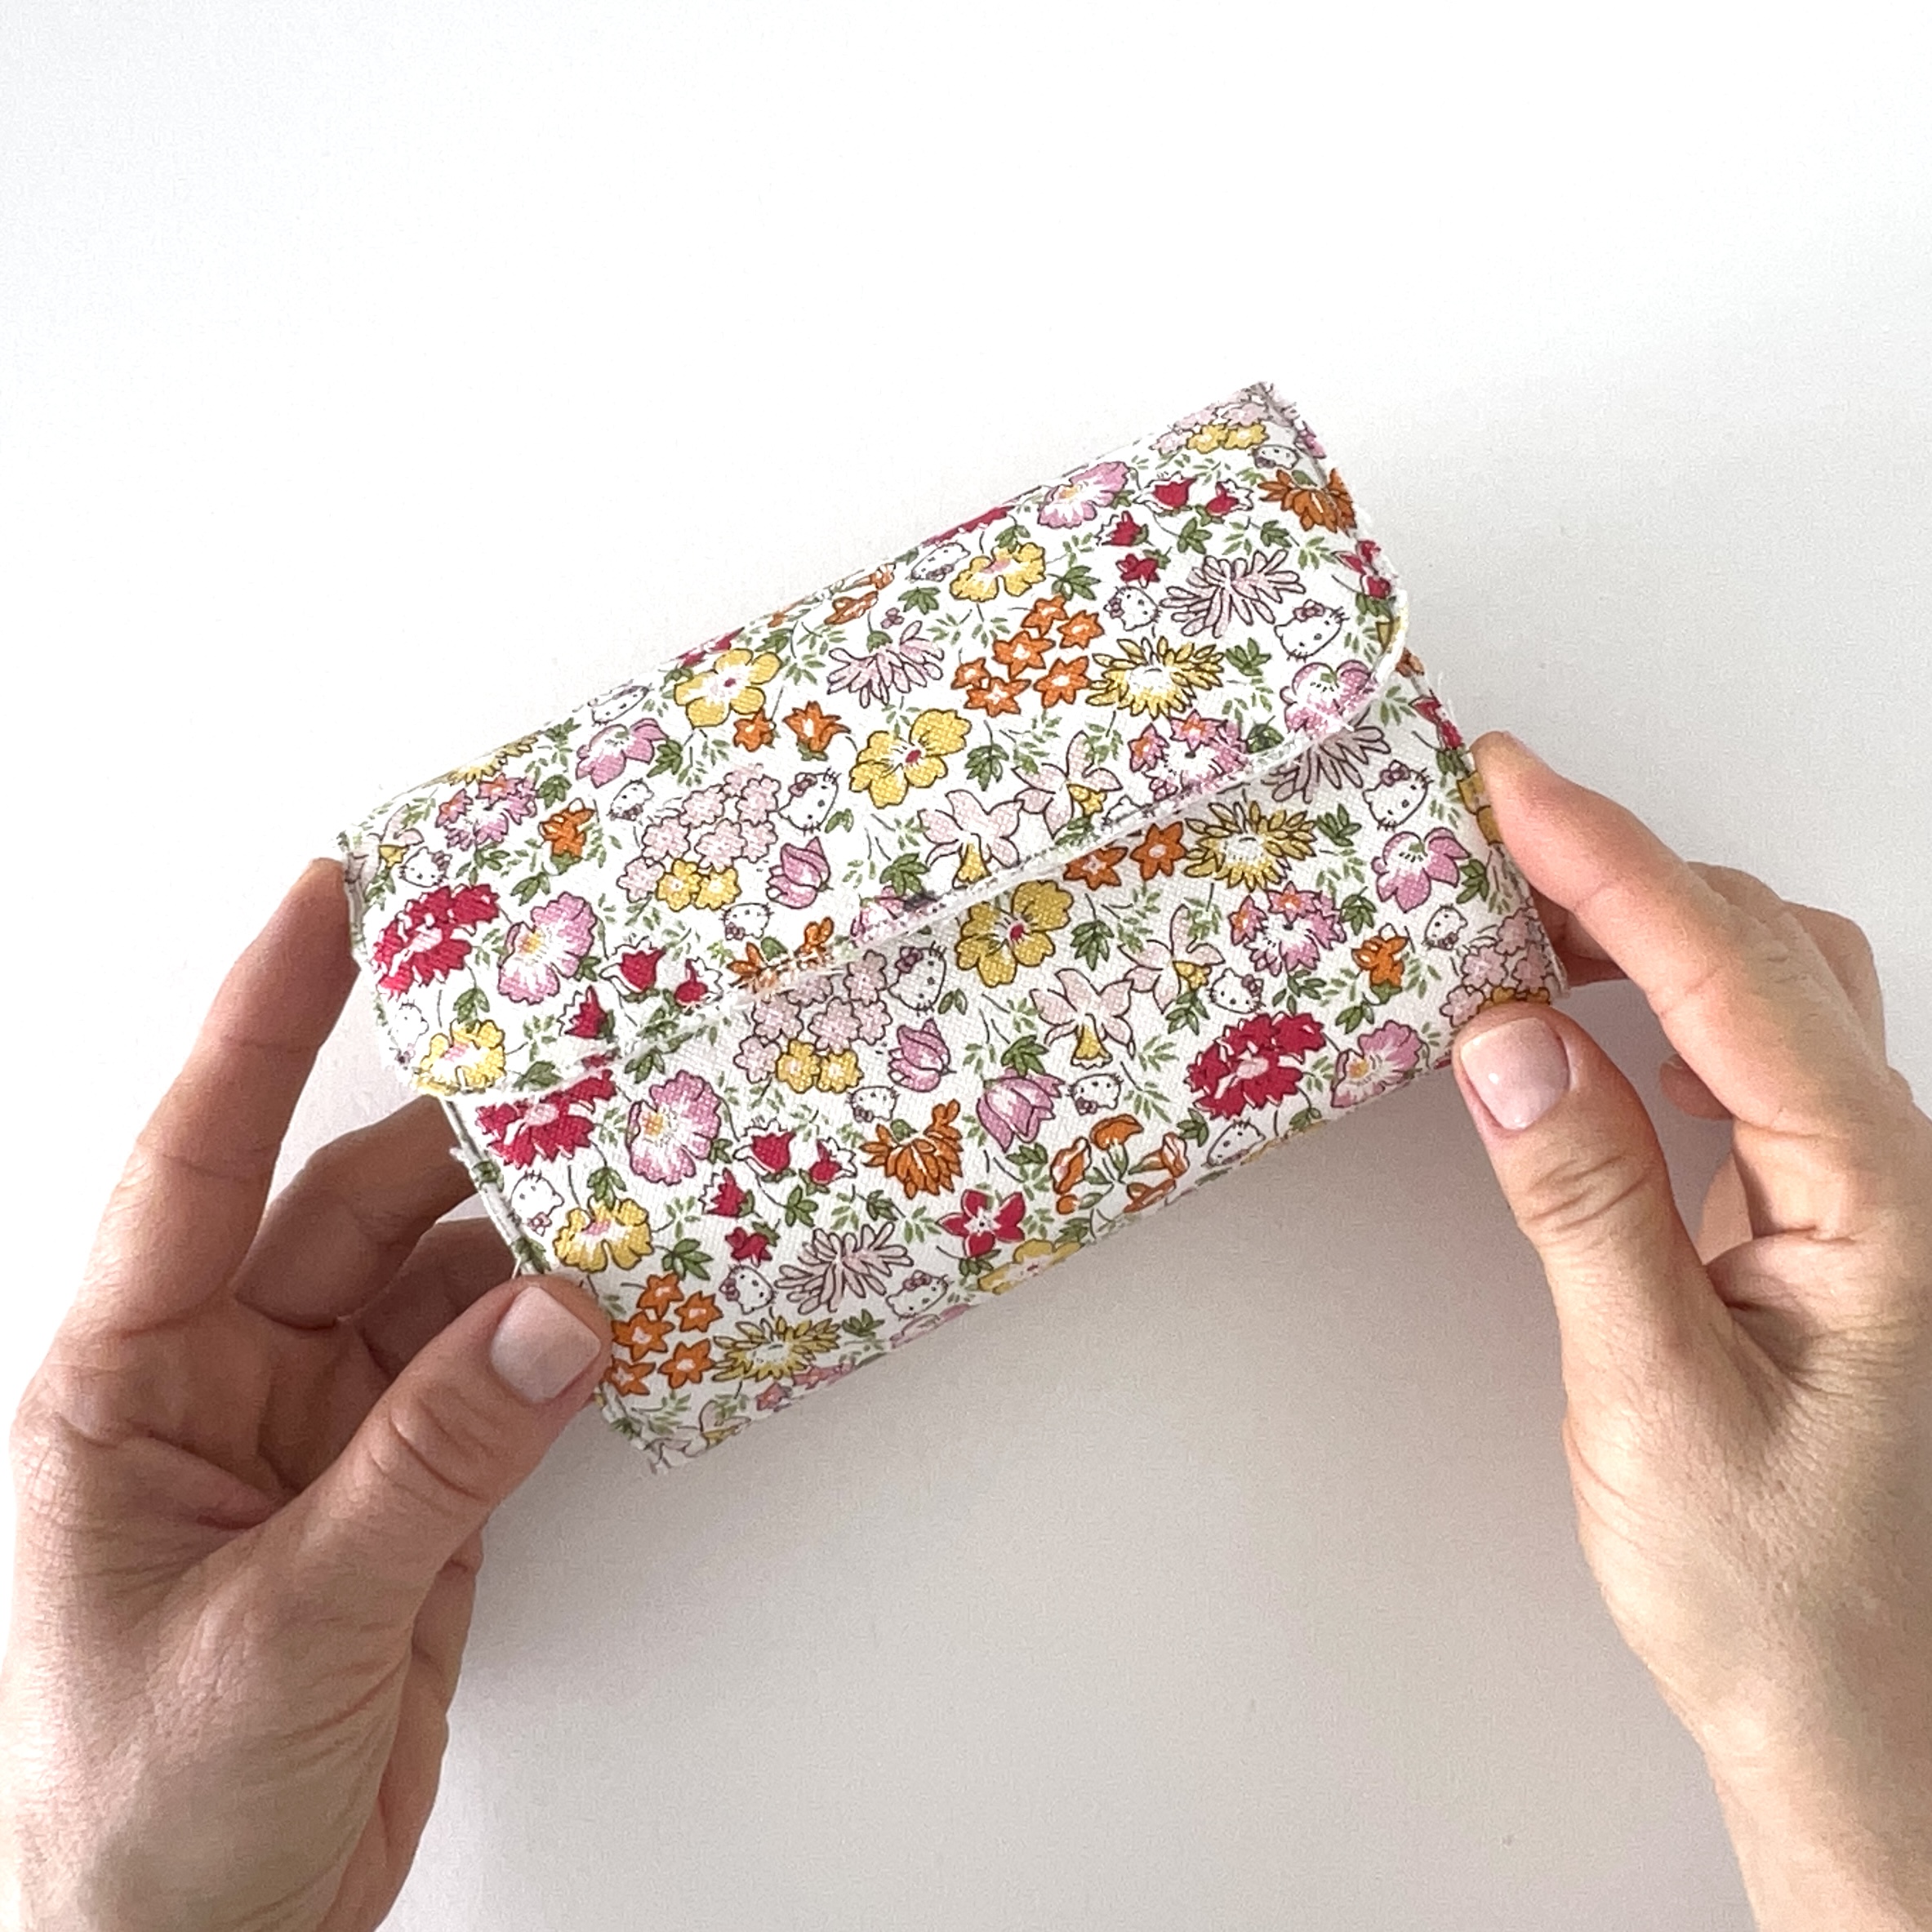
This compact yet surprisingly spacious pouch is an easy-to-sew design that is both simple and practical, coming together in just a few hours. Its straightforward construction and secure snap closure make it perfect for anyone looking to create something useful in no time. Whether as an everyday accessory or a thoughtful handmade gift, the Seamless Snap Pouch effortlessly blends practicality with handmade charm.


Want to sew one together? Gather your materials, and let's start! Today we are going to prepare the body of the pouch.
MATERIALS
Body of the pouch
- 61/2" x 12" piece of cotton canvas or heavy/quilting cotton for outer body
- 61/2 x 12" piece of one-sided fusible interfacing foam
- 61/2" x 12" piece of cotton for lining
- 61/2" x 12" piece of lightweight fusible interfacing
- 32" x 21/4" piece of fabric cut on bias for binding for the entire pouch - ends cut at 45 degrees
- 41/2 x 21/4" piece of fabric cut on bias for binding for the side panels - ends cut at 90 degrees
- two 21/2" x 31/2" pieces of the same fabric as for the outer body
- two 21/2" x 31/2" pieces of the same fabric as for the lining of the pouch
- two 21/2" x 31/2" pieces of one-sided fusible interfacing foam
- two small magnetic snaps 3/8" in diameter
- four small pieces of batting slightly bigger than the magnetic snaps about 1" x 3/4"
- small piece of linen for the tag
- embroidery floss
- sewing supplies


- I highly recommend using one-sided fusible foam to give the required shape to this pouch. (I am using Legacy Flex-Foam 1-sided fusible stabiliser).
- For a coherent look, choose a non-directional print for both the outer and inner layers.
- Linen, canvas or quilting cotton will give your pouch a sturdy, polished finish.
- Press the fabrics with a warm iron before cutting to keep them wrinkle free.
- Print the templates provided at the bottom of the page, and check the 1" test square to ensure accurate sizing.


3. Place a small mark with a heat or water erasable pen on the end of the foam interfaced fabric piece for the outer body that you want to be the flap. This is very important as you might end up with a part of the print that is not suitable for the flap.

TIP: If you don't have an erasable fabric marker, place one basting basting stitch as a mark.
4. Place the outer layer with the top (flap) pointing up and the foam side facing up, place the inner layer on top with the right side (RS) facing up. Using long fine pins, secure both pieces together.
NOTE: If you have some direction on the print for the inner layer, make sure that it is aligned with the outer layer's top (flap) so when you open your pouch, the print inside points the right way.


5. Flip the pinned panel over that the outer layer is facing you and the mark for the flap is still at the top. Centre the template on top and carefully pin. Using a water or heat removable pen, trace the template. Mark the points A, A1, B and B1 inside the marked template line.


6. Remove the template only. Leave the outer and inner layers pinned together! Set the stitch length to 2.0-1.8 on your machine and stitch on the marked line from the point A1 to point B1, then from the point B to point A leaving two gaps (between A and A1, and B and B1) unstitched. We need these two gaps for the installation of the snaps. Go slow around the curves to stay on the marked line. Backstitch the start and the end of the seams.


7. Remove pins. Trim the seam allowance as close to the seam as possible all around the sandwiched panel.


8. Place the sandwiched panel on the table with the outer layer facing you and the top (flap) pointing up. You might need to place a new mark for the flap if you cut it off as I did. 😊 Place the template on top of the panel, align all the edges. Pin if necessary. Mark the points C, C1, D, D1 and the centre bottom line only on the sides. Mark the position of the FEMALE OUTER SNAP at the bottom of the panel.


9. Turn the sandwiched panel over so that the lining is facing up and the flap is still at the top. Place the template on top and align all the edges. Pin if necessary. Mark the MALE INNER SNAPS on the lining.


Installing the snaps
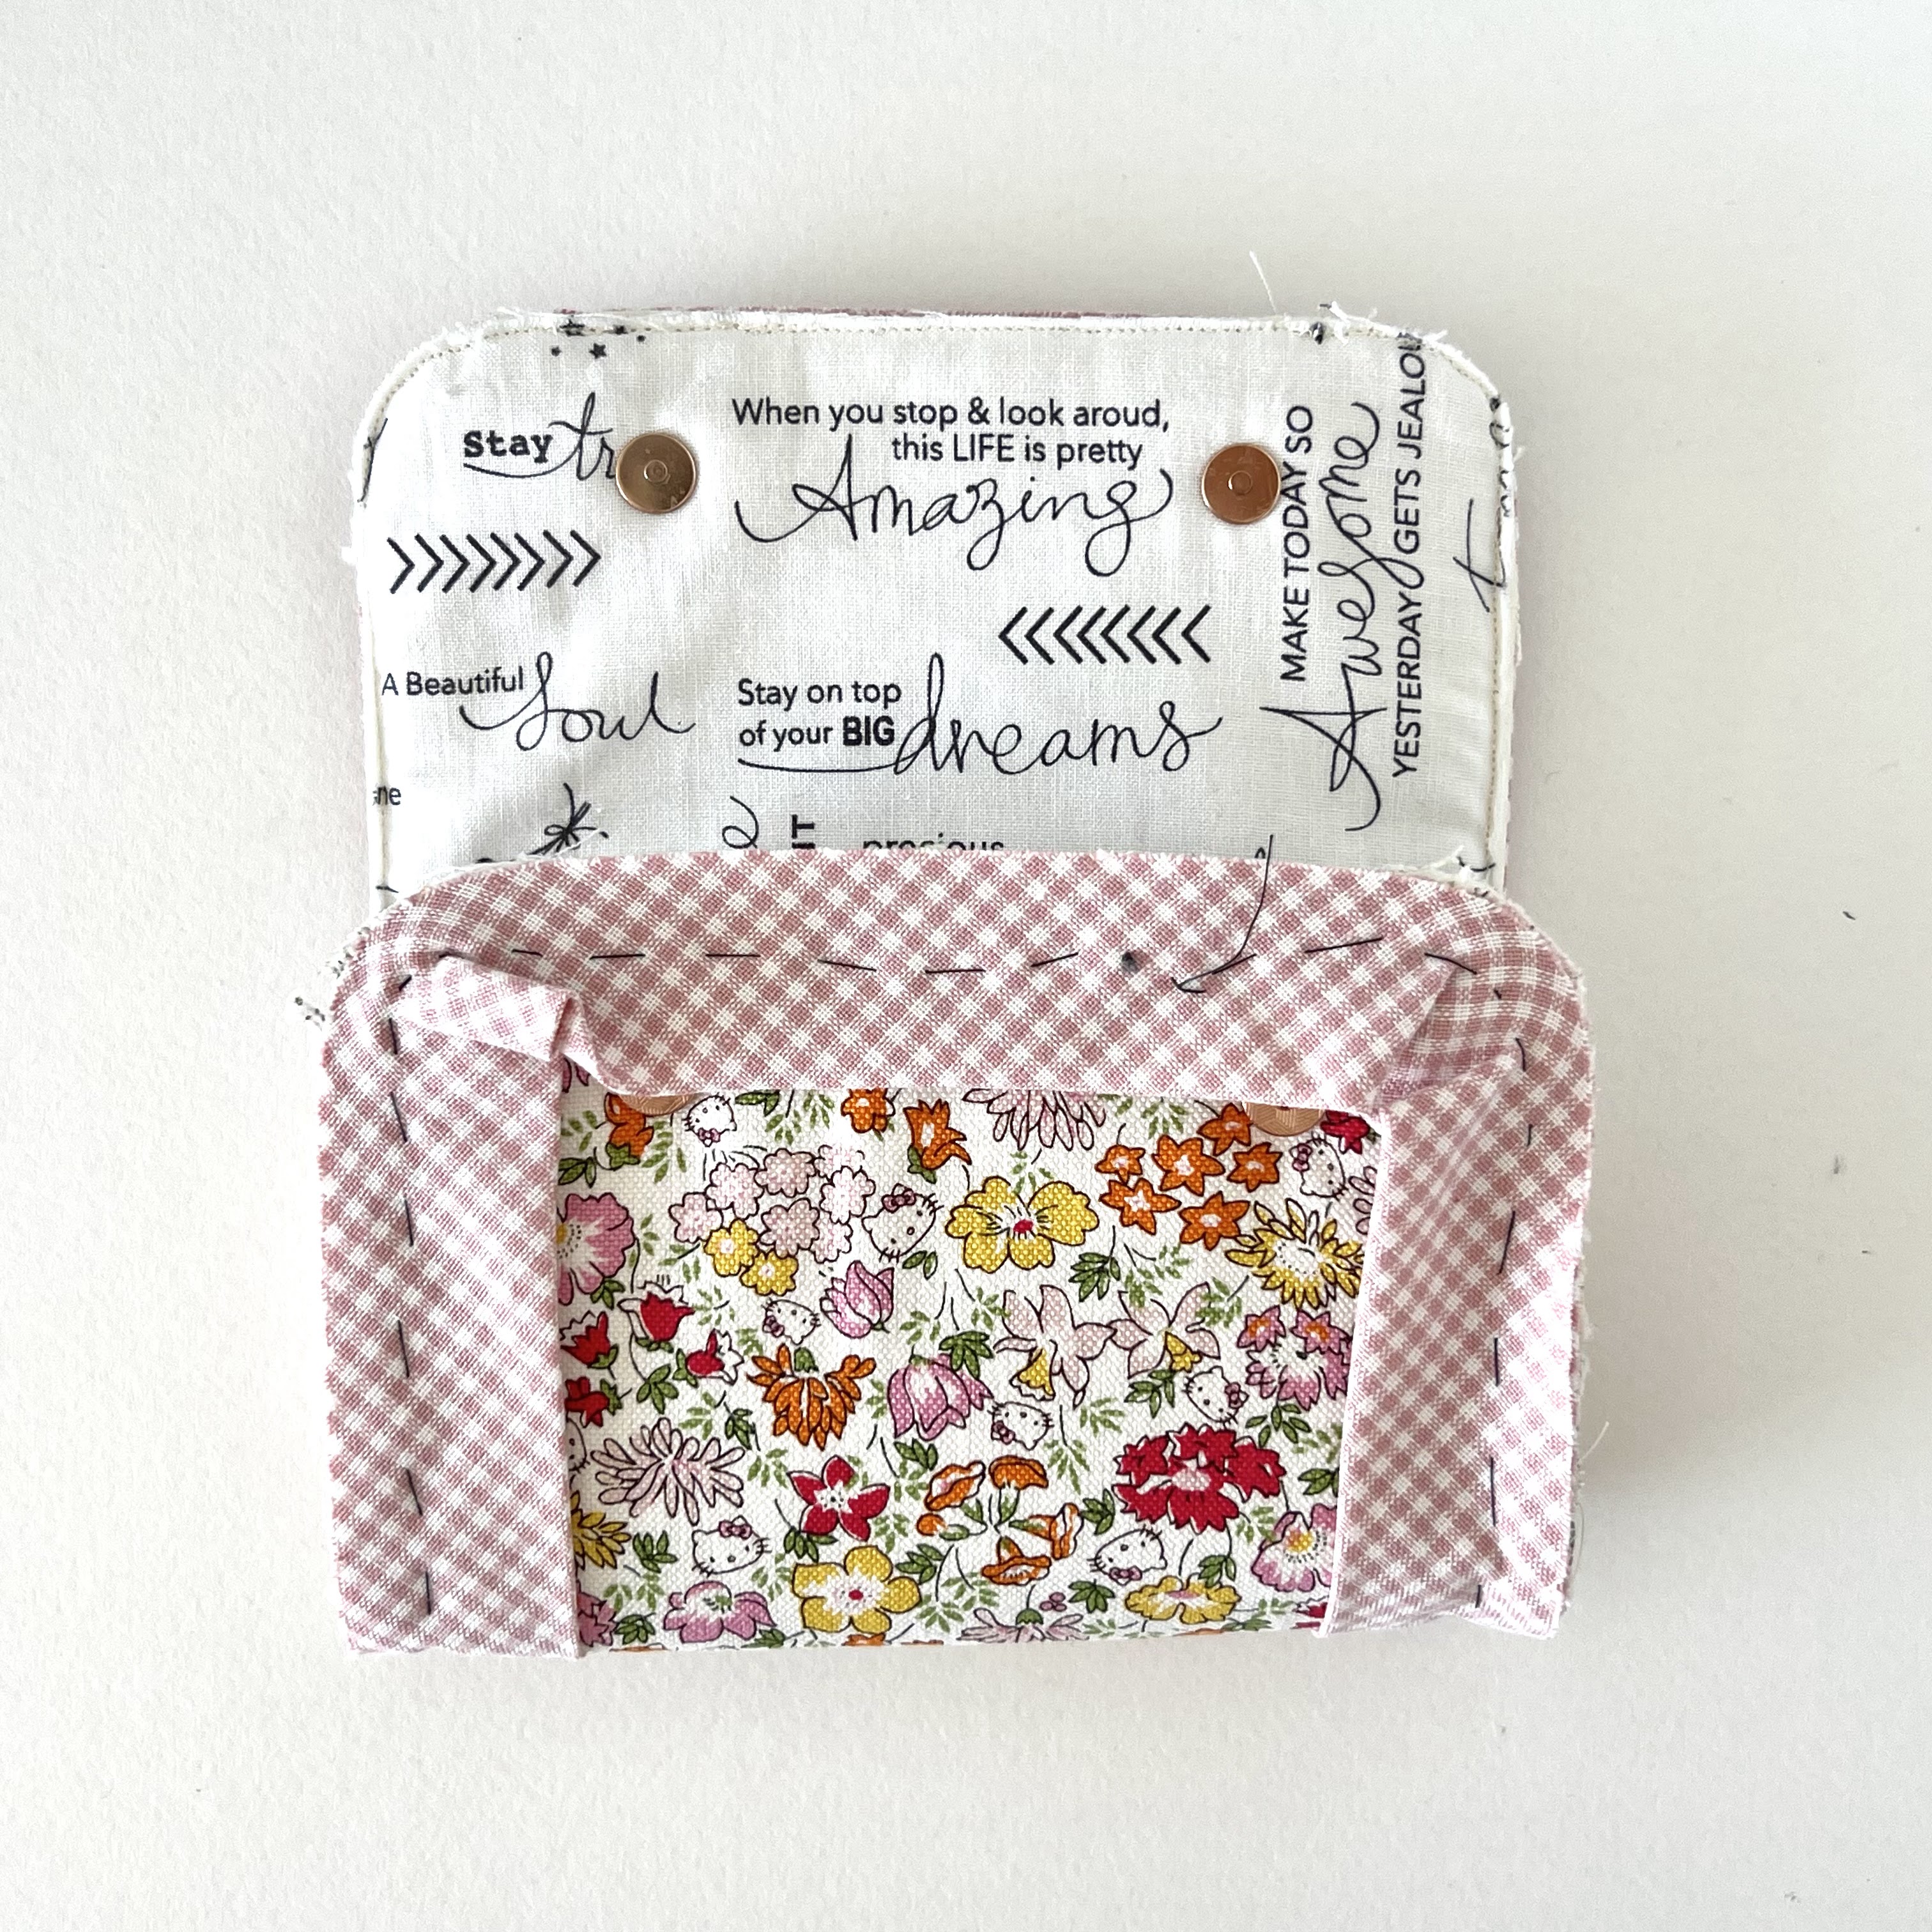
Note: Two FEMALE snaps are installed on the outer layer and two MALE snaps on the inner layer.
1. Prepare four small pieces of batting by making two small slits on each. Place a washer that comes with the magnetic snaps in the centre of the batting piece, mark the slits. Using sharp pointy scissors cut on the marked lines.


2. Place the sandwiched panel with the outer layer facing up and the marked dots for the snaps on top. Position a washer that comes with the magnetic snaps on the marked dot aligning the dot with the centre of the washer on the outer layer of the sandwiched panel and the slits for the prongs parallel to the sides of the panel. Mark two lines for the prongs. Using a pair of sharp pointy embroidery scissors, make two cuts by simply pushing the blade of the scissors through the outer fabric and foam only. Make the slits small. Make sure to leave the lining layer intact!


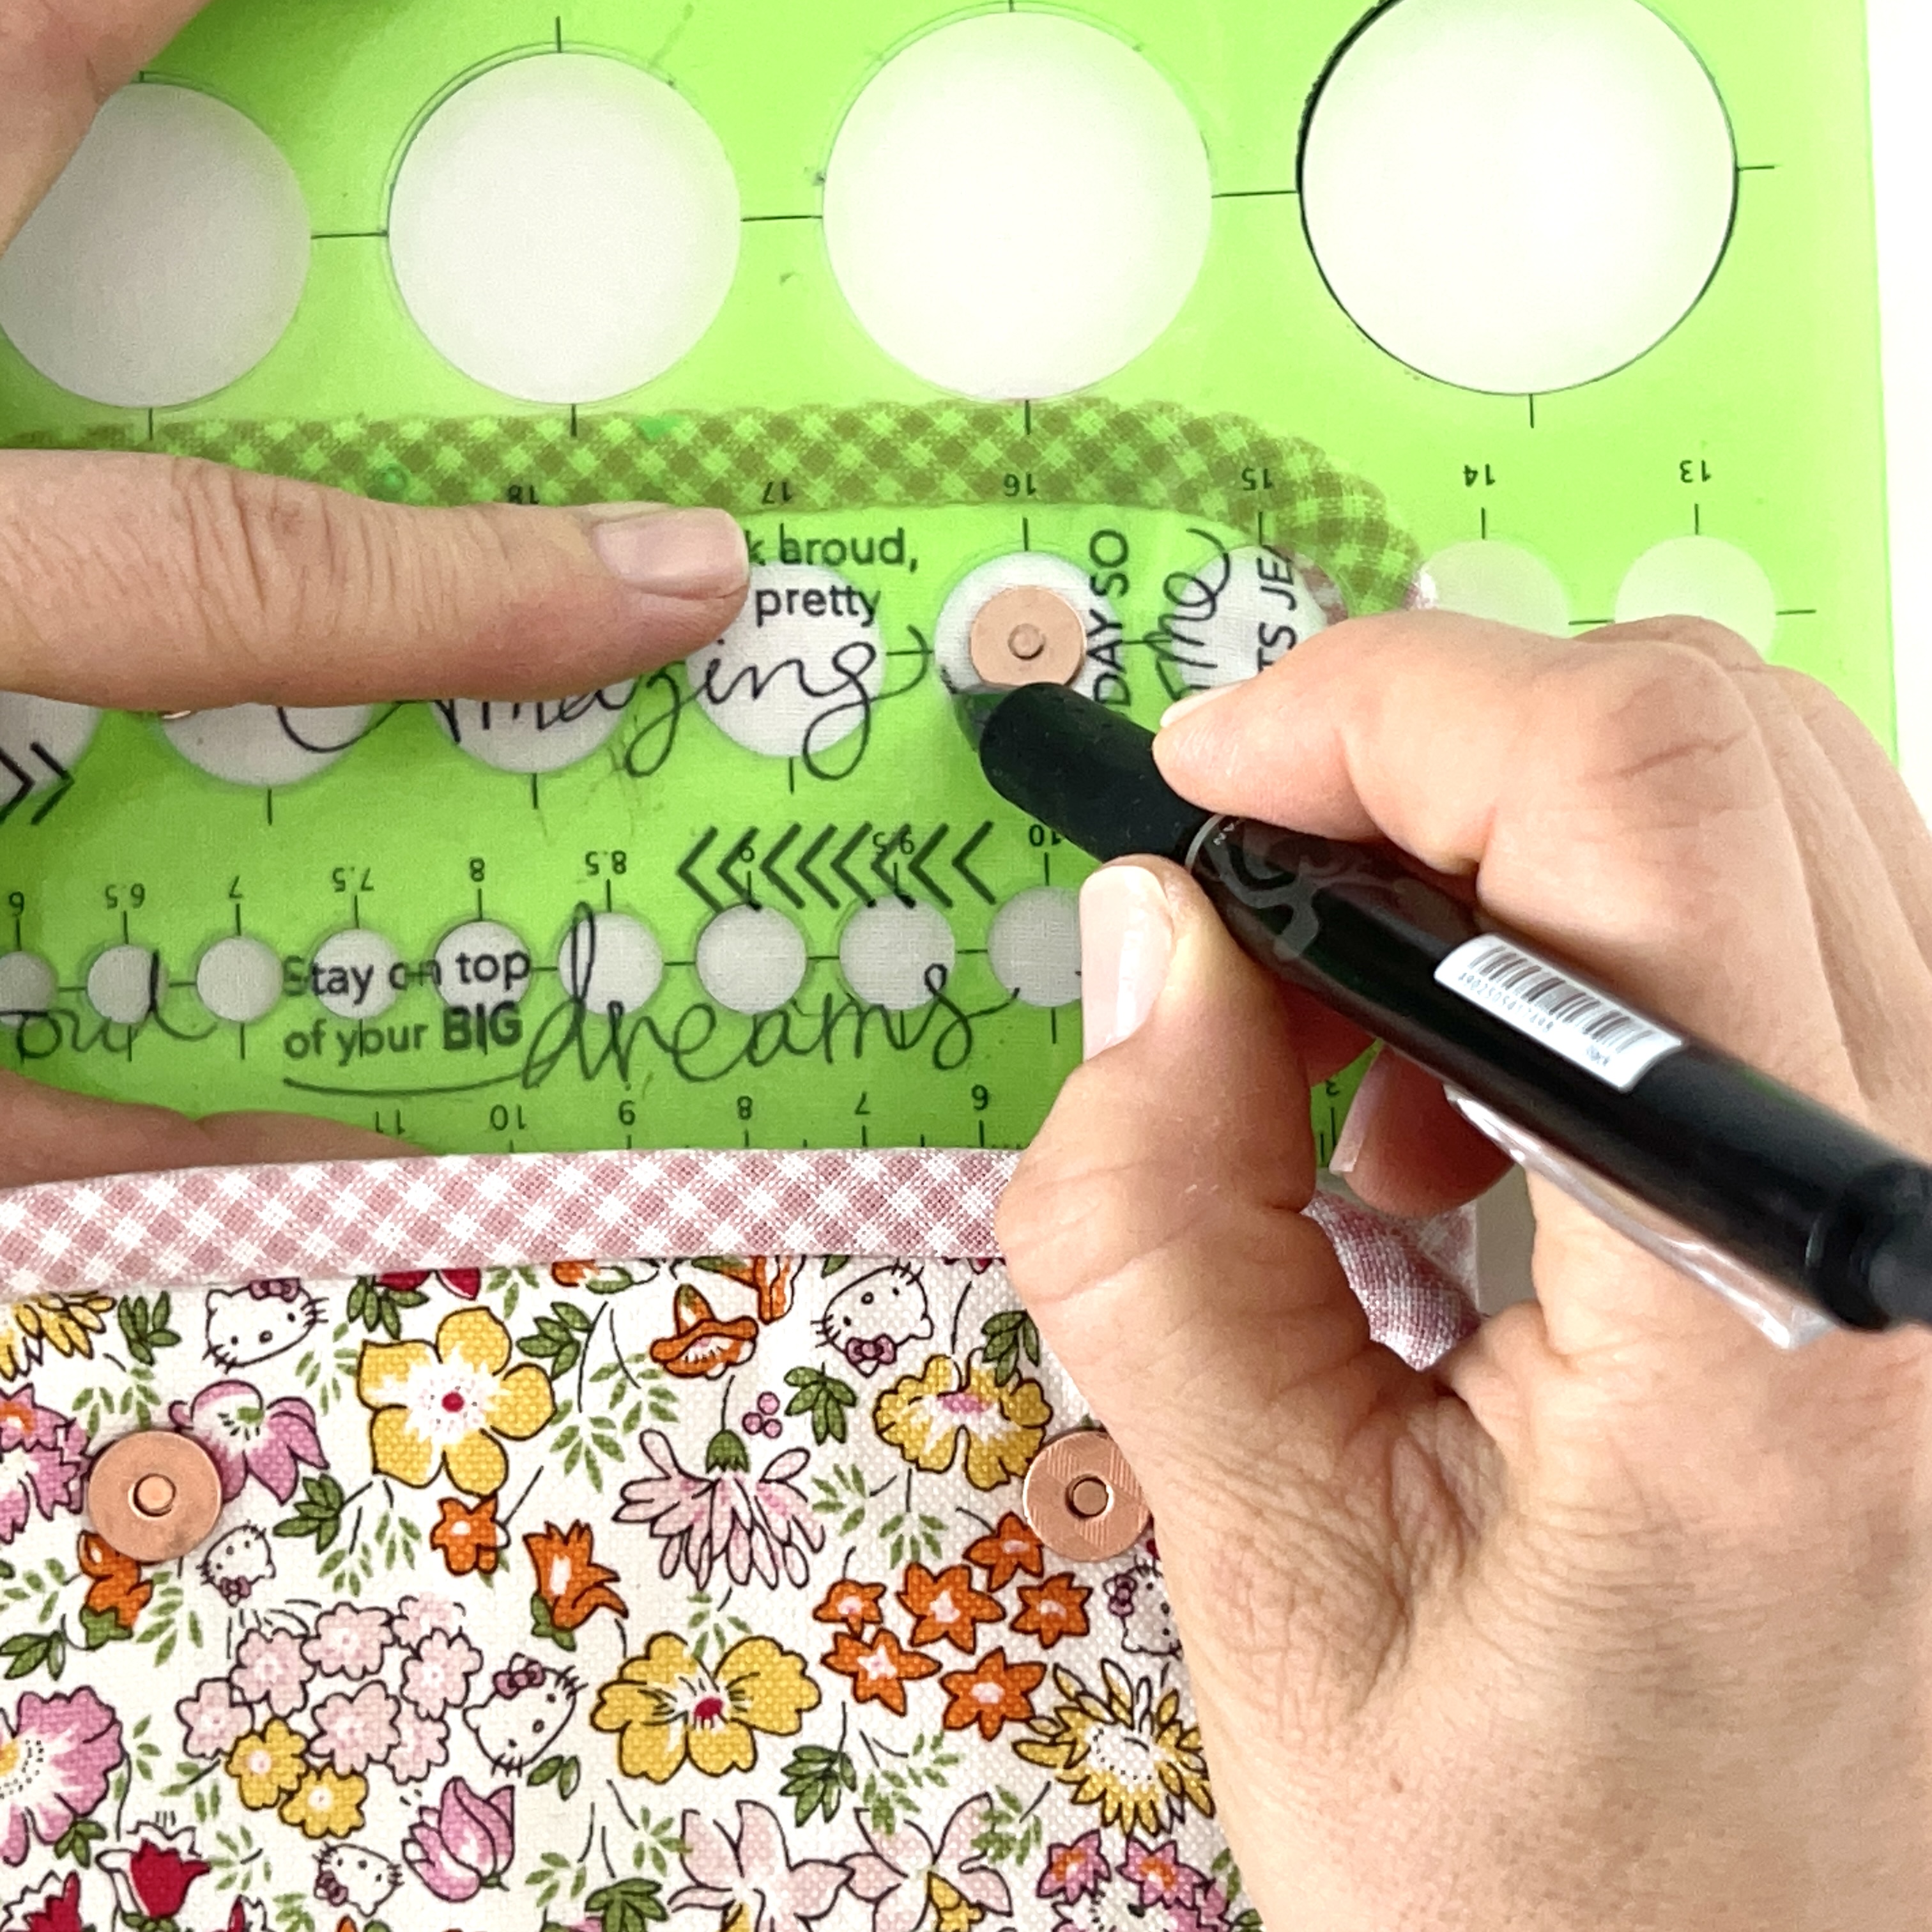
3. Push the prongs of the FEMALE SNAP through the slits. Take one small piece of the batting that you prepared and place it on top of the prongs on the back side, then place the washer on top. Using a metal ruler or a flat paper folding tool, push the prongs out. Repeat for the second FEMALE SNAP. You can trim excess batting around the washer.


4. For the MALE SNAPS, turn over the sandwiched panel that the lining is facing up and the marked dots for the snaps on the top. Position a washer that comes with the magnetic snaps on the marked dot aligning the dot with the centre of the washer and the slits for the prongs parallel to the sides of the panel. Mark two lines for the prongs. Using a pair of sharp pointy embroidery scissors, make two cuts by simply pushing the blade of the scissors through the inner layer and interfacing only. Make the slits small. Make sure to leave the outer layer intact! Repeat the process for the second MALE SNAP.


Make sure to leave the outer layer intact!


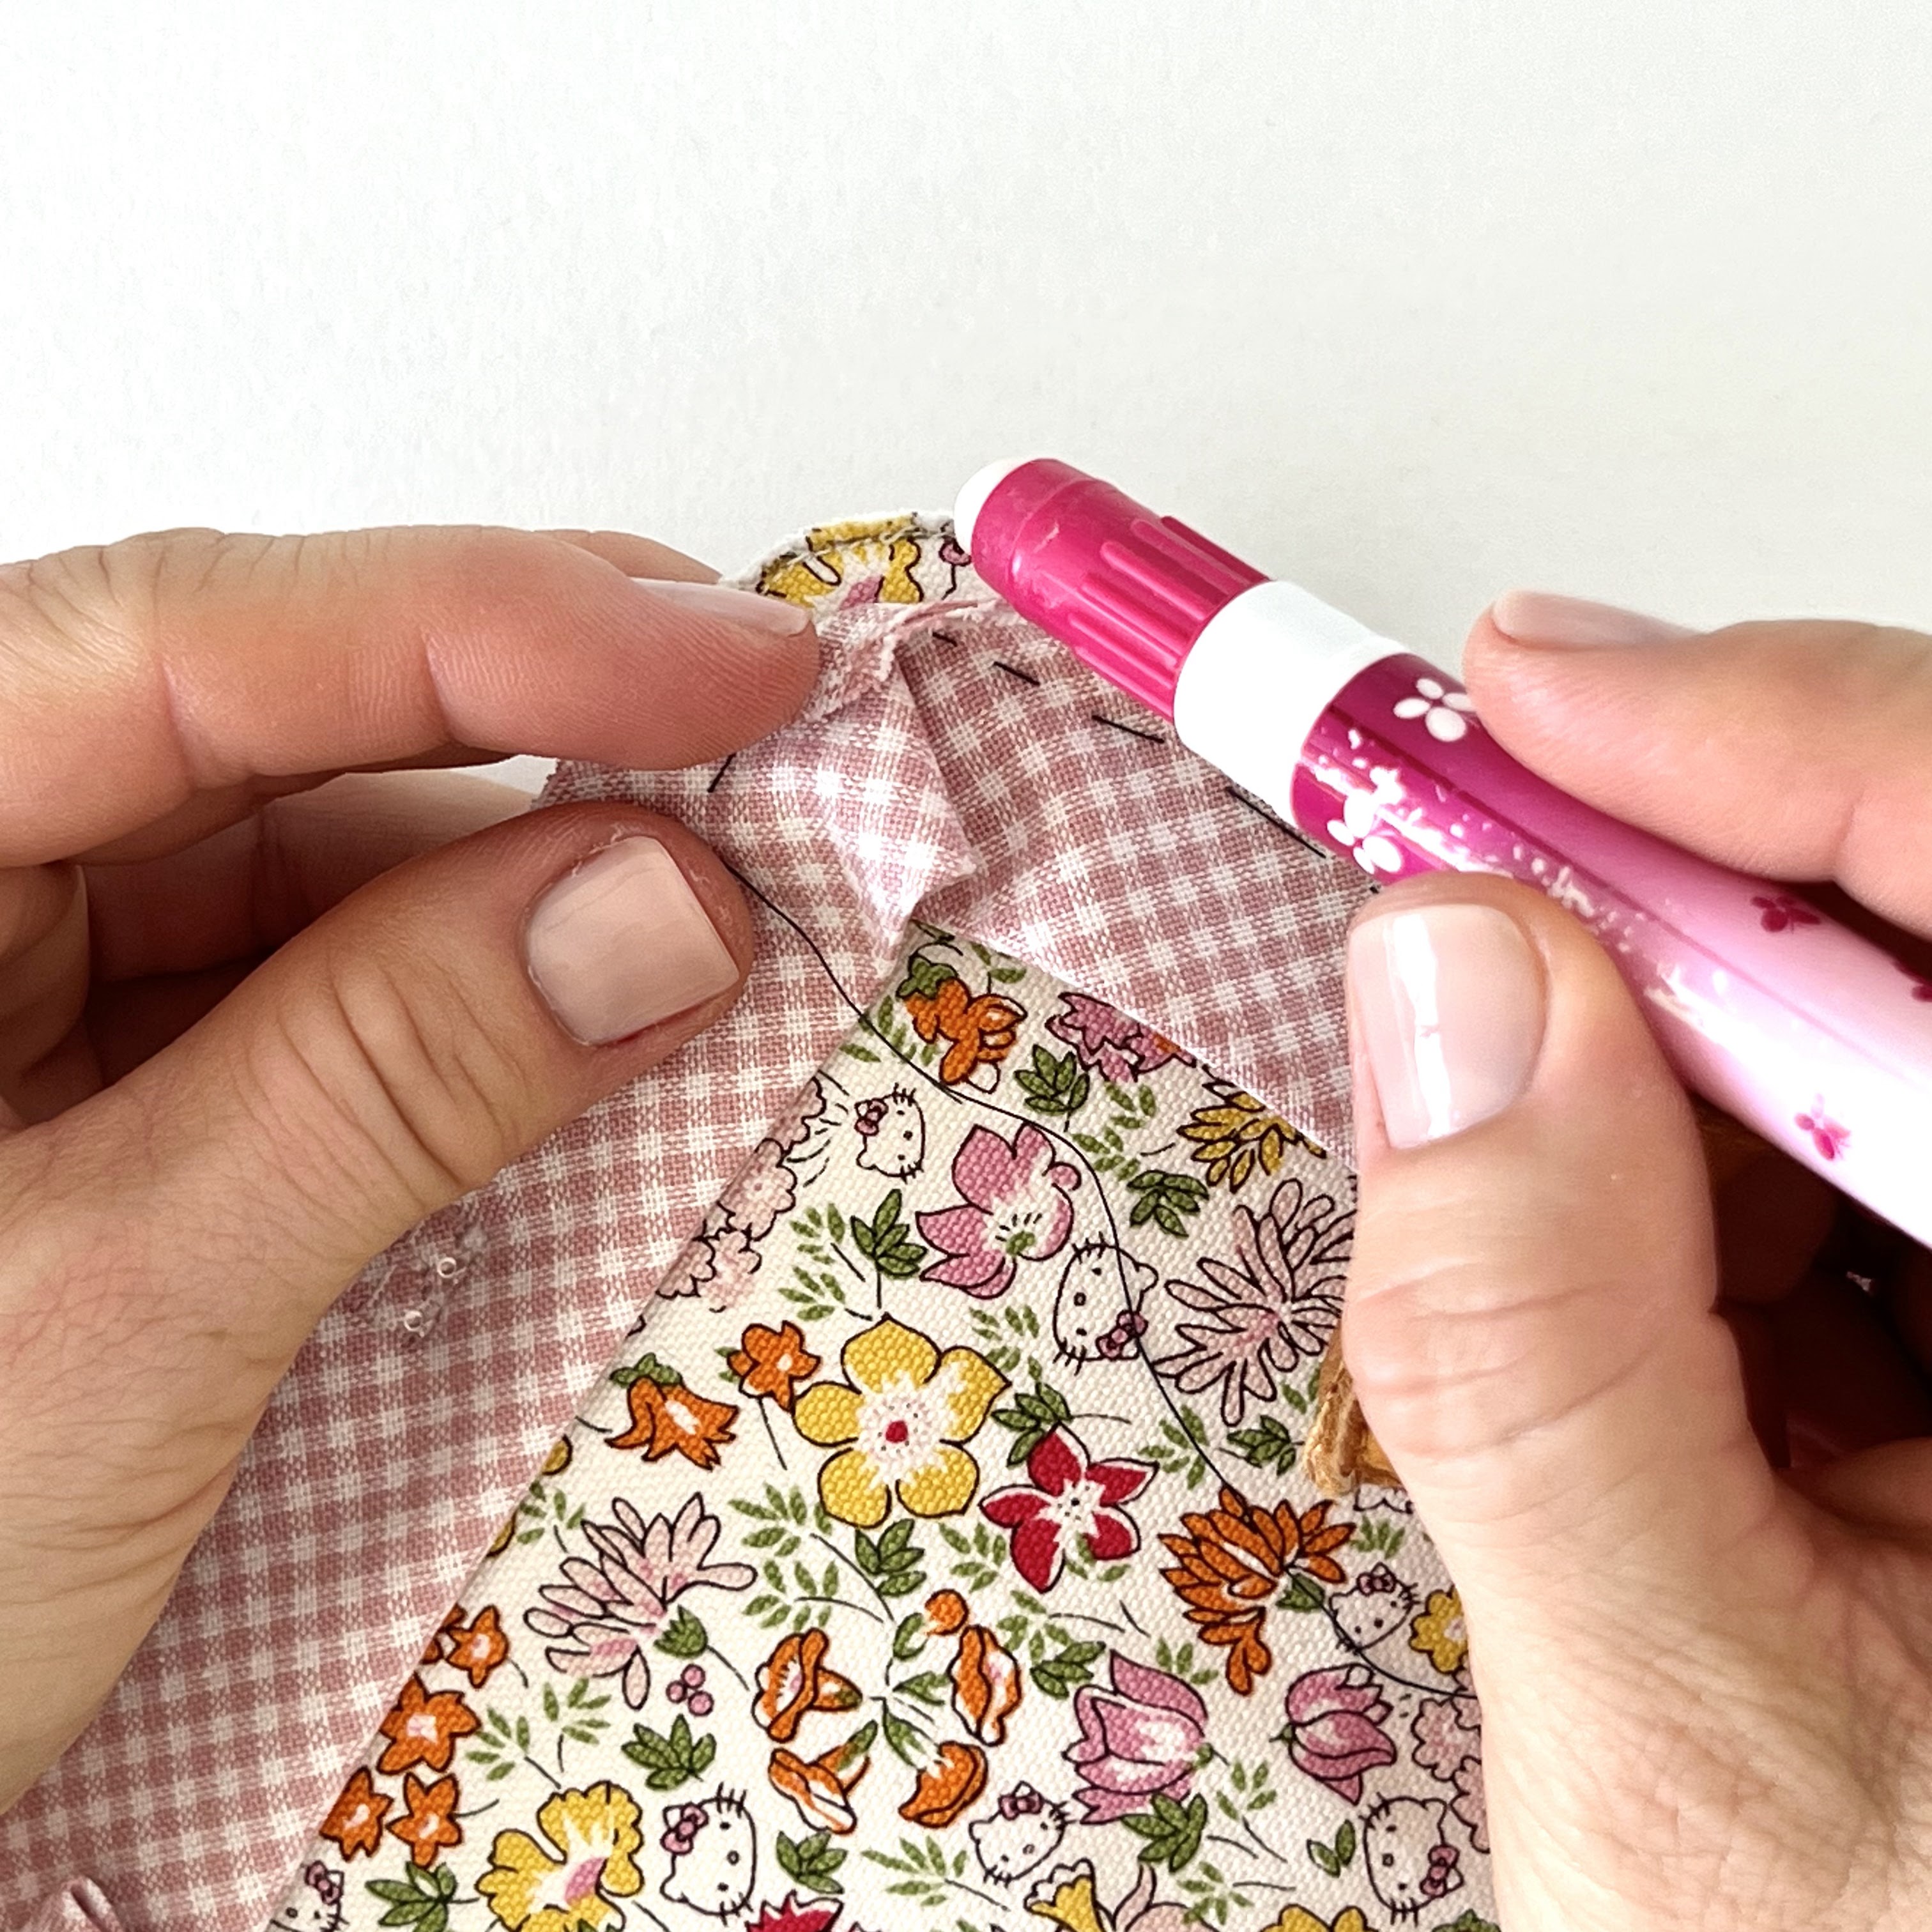
1. Pull the inner layer gently over the outer layer about 1/8" over the edge, pin. Set the stitch length to 2.0-1.8 on your machine and stitch the openings closed on the outer side on the marked line (stitch from point A to point A1). Trim the excess lining. Repeat for the opposite side (stitch from point B1 to point B).


Making binding
1. Cut a piece of fabric 41/2" x 21/4" on bias. Fold it in half lengthwise and gently press with a warm iron. Cut in half so you get two pieces of bias binding that are 21/4" x 11/8" for the side panels. Set aside.


2. Cut a piece of fabric 32" x 21/4" on bias with both ends cut at 45 degrees. Fold it in half lengthwise and gently press with a warm iron. You should now have a piece of binding that is 32" x 11/8" for the body of the pouch.


3. Bring the short sided of the binding together and stitch with 1/4" seam allowance. Press the seam open. Be careful not to stretch the binding.


Making sandwiched side panels
1. Apply one-sided fusible foam to the back side of the fabric for the outer side panel following the manufacture's instructions. Use a damp ironing cloth or baking paper to prevent scorching the fabric.

2. Place the outer layer with the foam facing up, place the inner layer on top with the RS facing up. Using long fine pins, secure both pieces together.

3. Flip the panel over that the outer layer is facing up. Centre the side panel template on top and carefully pin. Using a water or heat removable pen, trace the template and mark the centre bottom line inside the marked line.

4. Remove the template. Leave the pins holding the panel together in. Set the stitch length to 2.0-1.8 on your machine and stitch on the marked line. Overstitch the start and the end of the seam to secure it.

5. Remove pins. Trim the seam allowance as close to the seam as possible all around the sandwiched side panel.

6. Attach the binding to the top edge of the panel. Align the raw edges of the binding with the top edge of the panel. Pin. Stitch in place with a 1/4" seam allowance.


7. Fold the binding over the edge, secure with clips or pins. Hand sew with a Ladder stitch.


8. Trim the excess binding on both sides. Repeat for the second side panel.


Attaching side panels
The next steps require some patients - they are a bit fiddly. But if you take your time and follow the instruction carefully, I know you will get it just right.
1. Place the sandwiched panel with the outer layer facing up and the FEMALE snaps at the bottom. Place the template on top (with the FLAP marking on top), align all edges and, using a water or heat erasable pen, mark the centre bottom line on both sides, and mark points C, D, C1 and D1.
MAKE SURE TO PLACE THE TEMPLATE THE RIGHT WAY!


2. Using small sharp scissors, make a 1/8" notch on the centre bottom line marking on the sandwiched panel. Then add three more 1/8" notches to the right of the centre bottom line marking and 3 notches to the left. Space them out about 1/4". Repeat for the opposite side.
BE CAREFUL NOT TO CUT DEEP THAN 1/8"!


4. Align the bottom centre line marking of the side panel with the bottom centre line marking of the sandwiched panel. Pin. Then bring the right top corner of the side panel to the marked point D1 of the sandwiched panel and pin. Then bring the left top corner of the side panel to the point C1 and pin.


TIP: Start basting at the centre bottom mark and move up to the right, then start again from the centre bottom line and go all the way to the left. This way gives you more precision.


Part 4 (Attaching side panels)
Attaching binding
This is it - this is pretty much the final and most challenging step of making this pouch, but I know you are absolutely capable of nailing it. Binding can seem intimidating at first, but here is the secret - it's simply about patience and technique. Go slow and trust the precess! You can do it!
Do not remove basting stitches around the side panels!
1. Start by working on the back of the pouch. Gently align the raw edge of the binding all the way around the pouch using clips or pins to secure it in place. Do not stretch the binding! Your binding should sit nicely and snug all around the pouch. If your binding is longer or shorter, you will need to adjust it at the seam.
TIP: As you go around attaching binding, make sure that the zigzag stitch holds both (the side panels and the pouch) layers together without any gaps. If you see any gaps, stitch them closed using a Blanket or Overcast stitch.


4. Remove all basting stitches.

TIP: I like to use a pair of small tweezers to help me with removing basting threads.

5. Fold the binding over the raw edge so it covers the seam on the back side. Finger press and use clips to secure it.


Part 5 (Attaching binding)
6. Using a single thread and a fine needle, attach binding with a Ladder stitch. I prefer to start on the flap and go around the pouch. Pay close attention when sewing around the curves - make sure to distribute the fabric around the curves without any folds.


Once I stitched the label, I realised that it was a bit too busy for this fabric.


Click here to see a different way of making a tag/label.
Part 7 (Adding tiny stitches and shaping your pouch)
Merci beaucoup Larisa
ReplyDeleteYou are very welcome! 🌸
DeleteThank you. I can hardly wait to try this out.
ReplyDeleteOh! I am so happy! Hope you enjoy this small make! 🌸
DeleteAm going to do this!
ReplyDeleteWonderful! See you next week! 🌸
DeleteYeah!! I’m so excited about this.
ReplyDeleteFantastic! Can't wait! 🌸
DeleteSo sweet, I can't wait to make this cute pouch 🌸🩷
ReplyDeleteThank you very much! Not long to wait! 🌸
DeleteSo excited 💖 have loved watching you make your little pouch 😊
ReplyDeleteOh! Thank you so much for following along my adventures! 😊 🌸
DeleteLoved making this sweet project <3
DeleteThis is so cute! Would love to know the name of the fabric and try to make it the same!!
ReplyDeleteThank you very much, Darla! For this particular pouch I used "My Favourite Things" by Elea Lutz print.
DeleteYou are so kind, thank you ever so much, I have been looking forward to this lovely pattern.
ReplyDeleteYou are most welcome! I am so happy I finally made the time for this project. We are starting today. 😊 ❤️
DeleteLarisa; Thank you so much for the pattern and tutorial. I haven't been on Instagram much lately (busy with Passover) so I did not see this until today. But I will get started as soon as I can. You are so sweet to do this ❤️❤️
ReplyDeleteJackie
You are most welcome, Jackie! It's a nice simple pouch, I love using mine for small projects on the go. Whenever you get a chance, give it a go, I am curious to hear what you think. Enjoy the celebrations! ❤️
DeleteIt's fantastic! Thanks so much for the templates and tutorial:)
ReplyDeleteYou are very welcome, Jeanie! Happy sewing! ❤️
DeleteThis is so great. The tutorial really detail and clear. Pretty pouch. Shanah
ReplyDeleteAmazing detailed tutorial. Thank you so much for your time and patience in sharing it. I was just wondering where I could purchase your template for the pouch? Warm regards, Malena. Oh btw. I just love your blog and those bunnies, oh my goodness, they are ever so cute!!!
ReplyDeleteWonderful tutorial....thank you so much.
ReplyDelete