
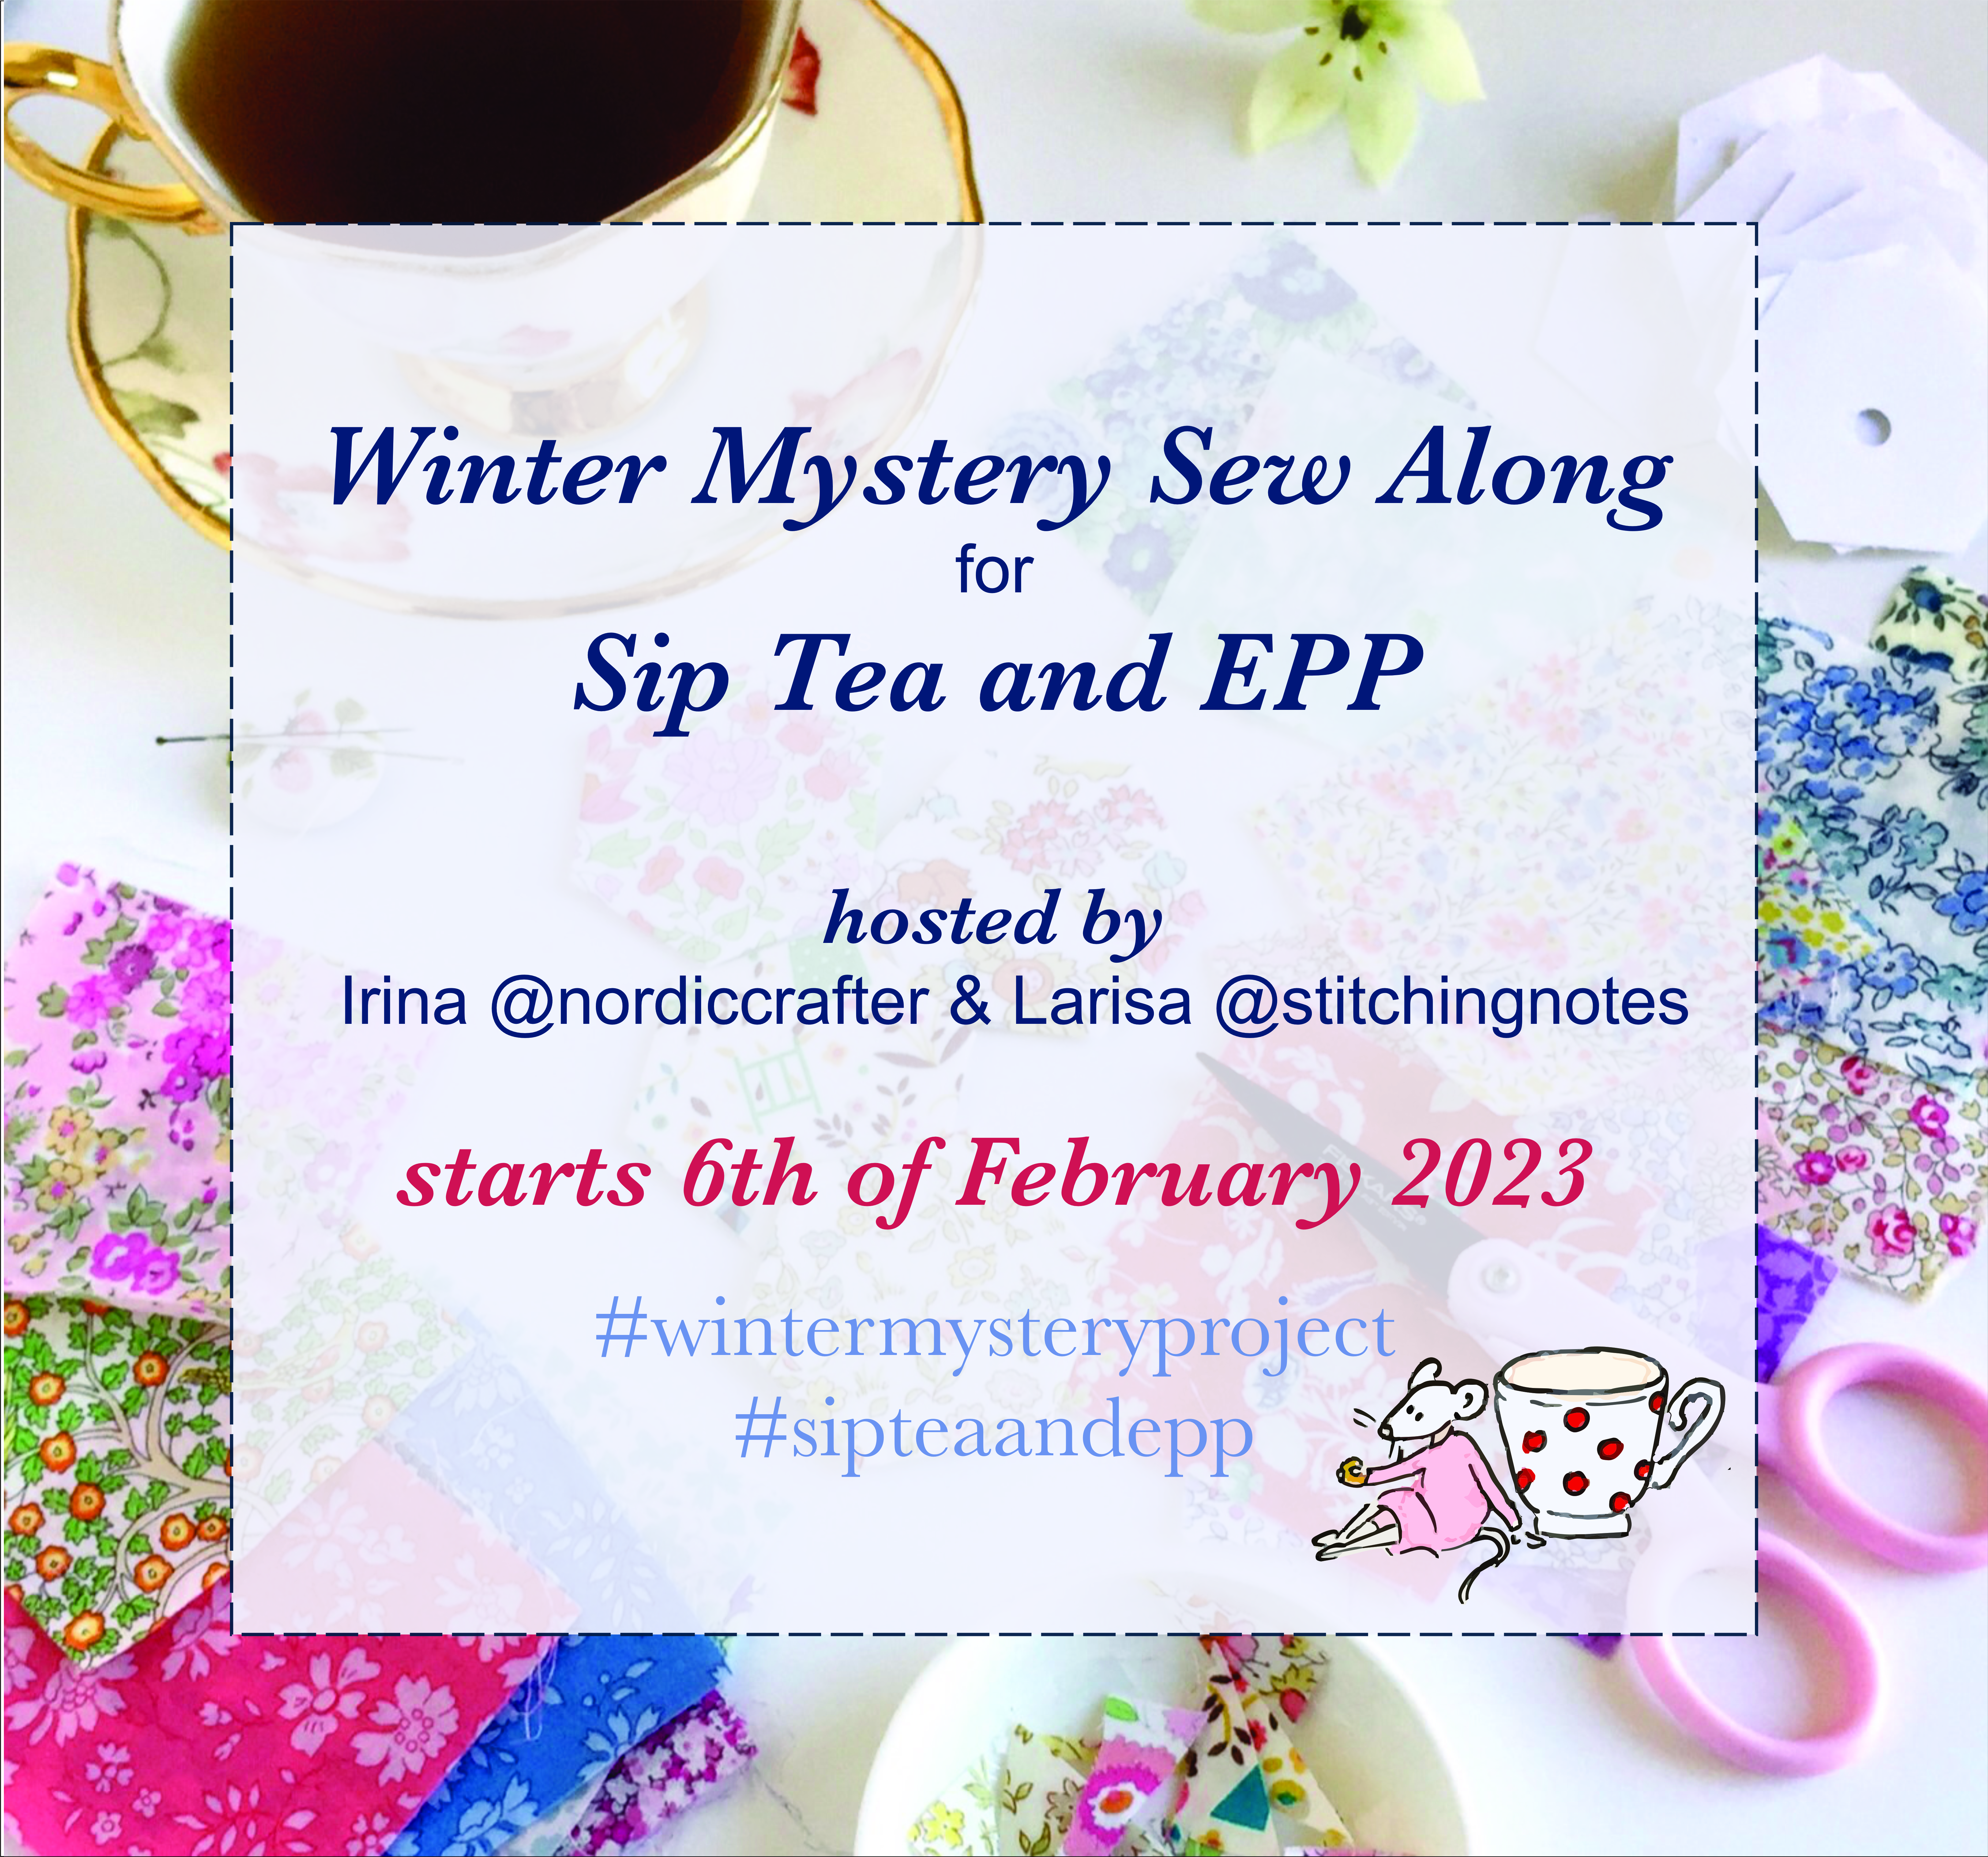
The long awaited Winter Mystery Project Sew Along for the Sip Tea and EPP party starts on Monday 6th of February 2023. Irina @nordiccrafter and I, Larisa @stitchingnotes hope you can join our adventure yet again and have fun sewing together with us.
What is the Mystery Sew Along for Sip Tea and EPP?
It is a free Sew Along with an element of intrigue that is run on Instagram for approximately 3 weeks by the hosts of the Sip Tea and EPP party Irina @nordiccrafter and I, Larisa @stitchingnotes. Each of our projects is designed for educational purposes, in order to help you learn new skills and implement them in your own work. We provide templates and step by step guidance on what is needed to complete every project, how to baste and sew the shapes together and what sewing techniques to use with each make. The final product is always revealed at a later stage of the Sew Along, closer to the finish.
Please bear in mind that all provided projects and patterns are for personal use and gifts only.
How to join and what to do?
No membership or sign up is required to join our Sew Alongs. Anyone is welcome! Our projects are suitable for any skill level, but require basic sewing skills. All you need to do is to pick your fabrics following our guidance, download the templates provided and sew along at your own pace following the instructions that we share in our IG posts. Post photos of your progress on Instagram under the hashtags #wintermysteryproject and #sipteaandepp and always tag the hosts Irina @nordiccrafterand Larisa @stitchingnotes. Tagging us directly helps us see your posts, leave comments and answer your questions rather than spending a lot of time scrolling through the hashtag looking for new posts.
The #sipteaandepp hashtag now has more than 12k posts, but unfortunately, sometimes people misuse the hashtag by promoting their own businesses or their own work. We have no control over it and that’s why we ask you to help us see your posts by tagging the hosts of the party.
Every project starts with a fabric pull. In this blog post, Irina and I would like to guide you through the process of picking your fabrics and other necessary supplies for the Winter Mystery Sew Along.

Let’s go through the list of the required supplies for this Sew Along. Please DO NOT CUT your fabrics yet! Just go through your stash and pick the prints you would like to use for this project. We will provide the templates and all the measurements and cutting instructions once the Sew Along starts on the 6th of January.

2. Single sided or sew in foam stabiliser
If you don't have foam stabiliser, you can use batting or even batting scraps sewn together into panels. We recommend medium loft batting. If you only have a thin (low loft) batting, then use 2 layers. Keep in mind that if you use batting, the structure of the finished make would not be the same as with foam stabiliser. You might also have to interface linen with medium weight fusible interfacing to add more structure to your make.
Once you have selected a few options, audition them with the solid linen or quilting cotton you chose for the exterior.

5. Quilting cotton
Irina and I always go for the harmonious look both on the outside and inside of our makes. In our humble opinion, the interior fabric should coordinate with the quilting cotton strips and solid linen you chose. But everyone is different and if you feel that you would rather have something contrasting, then go for it! We recommend using the same fabric for the interior but if you don’t have enough of the same fabric, you can use 2 different prints.
6. Binding
In this project we use straight binding (cut on grain). The choice of binding depends on your personal preferences. Pick what you like: gingham, stripes or solid colours. You can audition a few options with the exterior and quilting cotton strips and see what looks best to you. Have your options ready, but again make the final decision once the binding step comes.
7. Embroidery floss
We use DMC embroidery floss. We recommend to pick the colours later during the process.
1. Solid colour linen or quilting cotton
Irina and I both like to use medium weight linen in a natural colour for our makes as it gives a perfect background to any English Paper Piecing embellishments.
Irina always pre-washes linen. It really is a matter of a personal preference. I never do that as I use one kind of linen from the same supplier and I have not had any issues with shrinking.
If you don't have any linen, you can use canvas or any solid coloured quilting cotton. The main idea of this project is to make the patchwork elements stand out, please keep this in mind when picking your background fabric.
I have two shades of linen, if you can see from the photo below, one has a cool undertone and the other one has a warm undertone, but they are both called natural colour. For my prototype I went with the cool undertone linen.

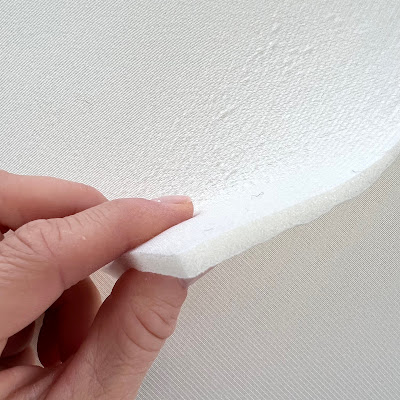
We will need a piece of single sided fusible foam that we will cut into three parts. We highly recommend you to use fusible foam for this project in order to achieve the best result possible. Foam stabiliser gives a nice structure to any make as it combines foam, fusibility and lightness as well as it gives your makes great stability and shape retention. For this particular project we recommend using single-sided fusible foam, but you can also use sew in foam stabiliser if you have it. Just use pins or basting spray to hold all layers together. I use Legacy Flex Foam 1-sided Fusible Stabiliser that I buy from a local store or sometimes order online too. Irina uses Bosal In-R-form or Soft and Stable by Annie's.
The foam looks quite thick, but please don't be scared by this. It is quite easy to sew with.

3. Quilting cotton fabric strips
We designed this project thinking that you might like to have an item that coordinates well with the two makes from our previous Sew Alongs: the Hexagon Sewing Folder and Mystery Spring Pouch.
If you would like to have a coordinating set, then pick the fabrics from the same range you used for the previous two projects.
When sewing a set of coordinated items, it is a great idea to use fabrics from the same designer because the colours even from various collections coordinate well.
If you would like to have a coordinating set, then pick the fabrics from the same range you used for the previous two projects.
When sewing a set of coordinated items, it is a great idea to use fabrics from the same designer because the colours even from various collections coordinate well.
The best advice we can give you is to pick the fabrics that you love, fabrics that make your heart sing, not fabrics that simply fit a particular colour scheme. If you sew with the fabrics you love, you would love the finished product even more and enjoy using it.
Once you have selected a few options, audition them with the solid linen or quilting cotton you chose for the exterior.
For my prototype, I settled on 12 prints of Tilda from various collections. Two of the prints in the middle of the photo I used for the interior of the mystery make, and the one at the very bottom of the photo I used as binding.

4. EPP embellishment
You will need 8 scraps of the same fabrics as mentioned in step 3 and 1 solid coloured scrap. The solid colour should not be the same colour as the exterior, but it should coordinate well with the rest of the prints. Get a few options ready, but make the decision once we get to that step during the Sew Along.
Irina and I always go for the harmonious look both on the outside and inside of our makes. In our humble opinion, the interior fabric should coordinate with the quilting cotton strips and solid linen you chose. But everyone is different and if you feel that you would rather have something contrasting, then go for it! We recommend using the same fabric for the interior but if you don’t have enough of the same fabric, you can use 2 different prints.
6. Binding
In this project we use straight binding (cut on grain). The choice of binding depends on your personal preferences. Pick what you like: gingham, stripes or solid colours. You can audition a few options with the exterior and quilting cotton strips and see what looks best to you. Have your options ready, but again make the final decision once the binding step comes.
7. Embroidery floss
We use DMC embroidery floss. We recommend to pick the colours later during the process.
Please go over to Irina's blog to see the fabrics she already picked for her mystery project.
Irina and I hope these tips help you choose supplies for the Winter Mystery Project with ease!
We are looking forward to seeing you soon and sewing together!
Irina and I hope these tips help you choose supplies for the Winter Mystery Project with ease!
We are looking forward to seeing you soon and sewing together!
With love, Larisa and Irina xo
Looking forward to it 😊🧵🪡
ReplyDelete