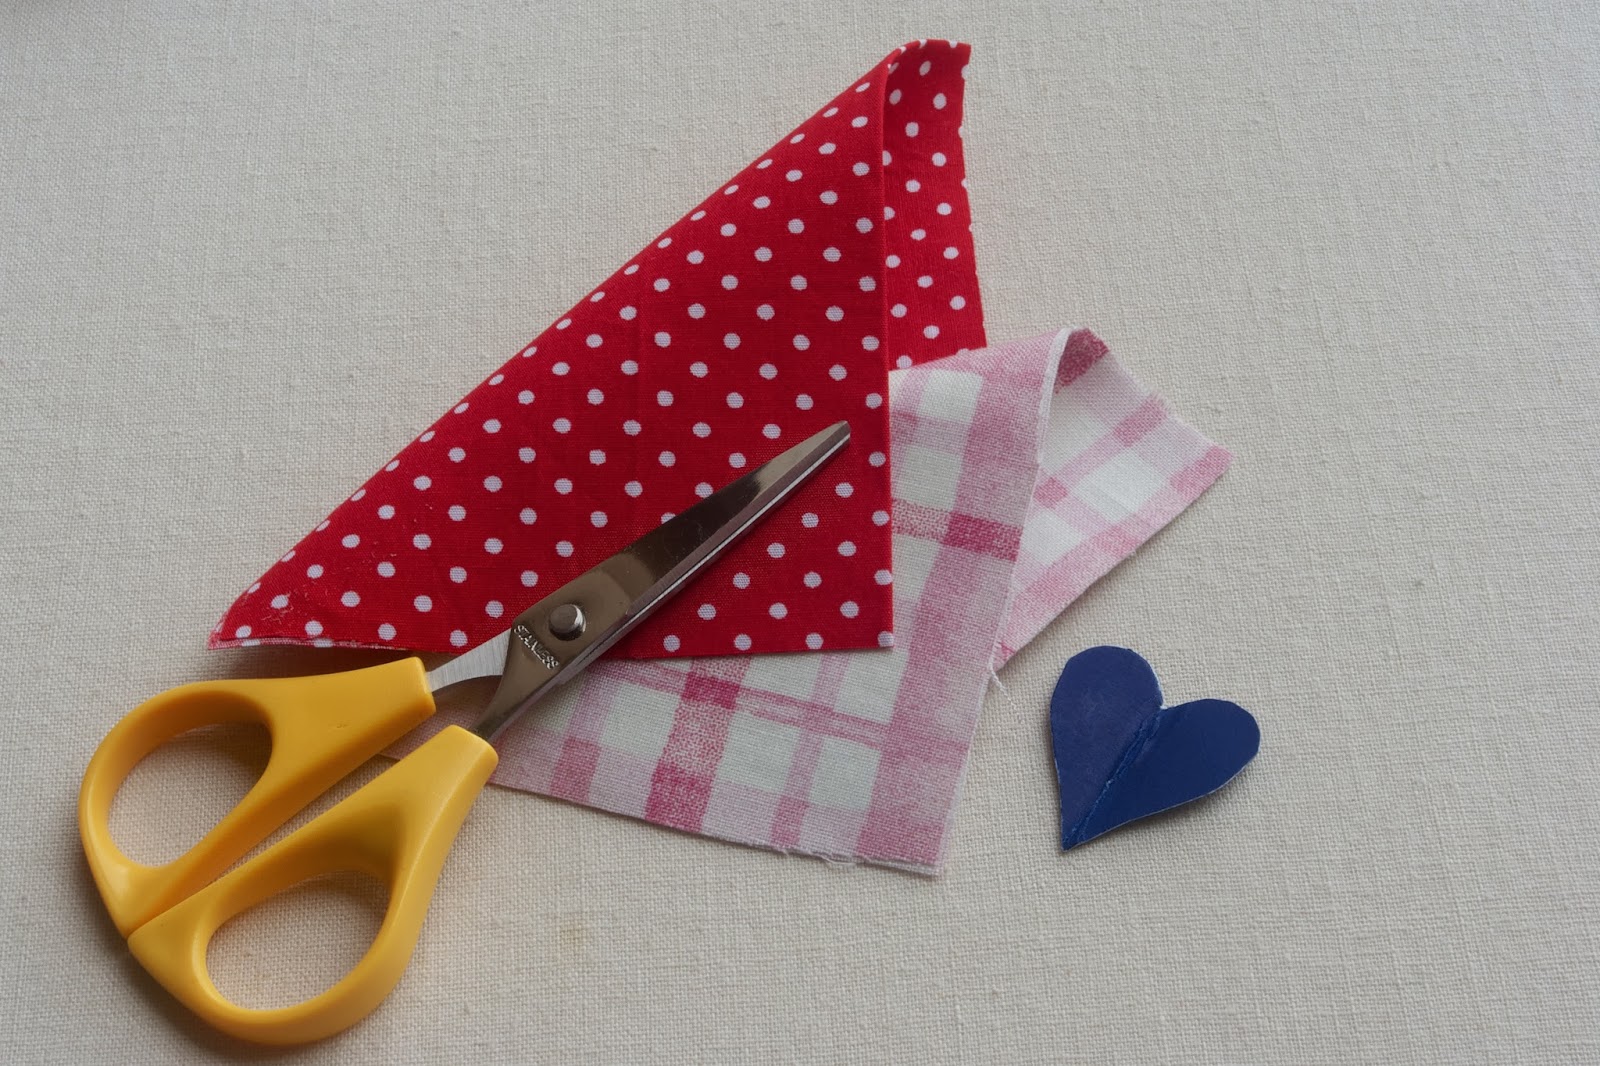
For this project you will need a lot of tiny hearts but don't panic, it doesn't take long to cut them out. You can do it while watching kids play or watching a movie. For this tutorial I used a small piece of fabric, but for the rest of the hearts I fused all the scraps I had left.
- a small piece of cardboard
- fabric scraps of your choice
- fusible web
- sewing machine, scissors, beads
Step 1: Using fusible web, fuse two fabric pieces together. You can use the same fabric on both sides or fuse different colours together. Draw a heart of a desired shape on a piece of cardboard. Cut it out.
Step 2: Cut out as many hearts as you need using small scissors. I have eleven hearts in each garland. Total of 44 hearts. Wow! I didn't realise how many I had to cut out.
Step 3: Arrange your hearts in rows in the desired order next to your sewing machine.
Step 4: Start stitching them together in a garland. Make sure to leave a long tail at the beginning and at the end.
Note: I took the photos while making the first garland. Then I realised that it was easier to start stitching the hearts from the top instead from the pointy end but I already put away the camera. So experiment and see what works best for you.
Once you stitched through the first heart, pull it gently while you still keep stitching with the foot down until the heart reaches the end of the metal plate of your machine (about 2cm). Place the second heart under the foot of the machine and keep stitching.
Step 5: When you have stitched through your last heart, keep pulling on the thread and keep stitching so you have a long twisted tail at the end.
Make as many garlands as you like. Tie small beads on the ends. You can tie your garlands on an embroidery hoop and make a mobile. You can hang them on a wall or shelf. They are fun to make and really don't take that much time but these little happy hearts do help brighten up any place.
Hope you like it. Happy sewing everybody!


How pretty especially against the green backdrop.
ReplyDeleteThe green really makes the red hearts pop. :-)
DeleteThank you very much for showing how you did this - I have always wondered how joining the pieces worked! They are beautiful.
ReplyDeleteI am glad you like it and find it helpful. It's really easy.
Deleteso pretty!! i love it!
ReplyDeleteThanks! :-)
DeleteWhat a lovely way to use up scraps - and so easy!
ReplyDeleteI keep all my scraps now and always look for new ways to use them.
Delete