
Welcome back to the final week of the Spring Mystery Sew Along with Irina @nordiccrafter and I (Larisa @stitchingnotes)! We are delighted to see so many of you working on your pouches and adding the final finishing touches. We absolutely love seeing your creativity blossoming and your desire to challenge yourselves with new skills.
Today we are going to attach zippers to our pouches. We are going to do it by hand, so all you need for tonight’s task is your project, a 10" (25cm) zipper, needle, thread and heat/water removable pen. A thimble would be a good idea to have too to protect your finger.

We know that many of you are terrified by zippers, especially the ones that are attached on a curve. Please let us reassure you that with all the photos, videos and tips from Irina and I you would be able to tackle this task with ease. Believe us, you are going to surprise yourselves!
Irina and I have prepared helpful videos for you as well. Please make sure to check them out on our Instagram accounts.
If you have noticed from our previous sew along, Irina and I do some of the things slightly differently which is absolutely natural for all of us. We decided to keep it this way as it might be helpful for you to see two different approaches when working on the same task. Please make sure to visit Irina's blog and Instagram account to see her way of completing this step.
Let's start!
1. Fold the closed zipper in half lengthwise and mark the half points on the right side of the zipper tape with a heat or water removable pen.

Note: The next step is very important. Please pay attention to the placement of the zipper! Irina and I do this step differently (Irina likes to pin the zipper to the pouch from the wrong side of the pouch, and I like to do it from the right side using clips. I find that this way I can see the position of the zipper teeth better and keep them all on the same level.) Please check out both methods and see what works better for you as we are all different.
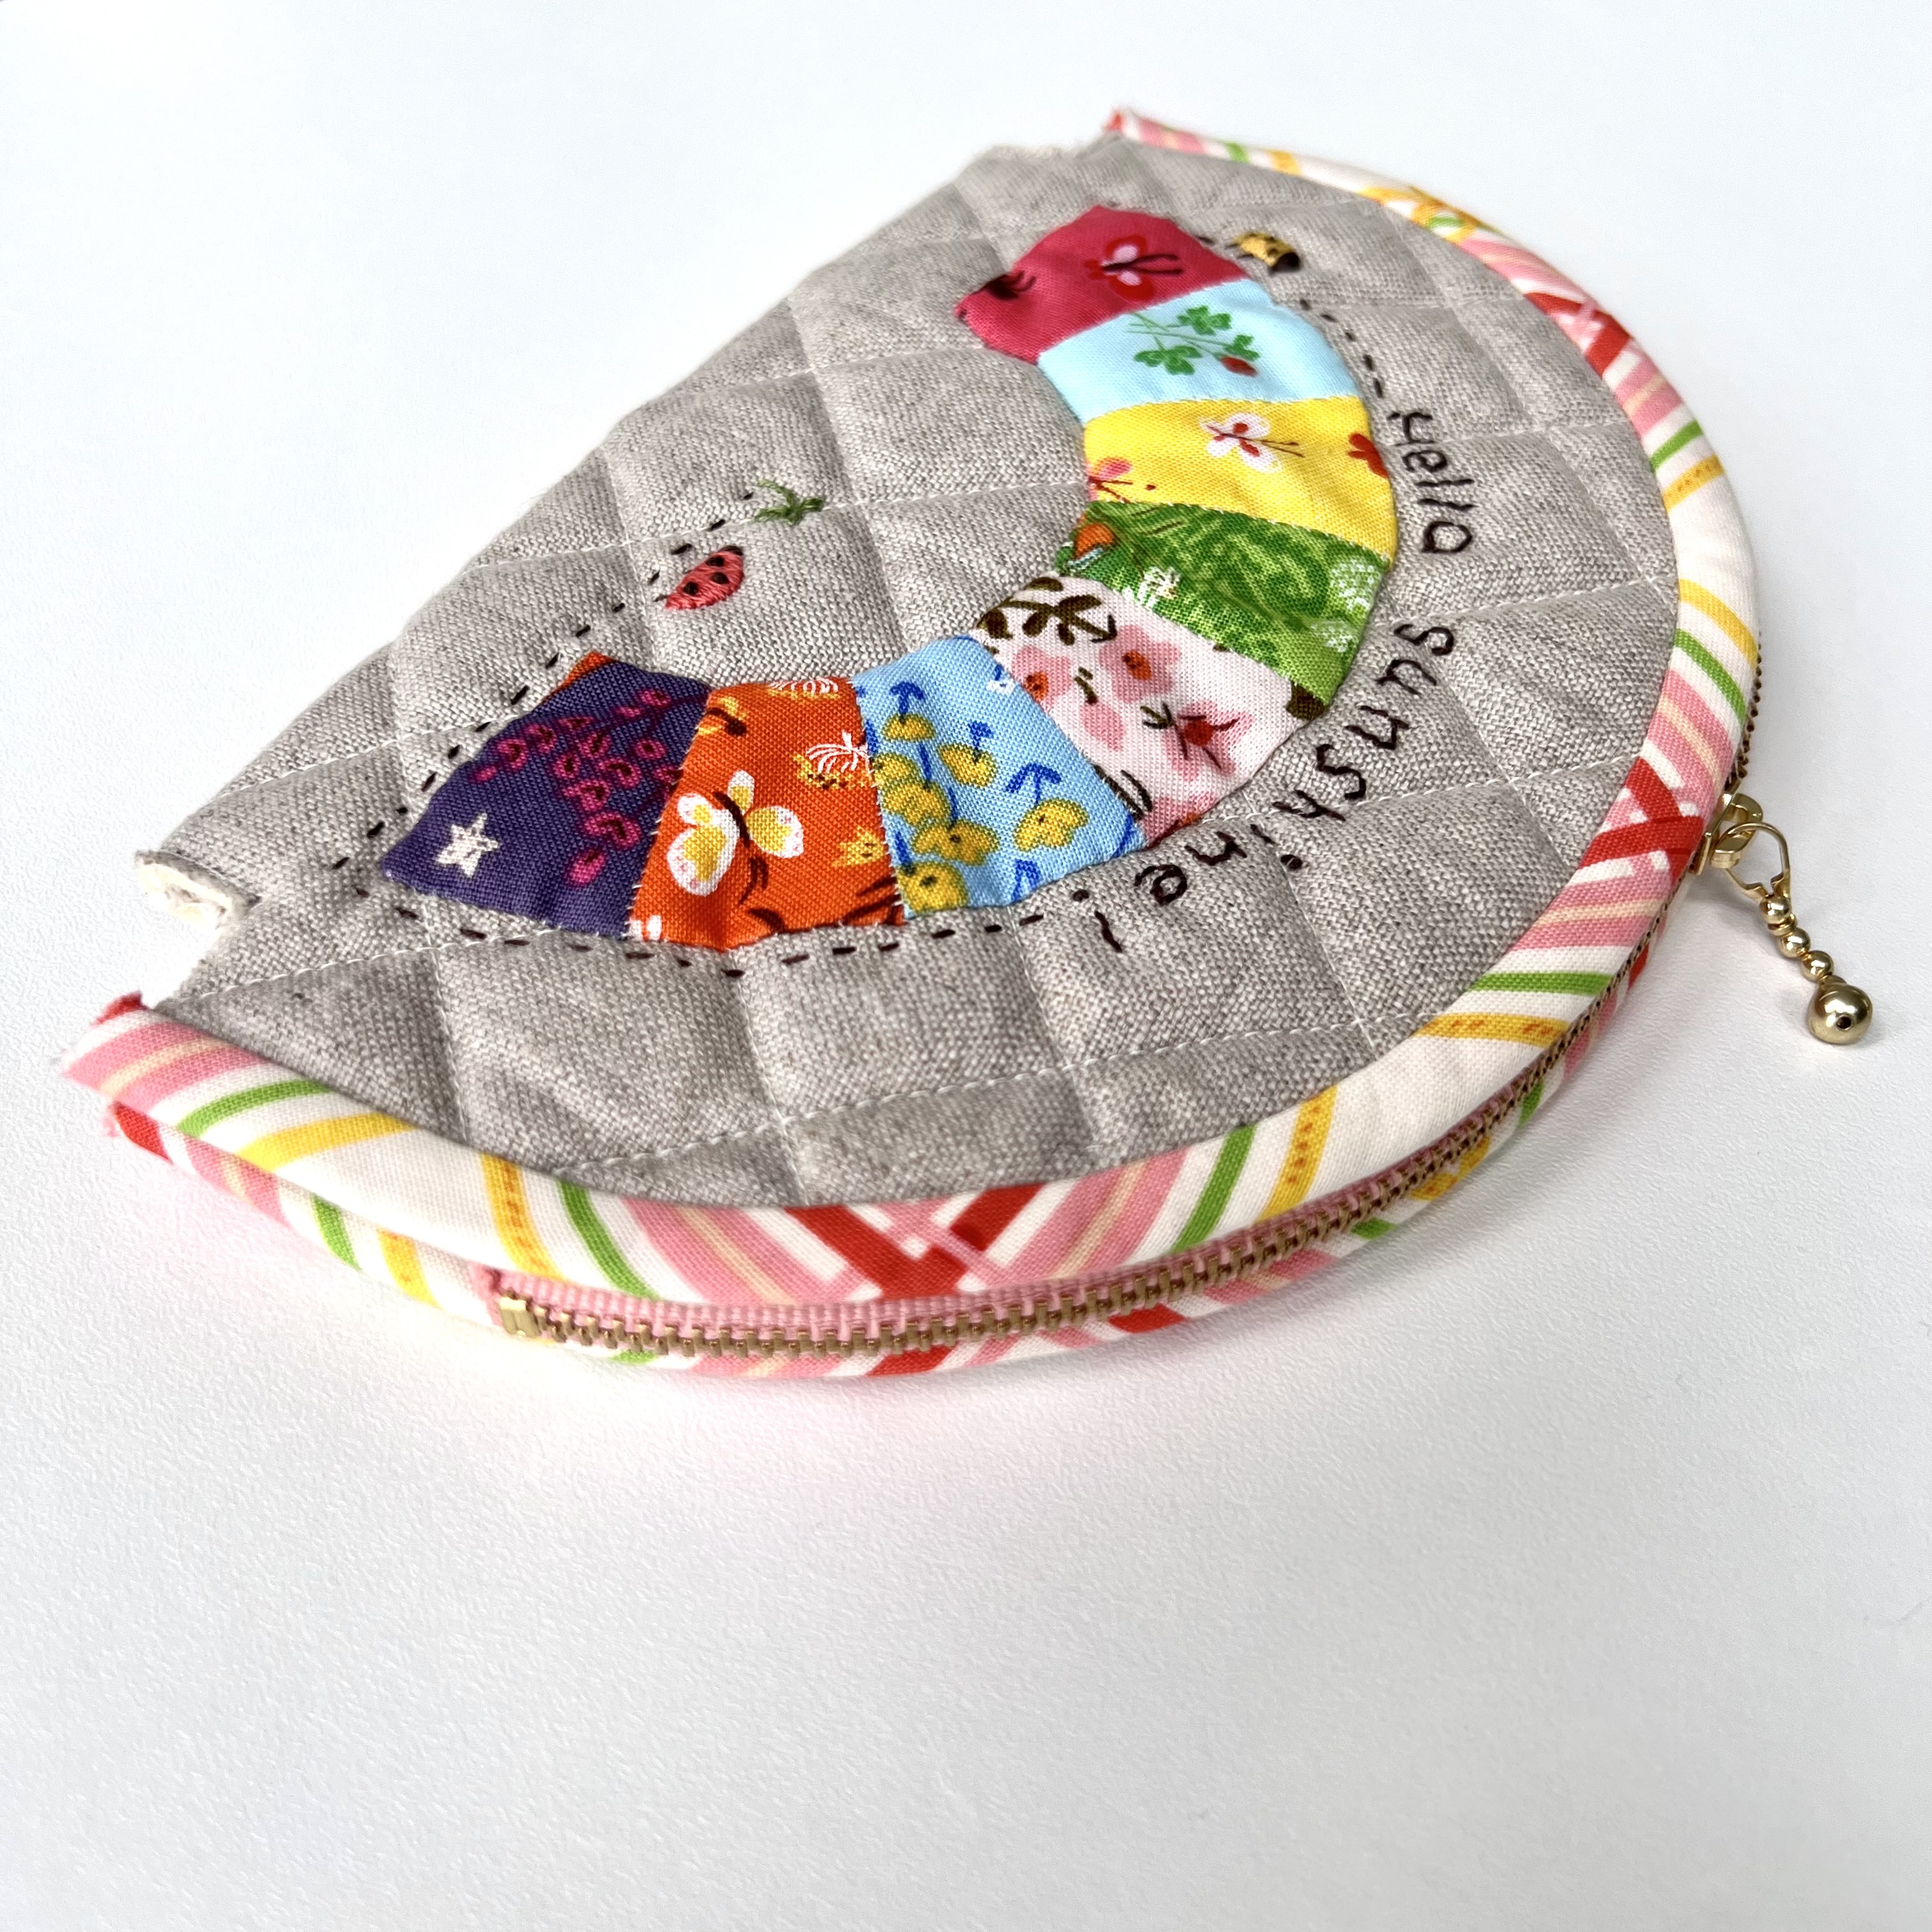
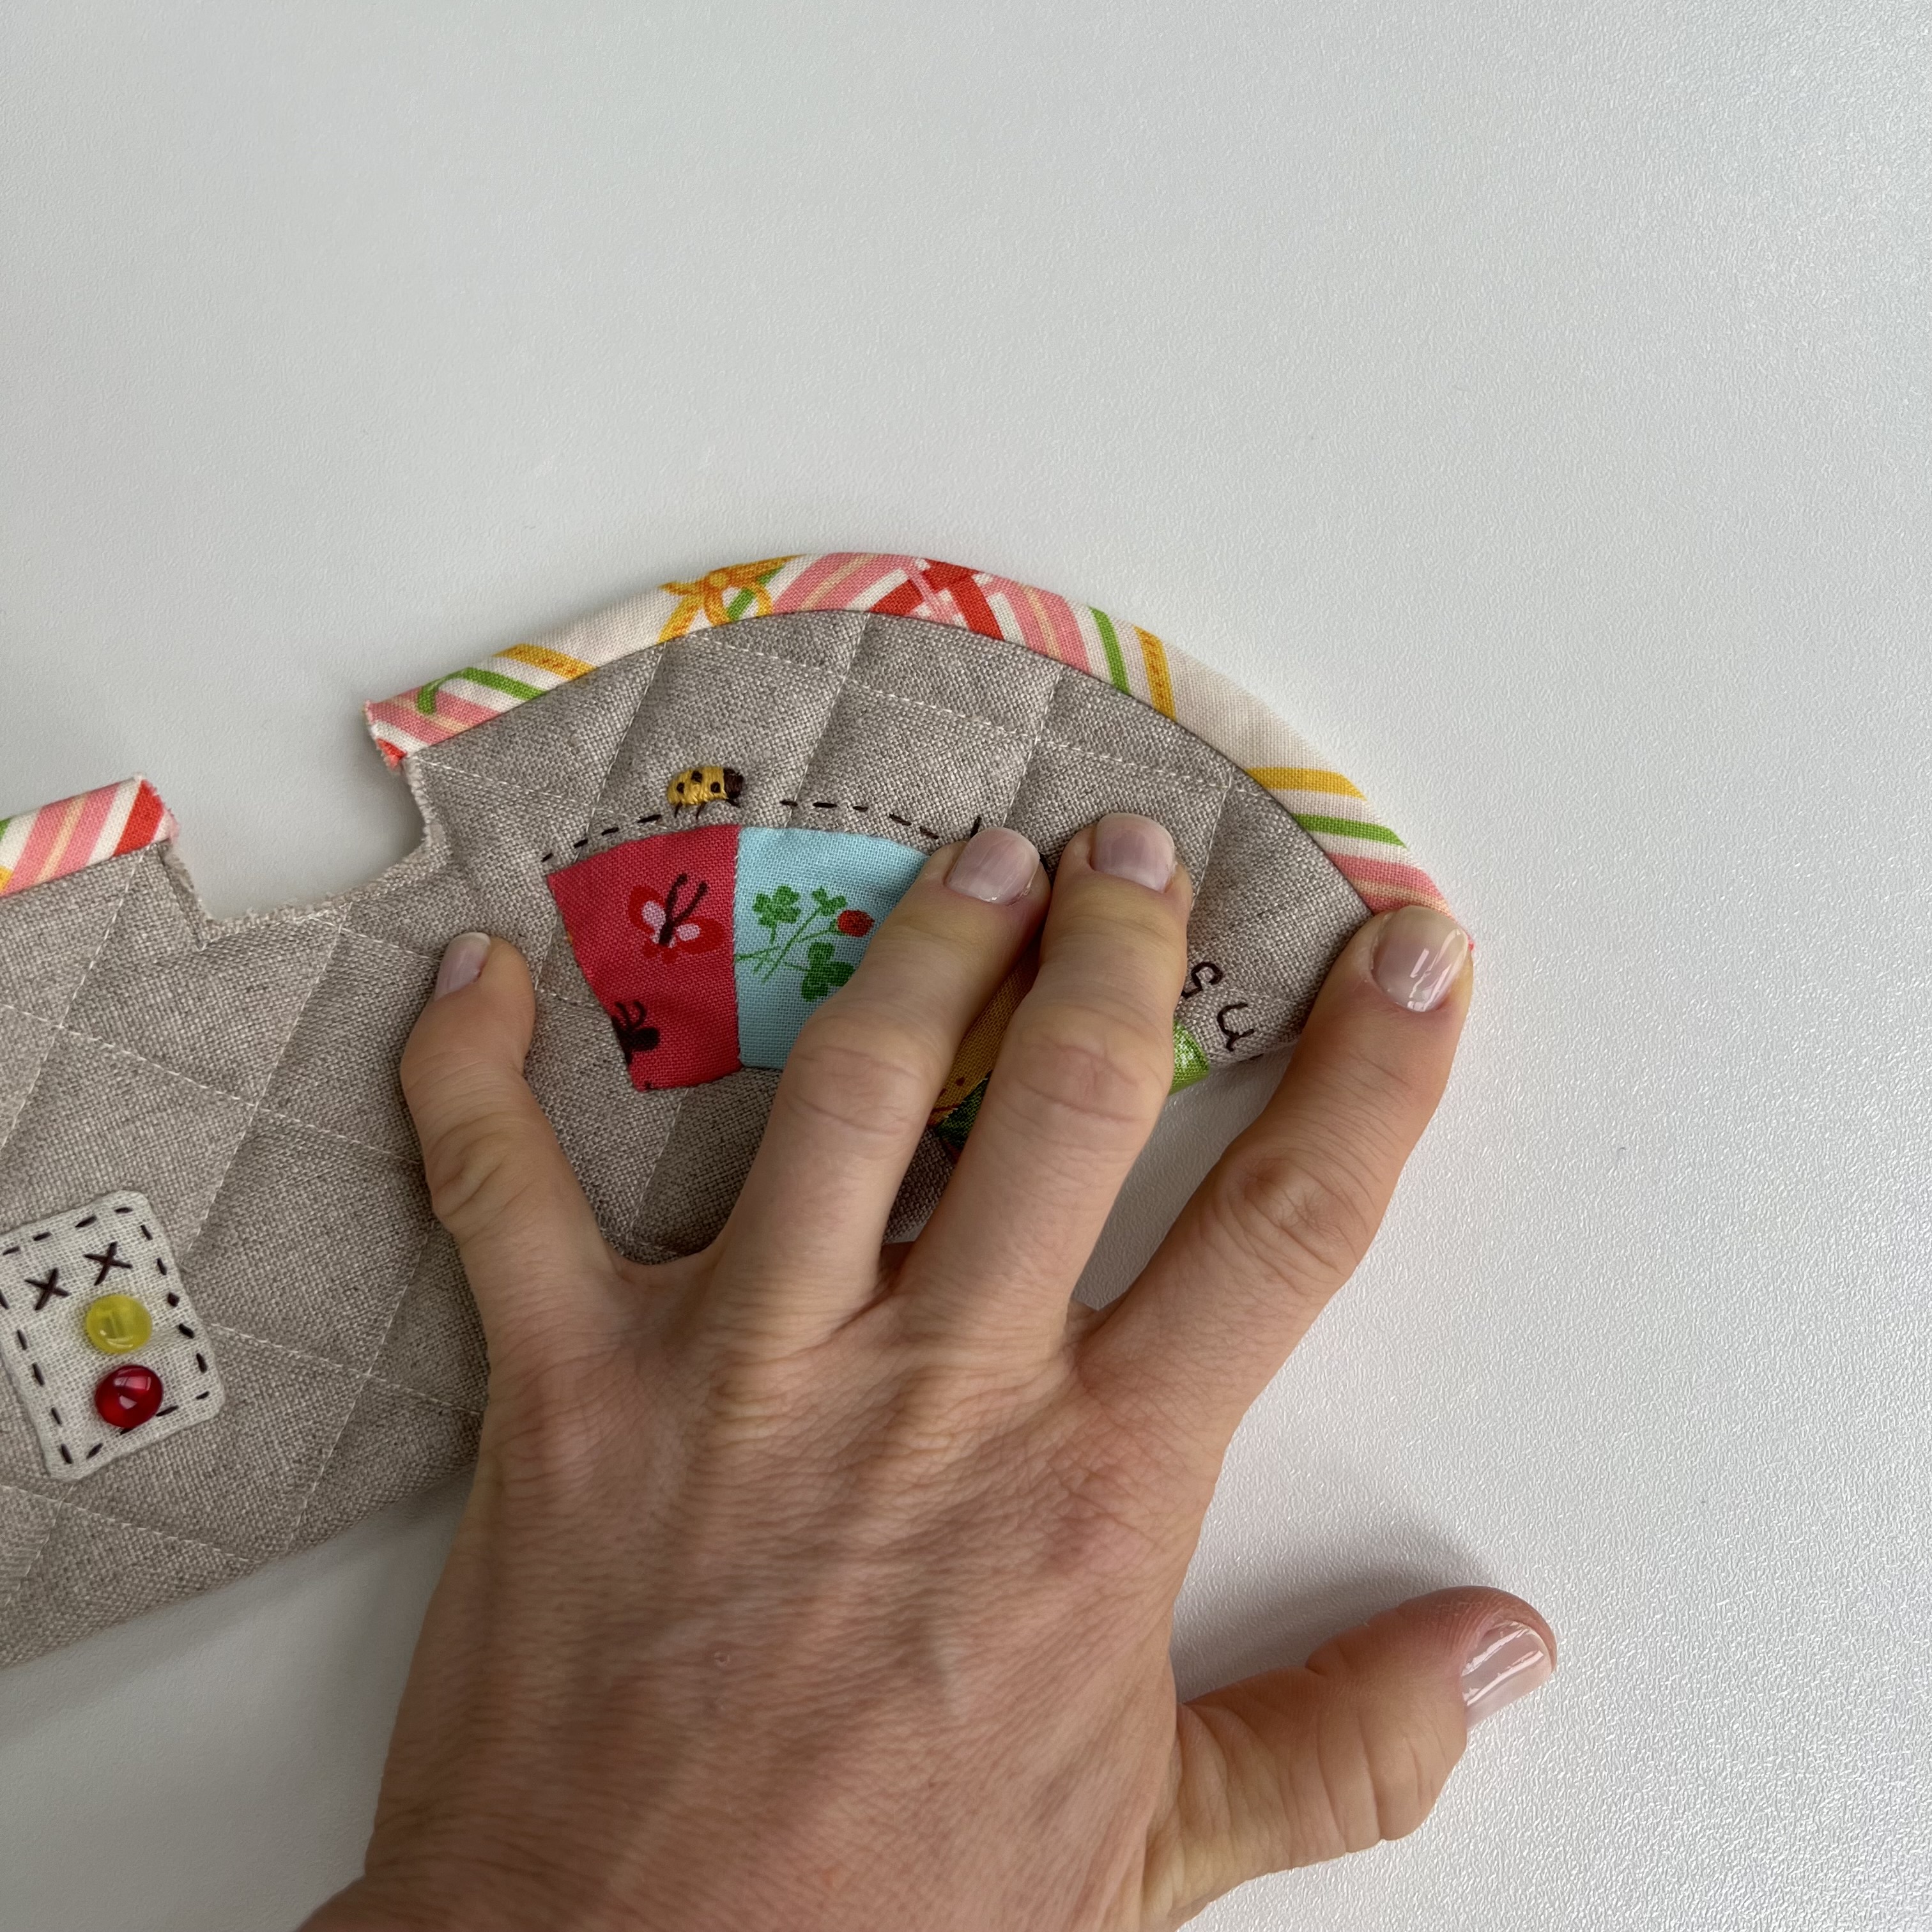
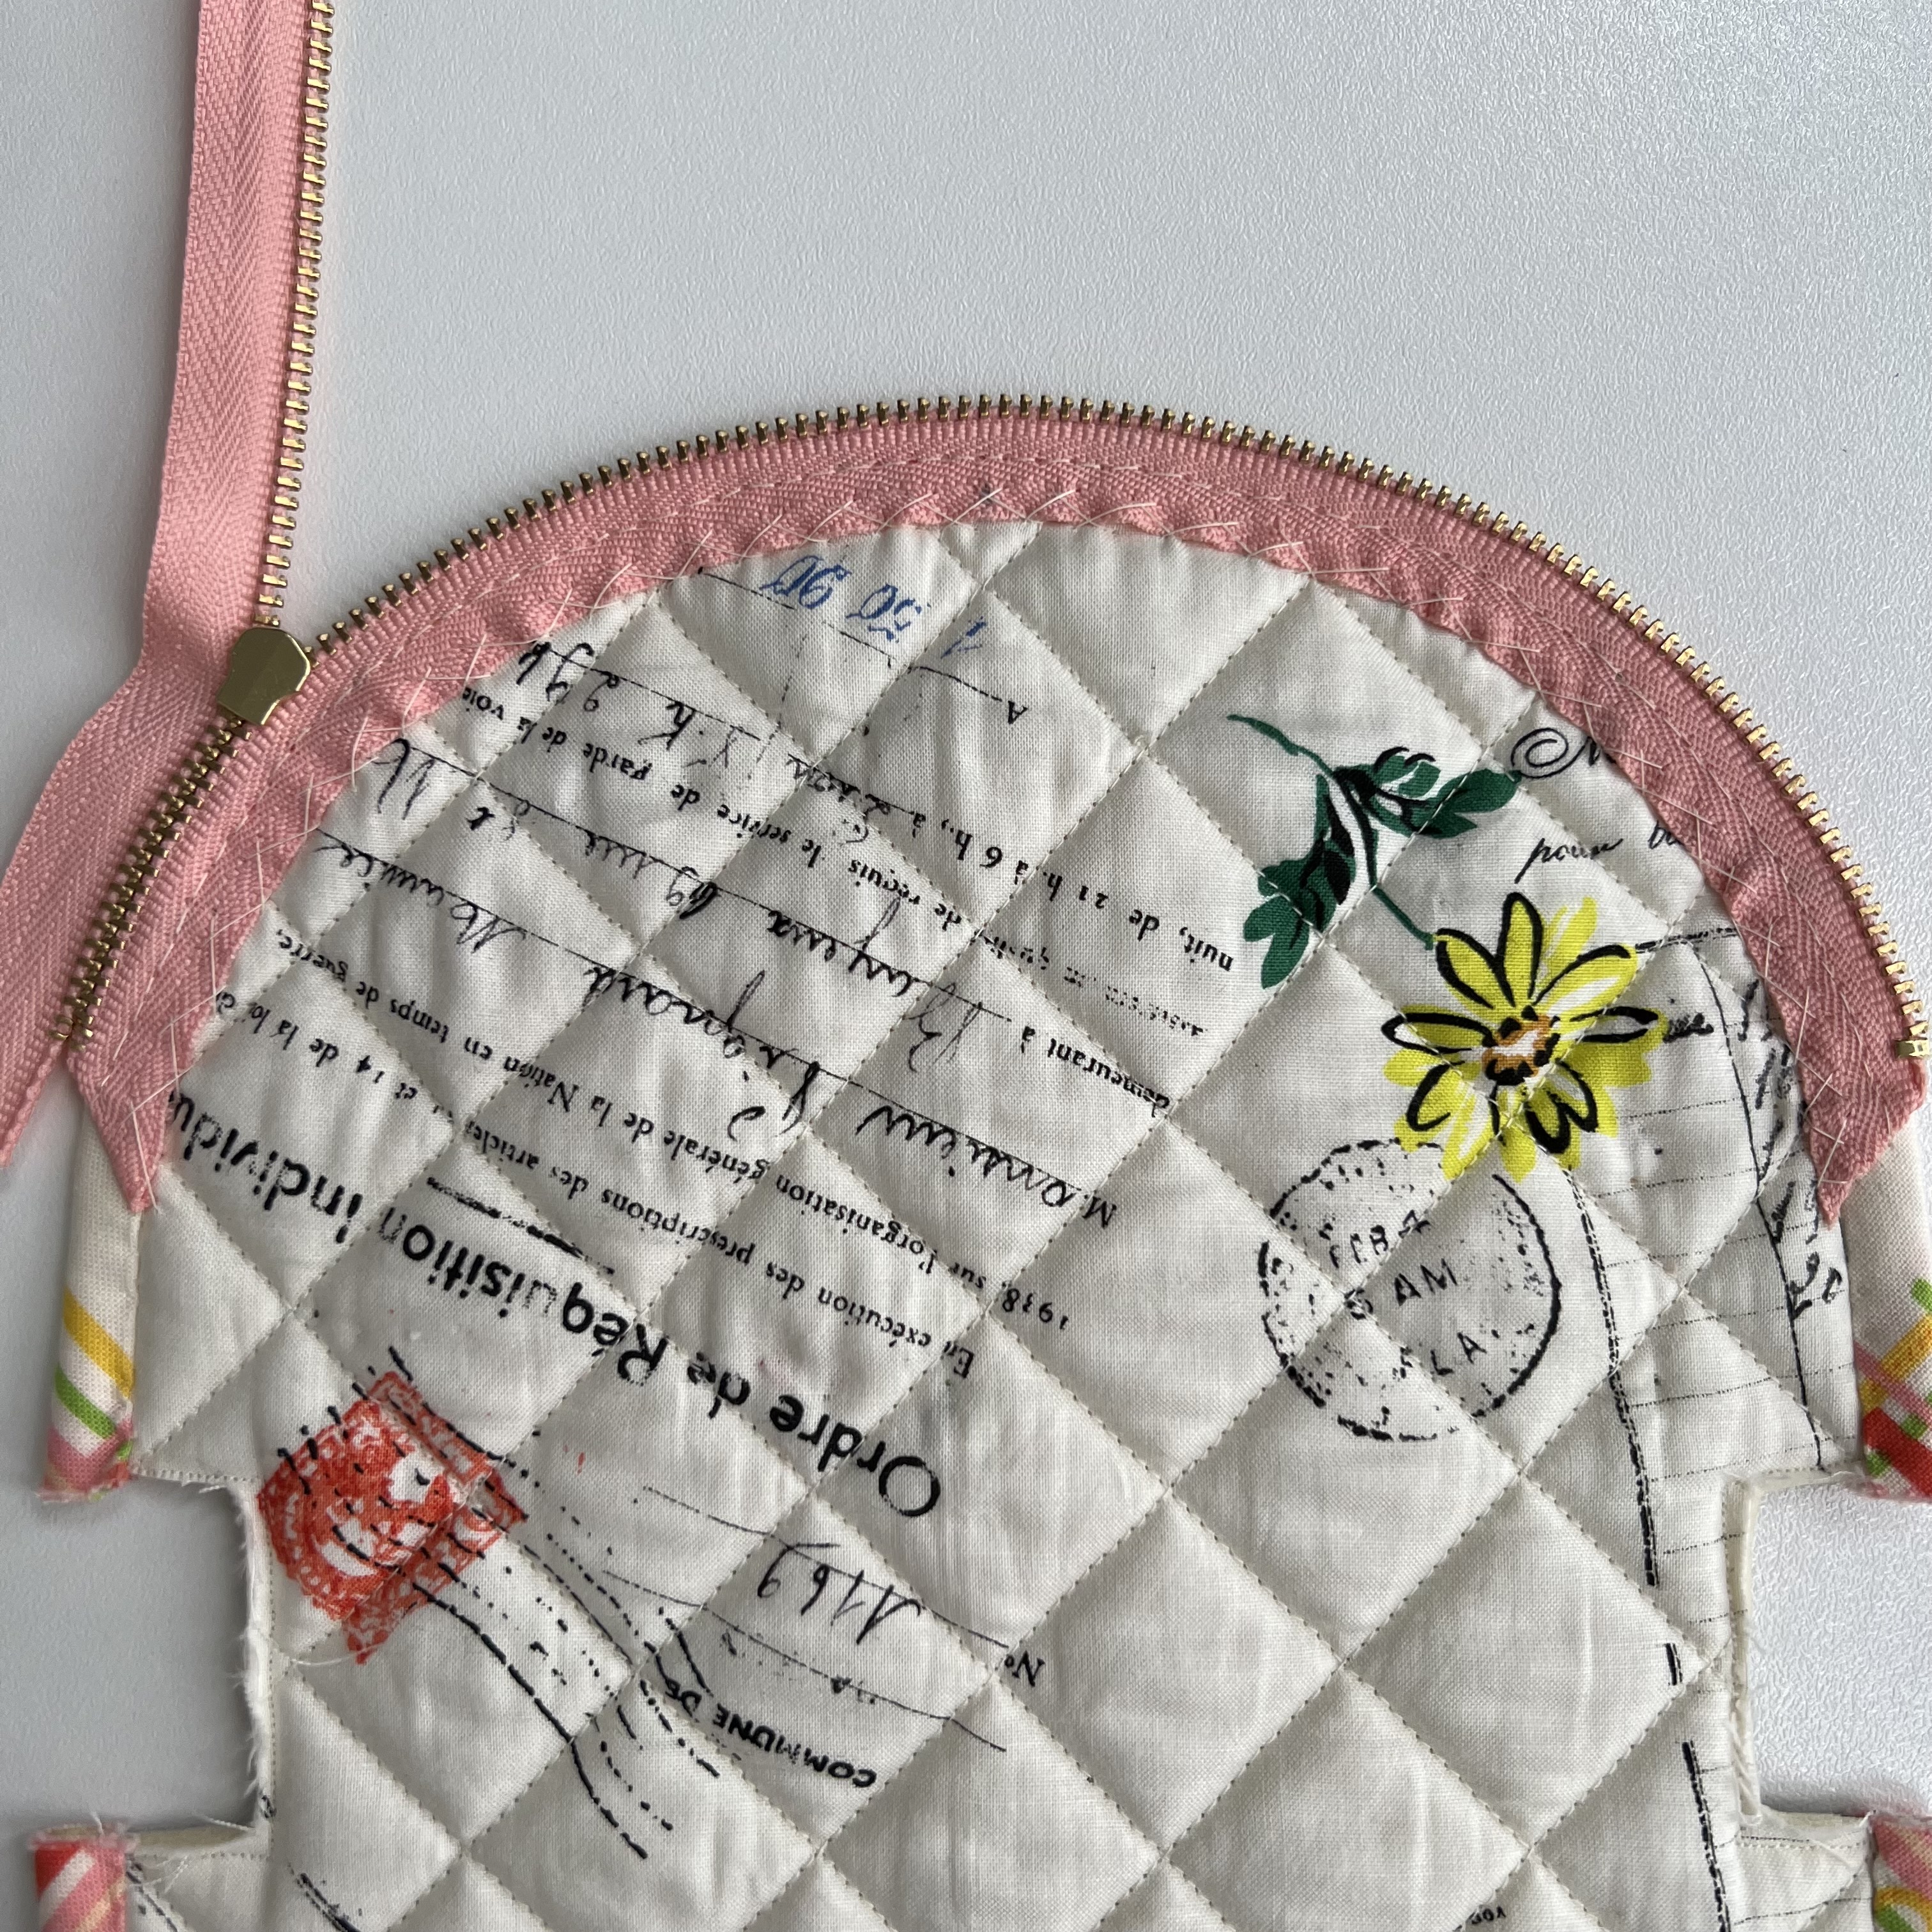
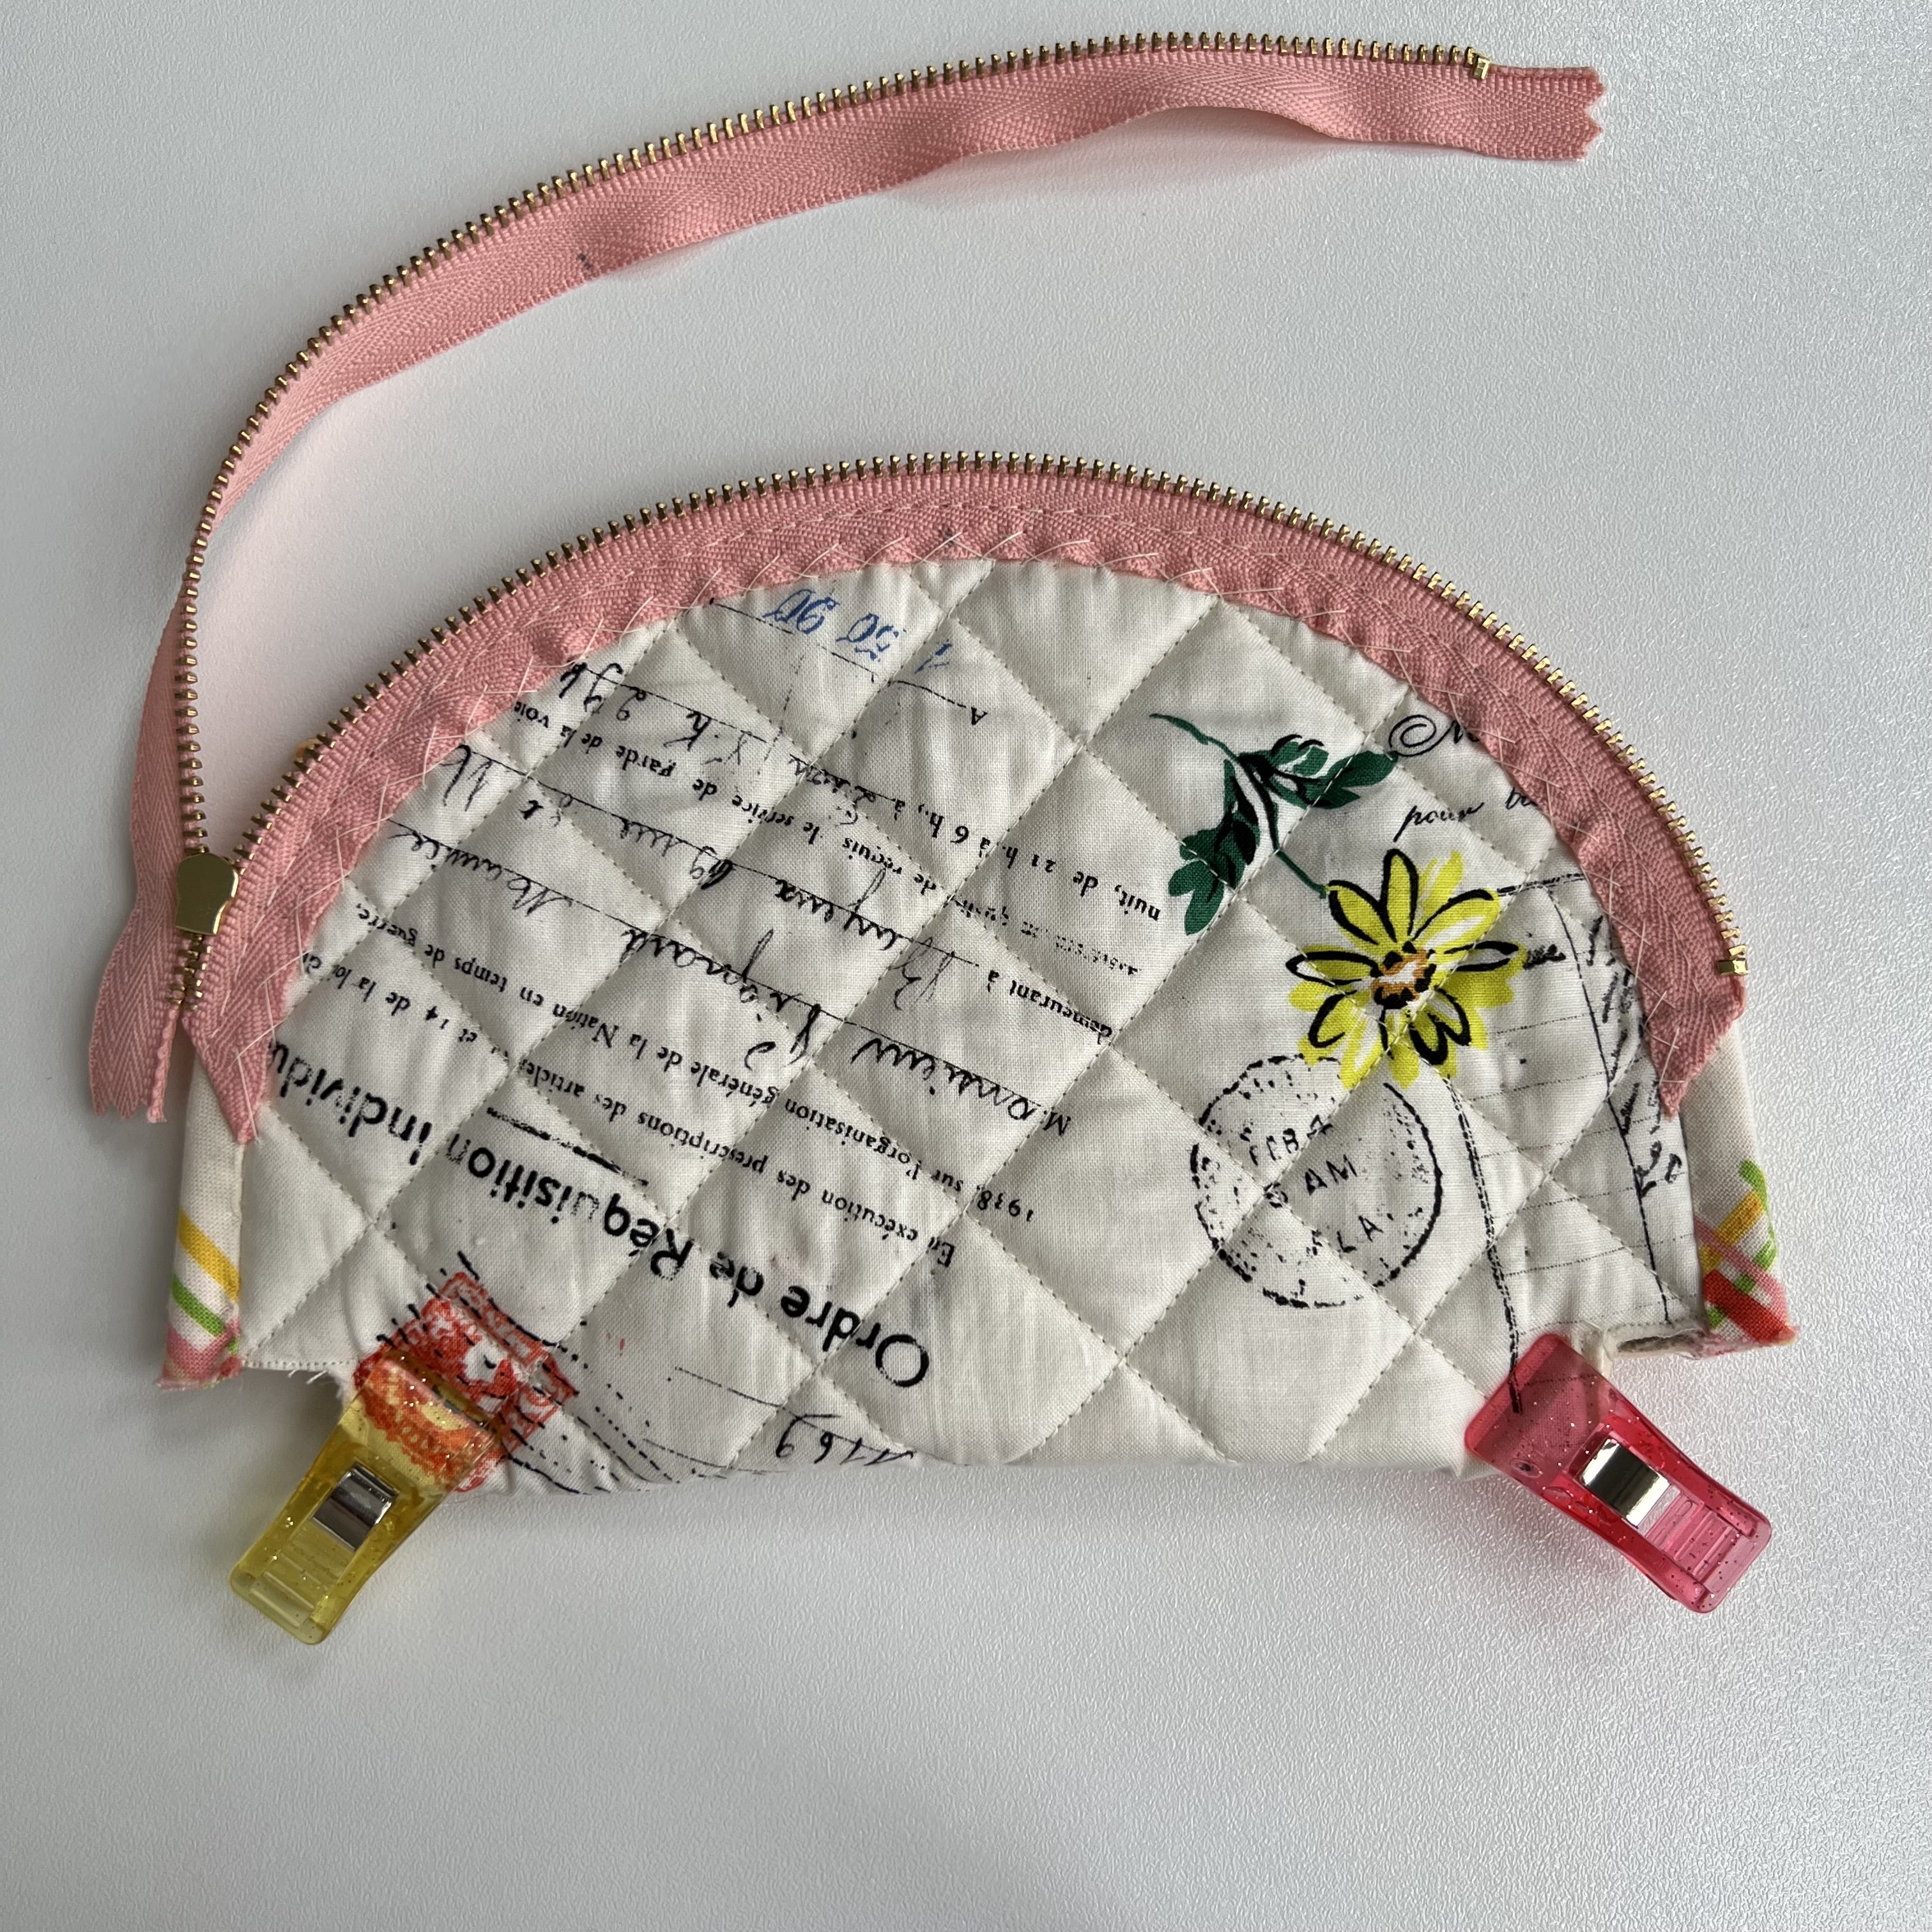
2. Place the pouch the right side up, the rainbow at the top. Open the zipper. The zipper end is on the right. Align the marked half point of the zipper with the vertical centreline mark of the pouch. Use a pin or clip to secure this point first.

Then use more pins or clips to secure the rest of the zipper moving towards the ends of the zipper. Do not stretch the zipper, but rather bring the zipper tape and binding (the edge of the pouch) together. The zipper teeth should be right above the binding. Check that they are all on the same level.

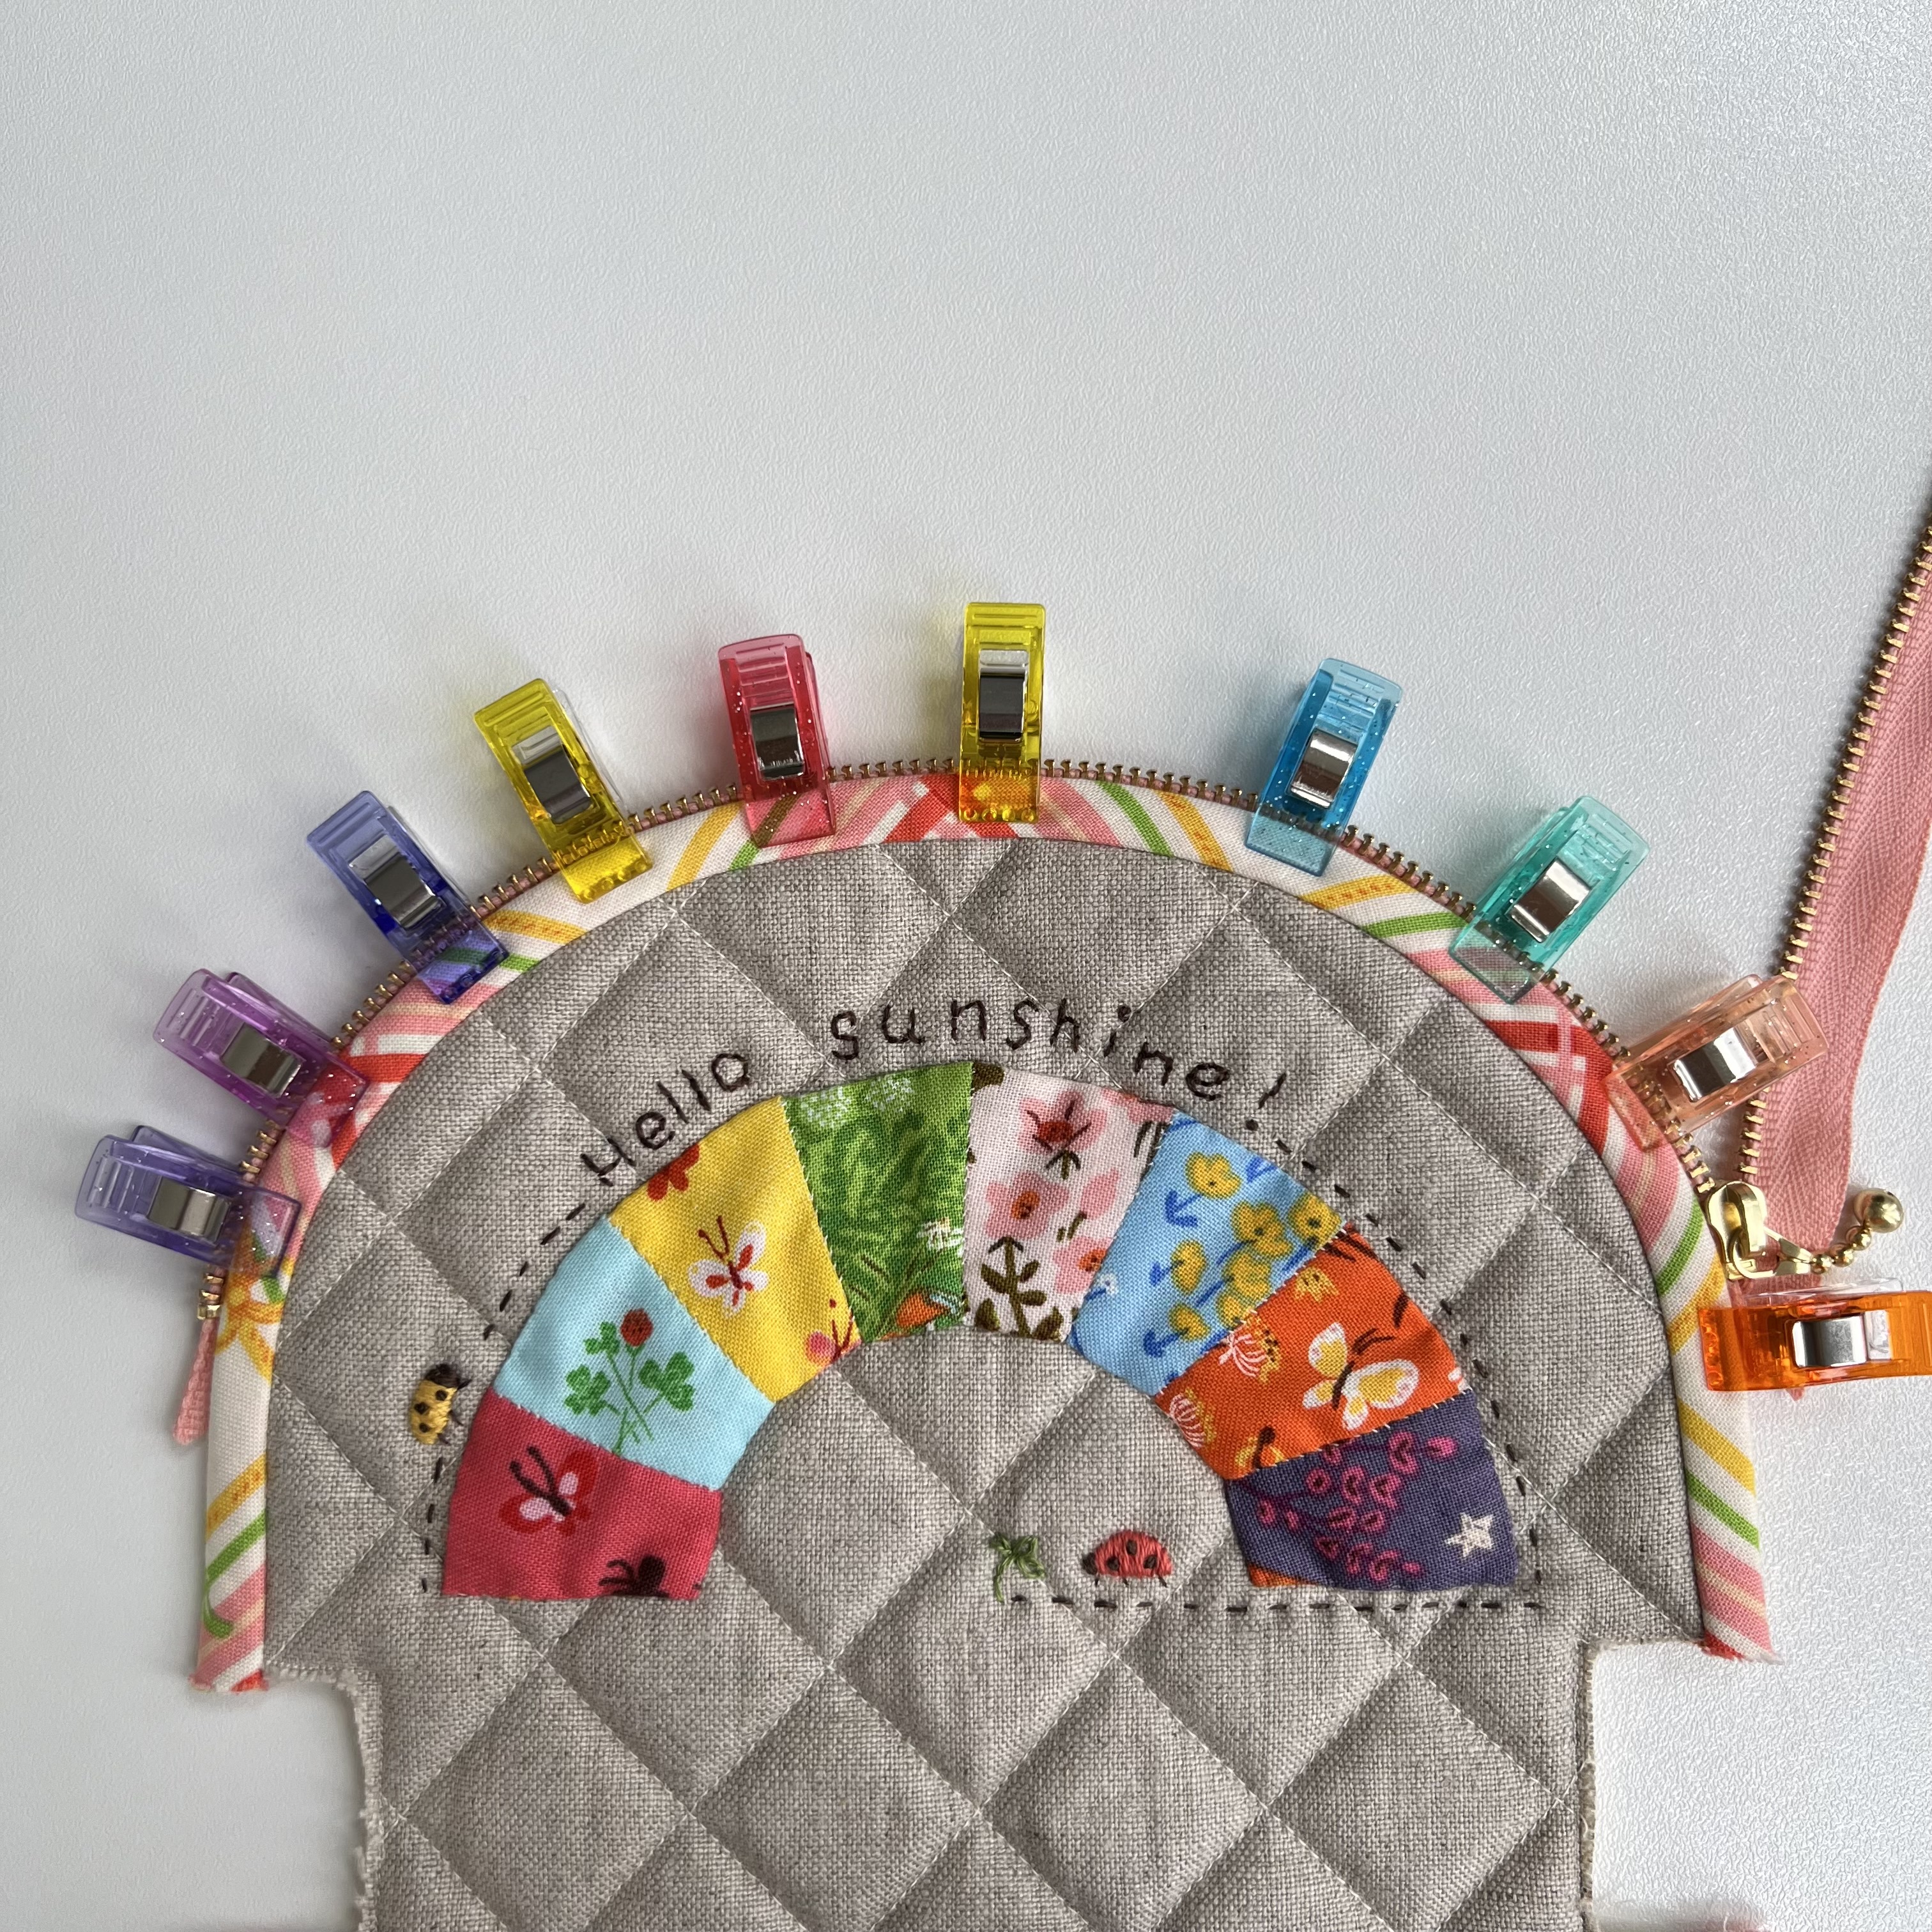
At the end, fold the zipper tape under itself at 45 degrees, pin to secure.

Note: If you have beeswax, run your thread through it a couple of time, then run the thread between your fingers to remove excess beeswax. This is a trick I learnt from my grandpa years and years ago.The beeswax makes your thread stronger and tangle free. I always use this trick when attaching buttons on coats and zippers by hand.
3. Using a single thread and a sharp needle, stitch the zipper in place with a backstitch to the binding starting from the end of the zipper. Stitch only through the binding approximately at 1/4” (0.6cm) from the top of the zipper teeth. Your stitching should not be visible from the front. Keep your stitches short and even, and keep them the same distance from the zipper teeth in a nice line.
I like to secure the folded zipper tape ends and attach the zipper in one go. Push the needle under the fold of the zipper tape, bring it out on top of the fold and attach it to the binding with a ladder stitch. Stop about 1/4" (6mm) before the zipper teeth and make a knot, but do not cut the thread. Start attaching the zipper to the binding making a couple of securing stitches at the very start.
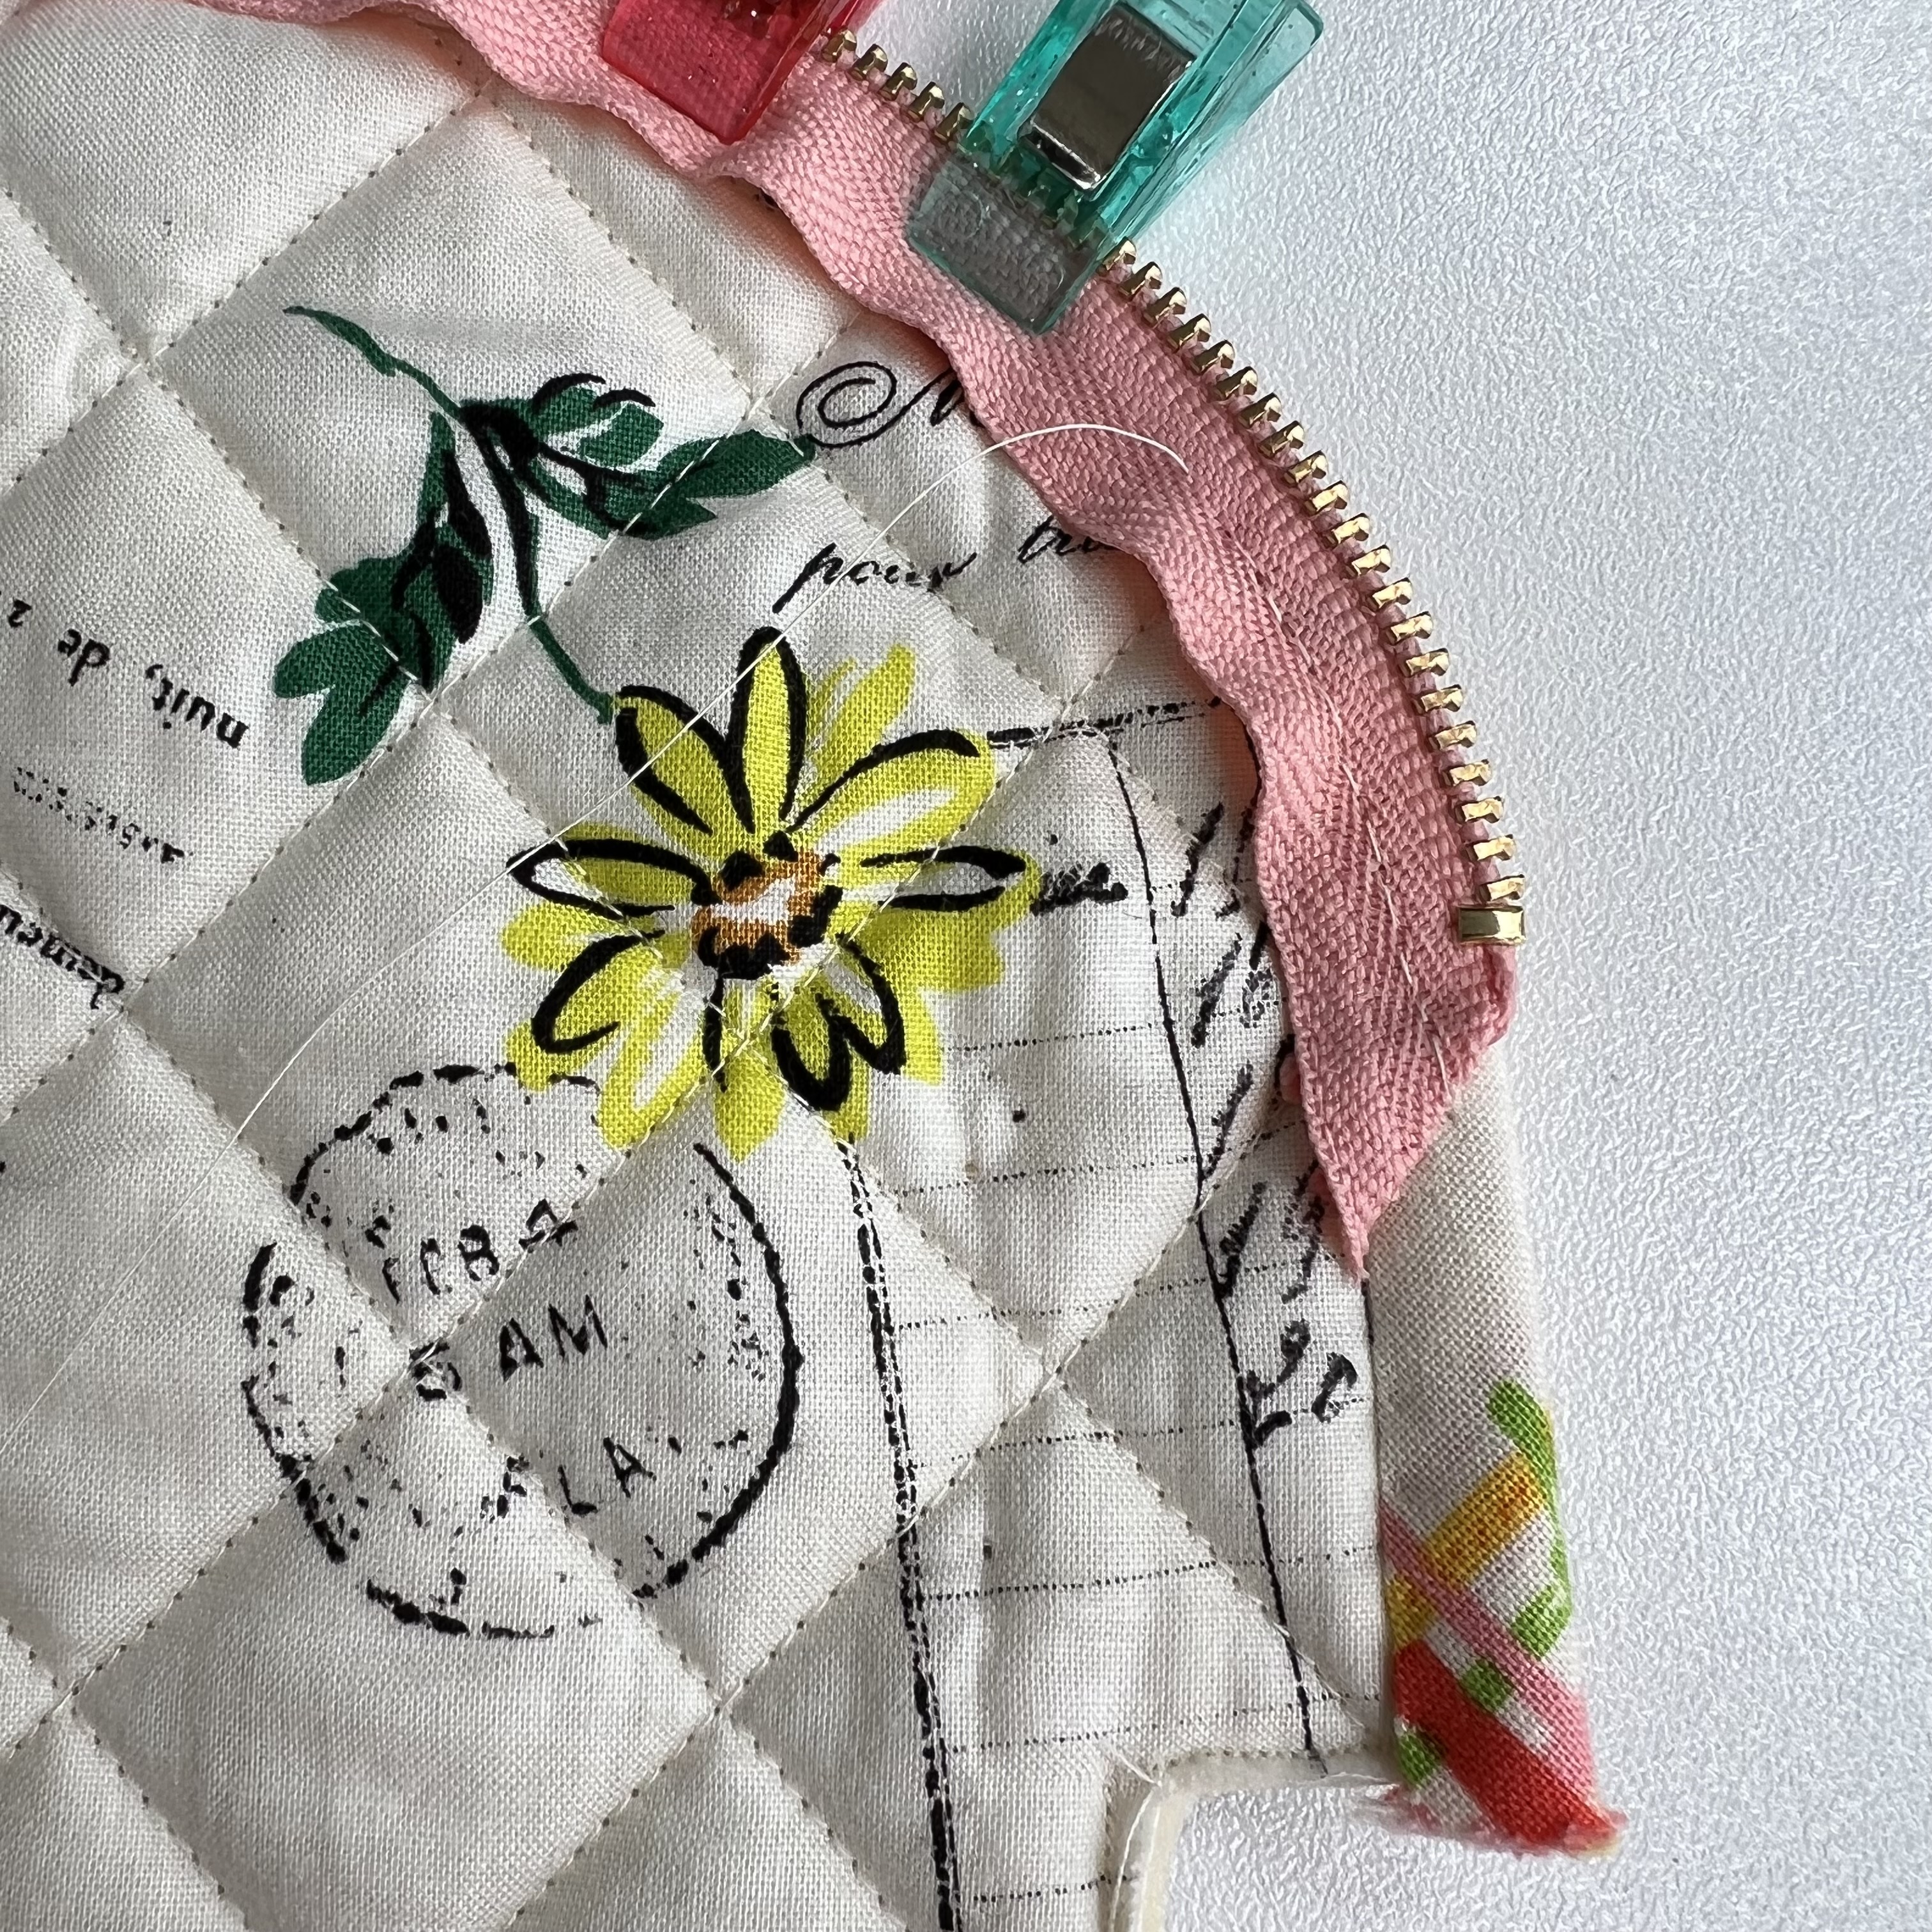
4. Hand stitch the opposite side of the zipper tape to the lining using Herringbone stitch. If you are not comfortable with the Herringbone stitch, you can use a Whip stitch or even a Running stitch very close to the edge. I learnt the Herringbone stitch from my grandma, this stitch gives enough security and flexibility to the zipper.


5. For the other side I like to fold the pouch in half with the right sides together and use large clips (or pegs) to hold it together.
6. Repeat step 2.

To help you with pinning or clipping the end of the zipper, bring the binding sides together and clip them, then clip the end of the zipper and fold the tape under at 45 degrees, and pin.


7. Repeat step 3.

8. Repeat step 4 and you are done for tonight,


We are looking forward to seeing your progress. Be to sure post your photos under the #springmysteryproject hashtag on Instagram and check out the posts of others. There is so much inspiration and creativity there!
Another friendly reminder - please tag Irina @nordiccrafter and Larisa @stitchingnotes in your posts so we can easily see your photos and leave comments.
Happy sewing! Larisa xo
No comments:
Post a Comment