
If you have been following me for a while, you might know that I love simple makes. Makes that take little time to finish, makes that can be used and makes that can be beautify with cute details. I have been working with denim this week as a part of Sew Easy Summer Sew Along for Sip Tea and EPP and it's been fun. I was pleasantly surprised how easy it is to sew with denim.

I used a pair of my old jeans that could not be saved for this project. You can read more about that on my Instagram here.
Finished size: approximately 51/4” x 71/2” (13.4 x 19cm)
Things you need:
- Denim 141/2” x 6” (36.2 x 15.3cm)
- Cotton for lining 141/2” x 6” (36.2 x 15.3cm)
- Batting 141/2” x 6” (36.2 x 15.3cm) (you can use cotton stitch in batting or iron-on batting)
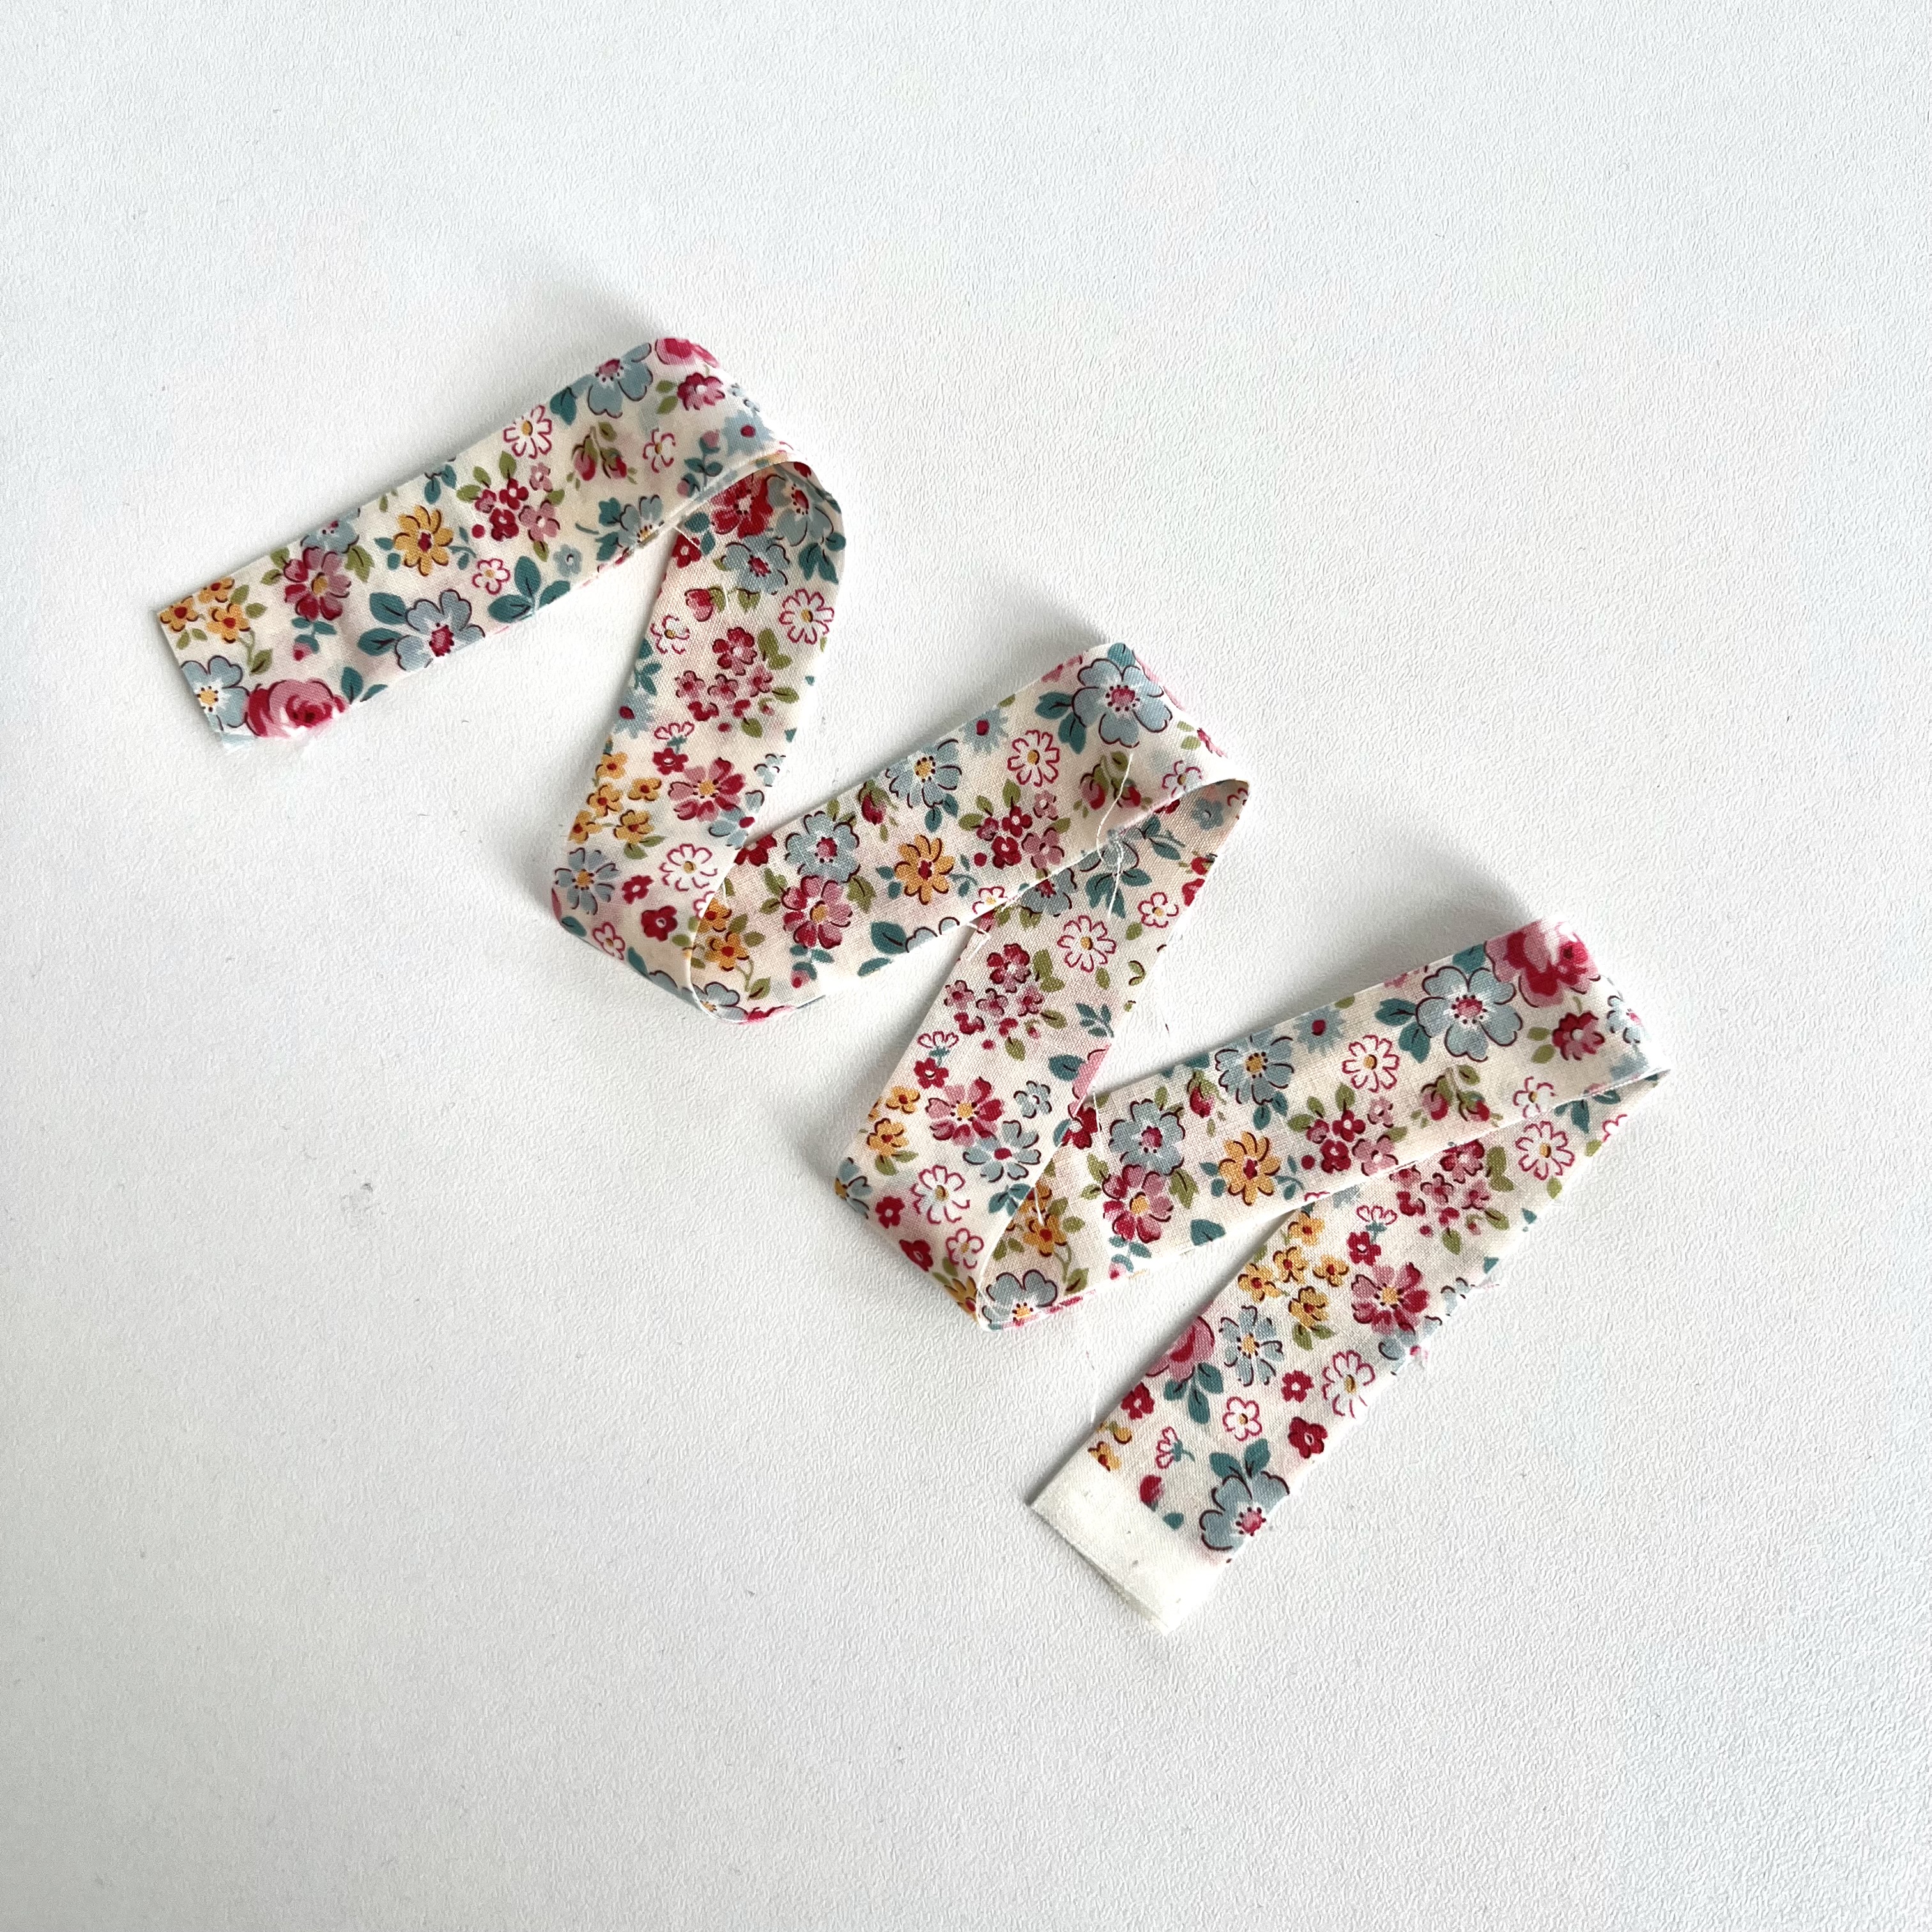
- Straight Binding 2” (5cm) wide and minimum length 111/2” (29.2cm) (you will need 15” (38cm) if using a traditional method of finishing the binding)
- Hanky linen 11/4” x 21/4” (29.2 x 5.7cm) (you can replace this with medium weight linen or solid cotton)
- Embroidery floss (in dark brown)
- General sewing supplies

1. Press all the fabrics so they are wrinkle free.
2. If using iron-on batting, apply it to the back side of the denim piece according to the manufacture’s instruction. If using stitch in batting, simply place it on top of the wrong side of the denim piece.
3. Fold the denim with the batting in half, pin or use clips to hold it together. Sew along the right and left sides with ¼” (0.6cm) seam allowance. Back stitch the start and end of the seams.


4. Turn the right side out, push the corners out. Set aside.
5. Repeat the same with the lining, but do not turn it the right side out.

6. Insert the lining inside the sleeve. Align all the corners, edges and side seams. Use pins to hold all layers together. Set aside.

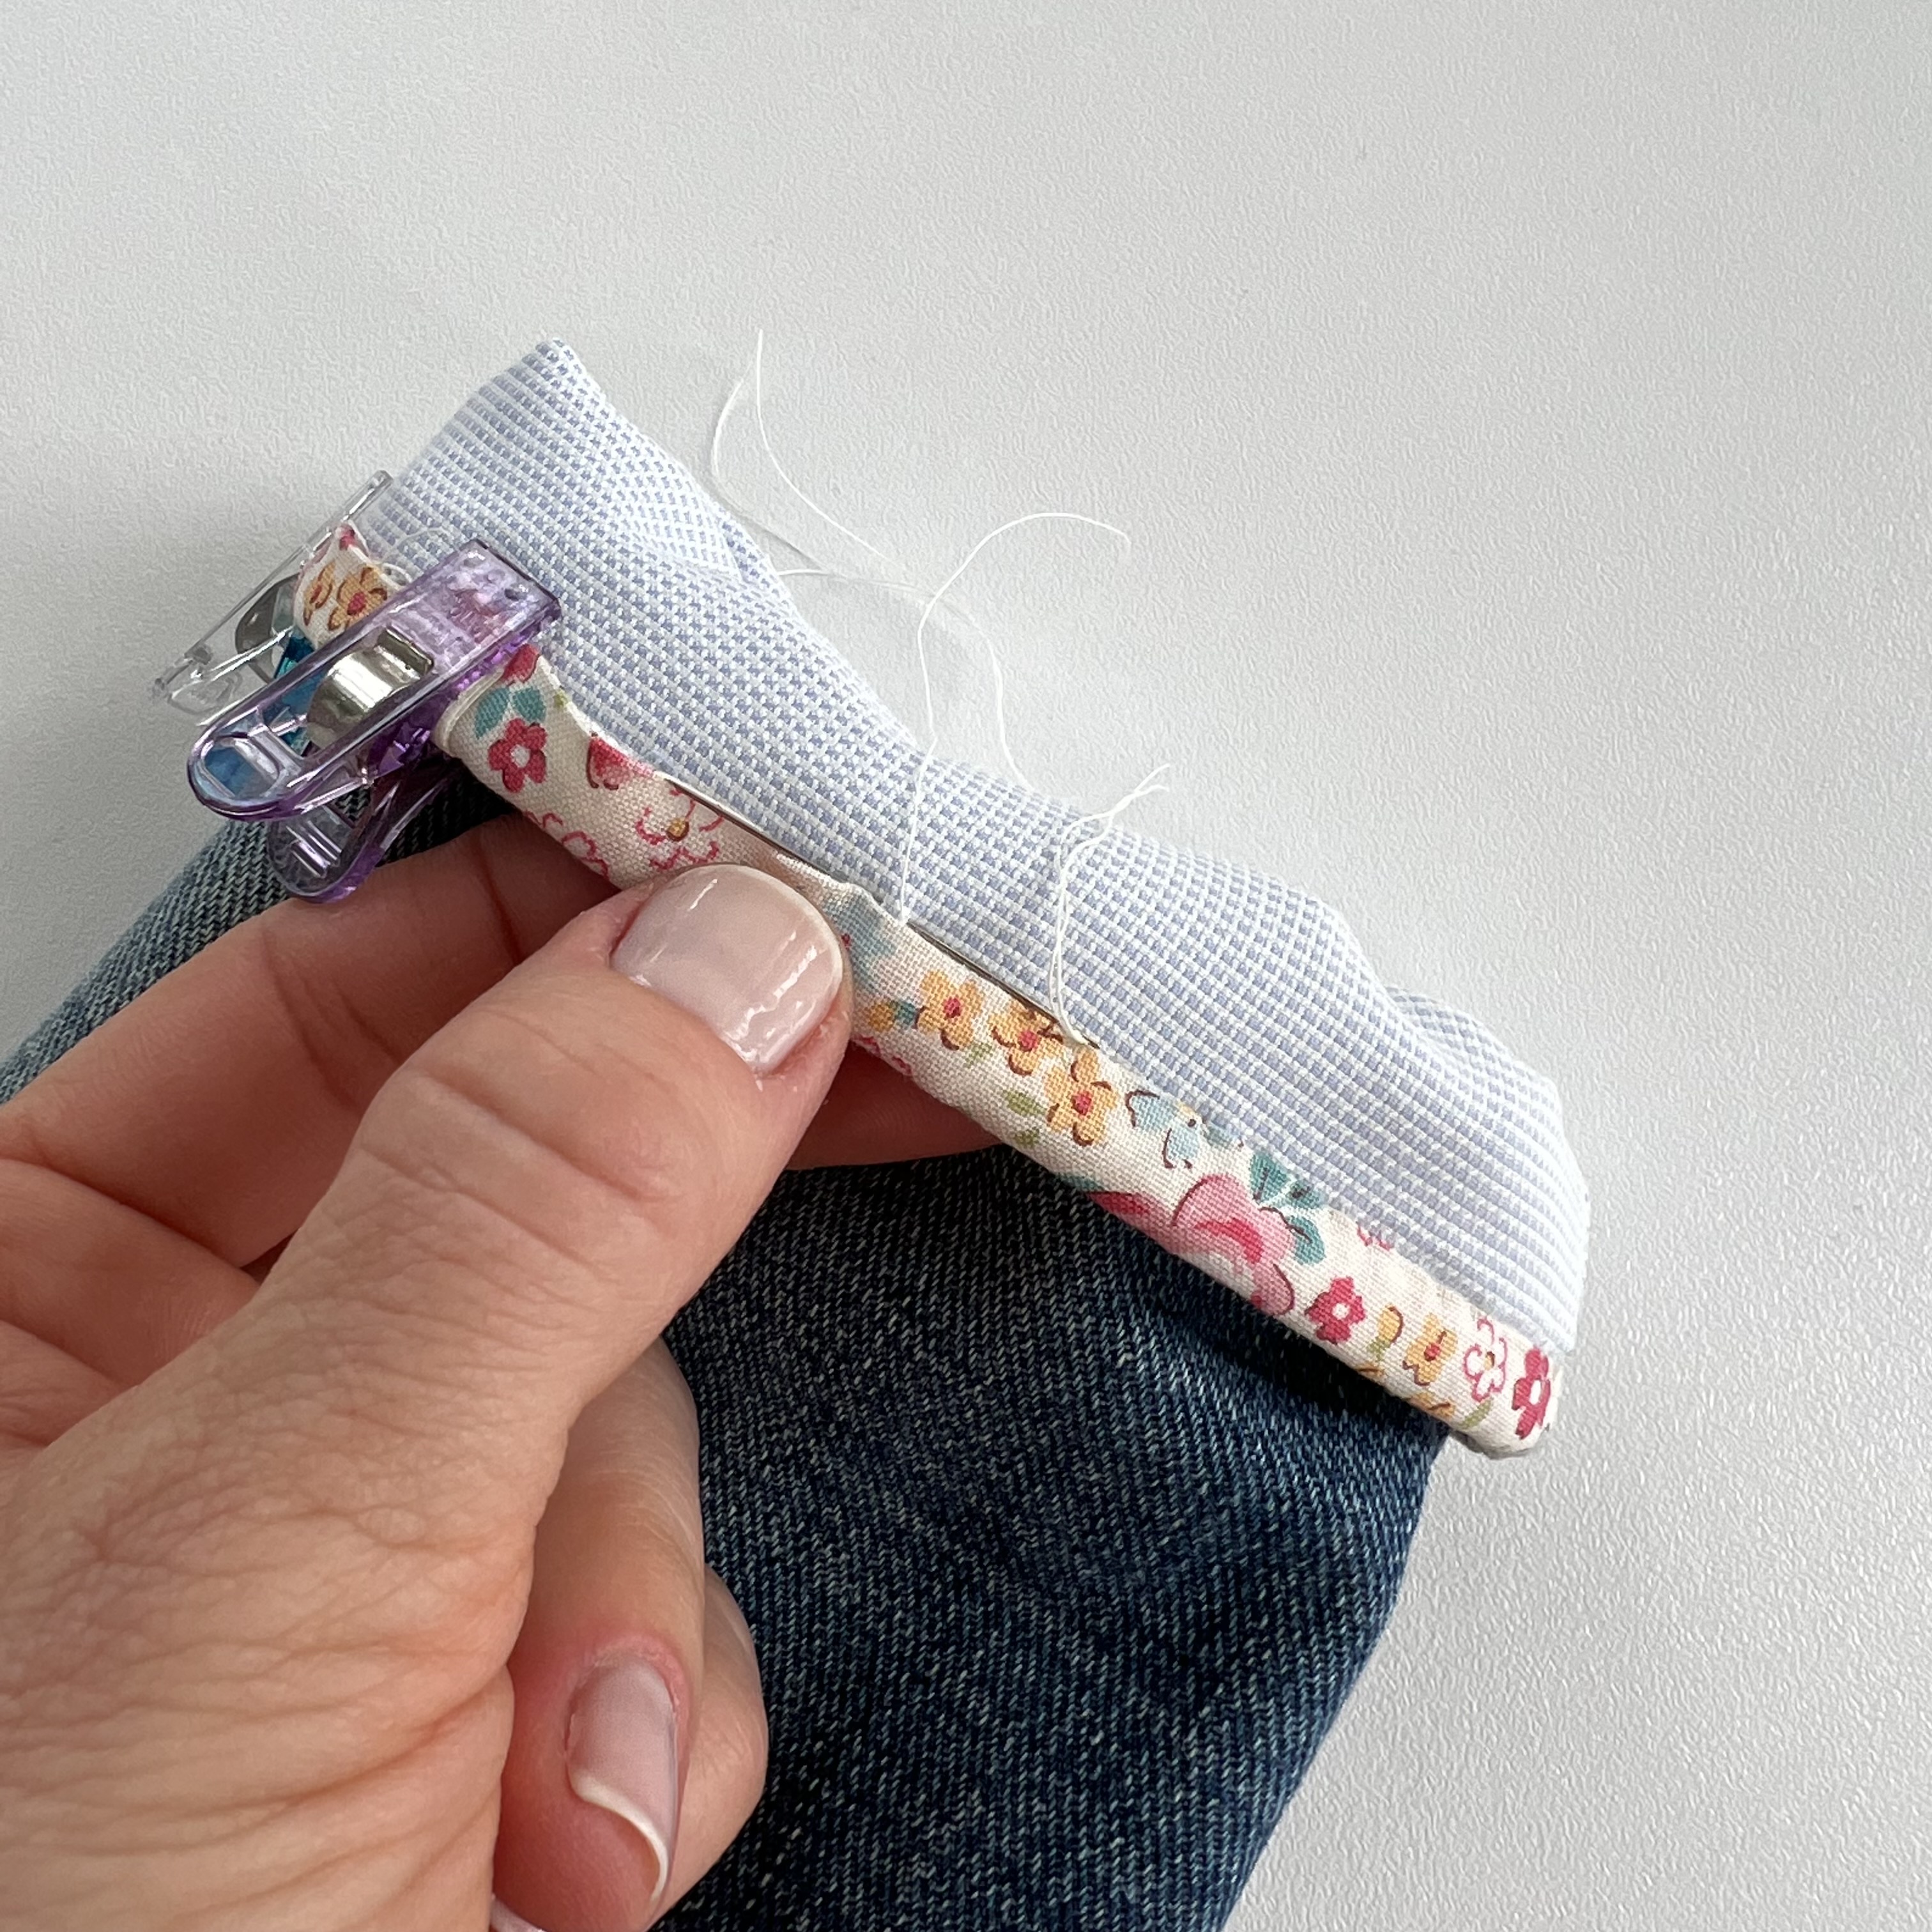
7. Fold the piece of fabric for the binding in half length-wise and press well with a warm iron.
Usually you want to place the start/end of the binding on the back side of your make, but this time we are going to place it deliberately on the front.
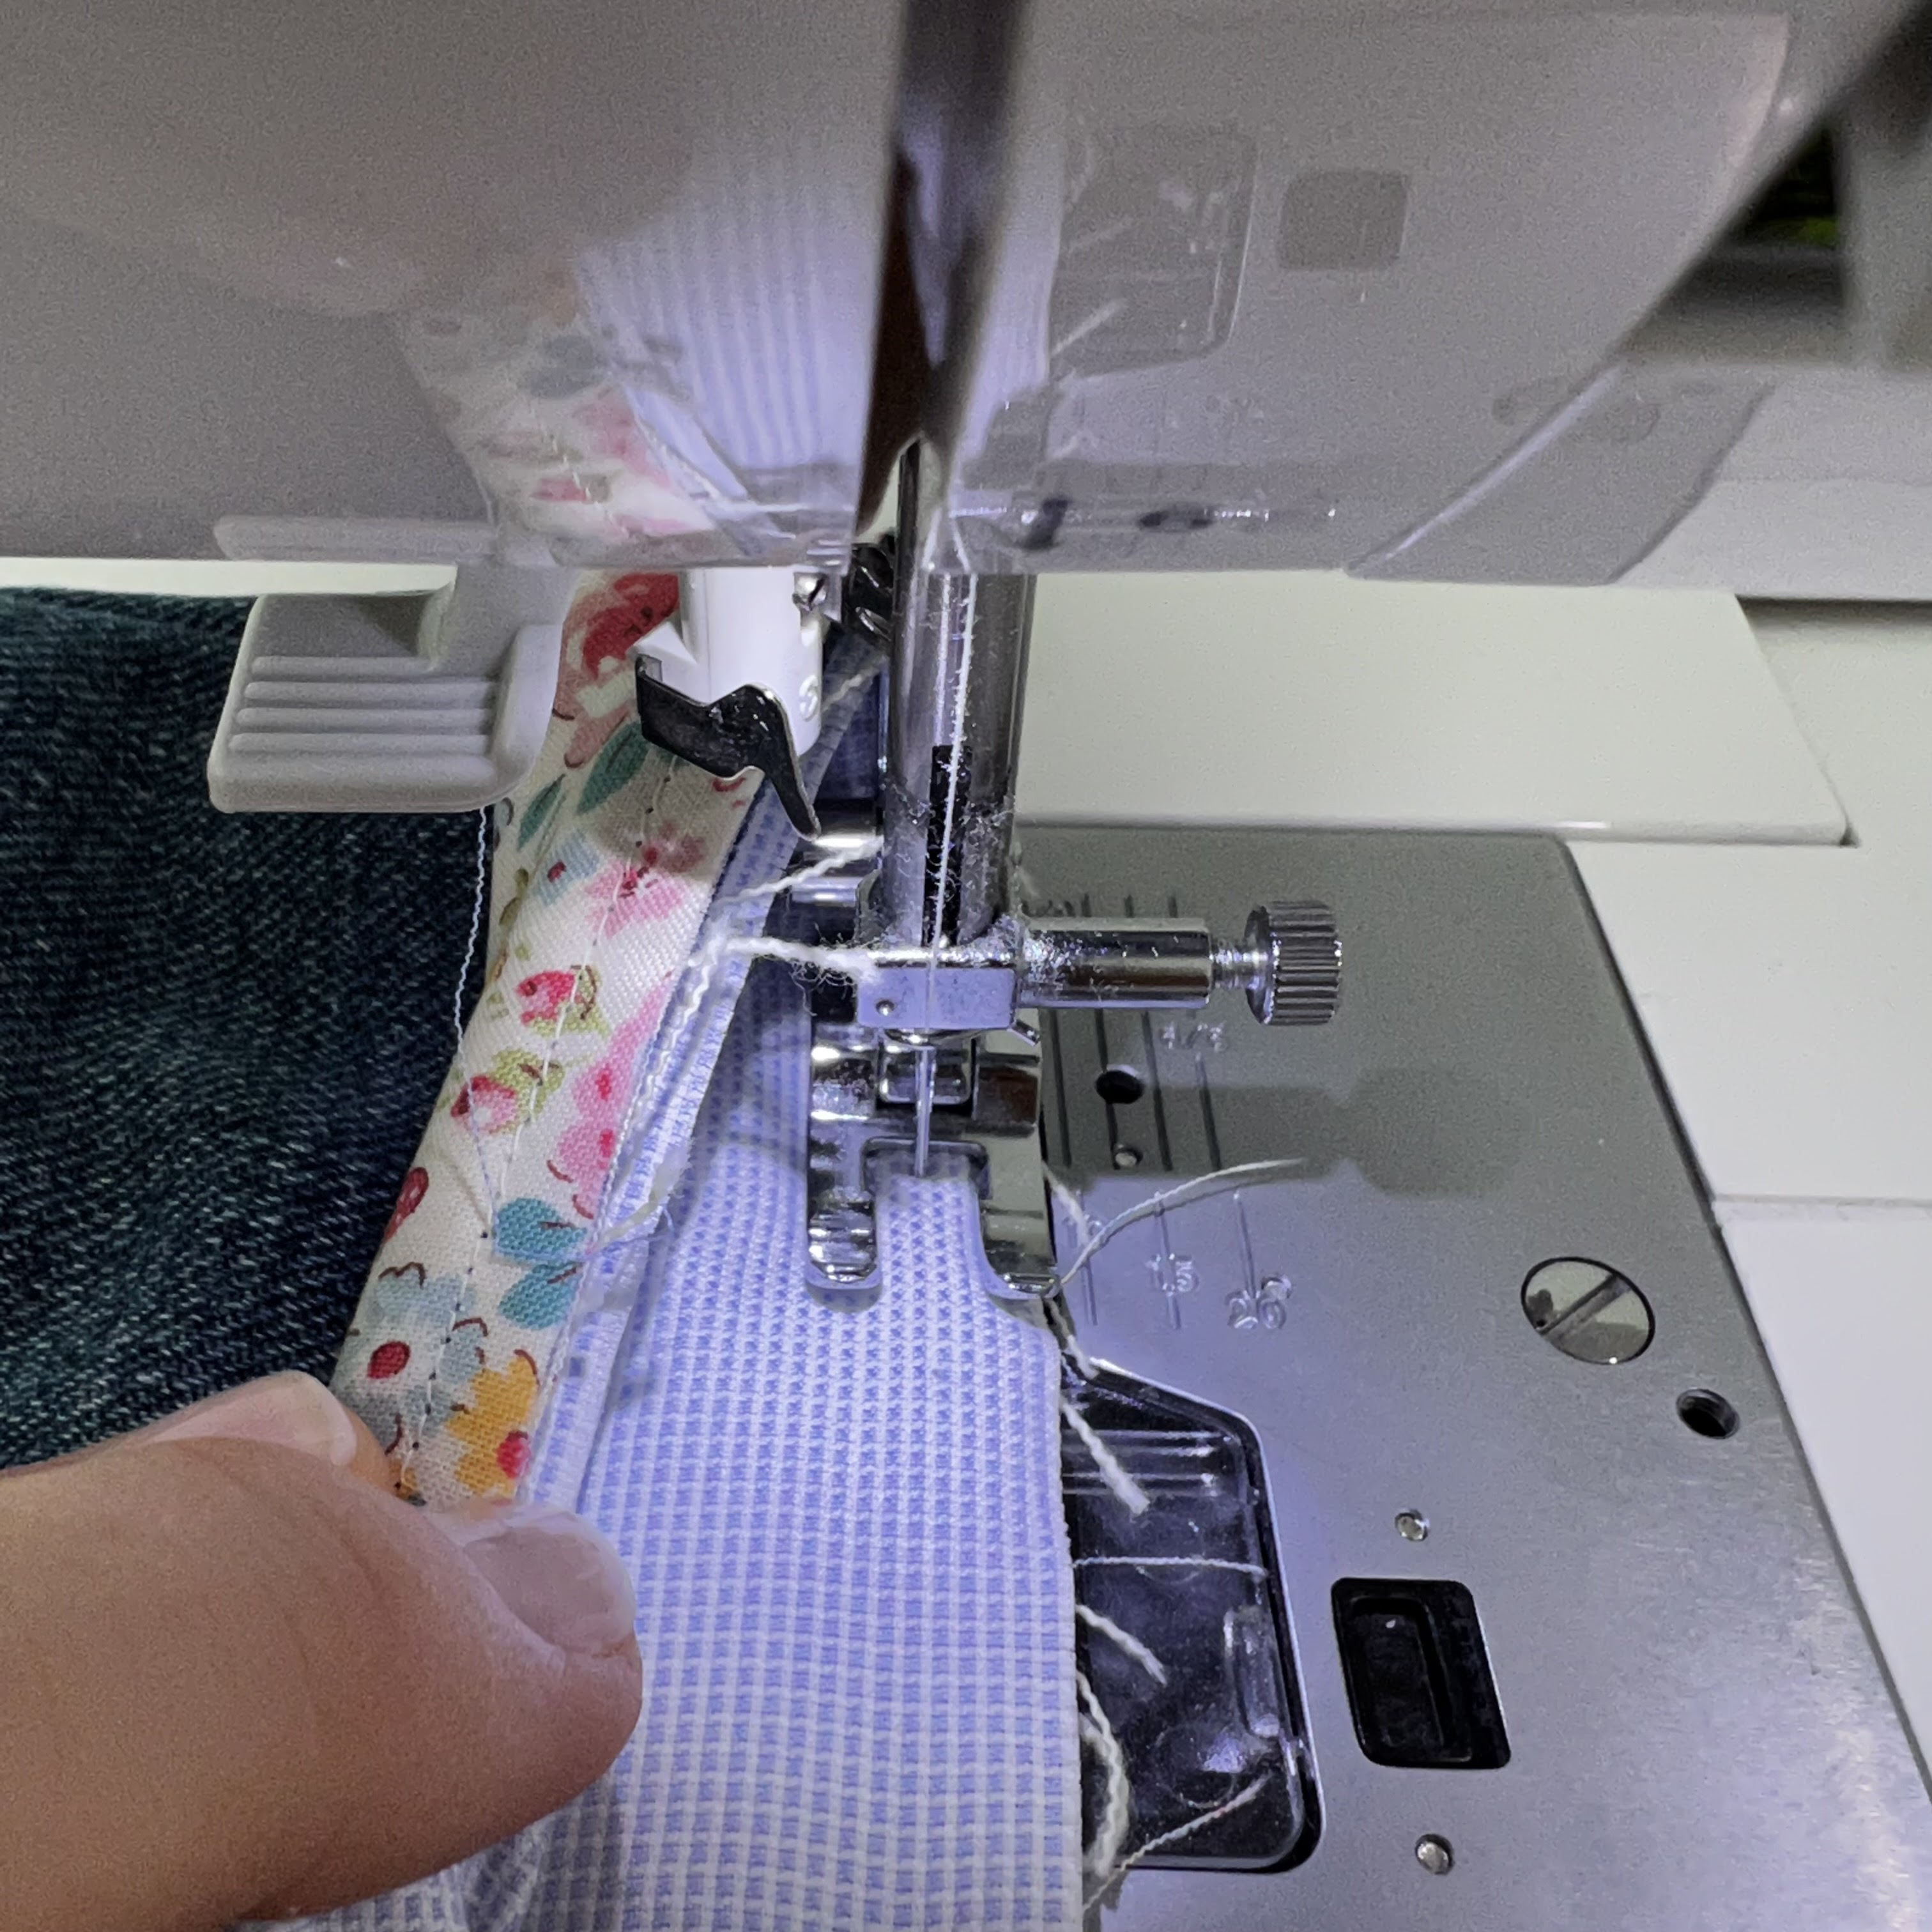
8. Start about 11/2”-2” (3.8 x 5cm) from the left side of the sleeve on the front. Align the raw edges of the binding and the opening of the sleeve and secure it with pins or clips.


9. Attach the
binding with a seam allowance that is ¼”
(0.6cm). Back stitch the start and the end of the seam. At the end,
overlap the ends of the binding. Trim the excess of the binding off.


10. Fold the binding inside the sleeve and press with your fingers along the edge. Use fine pins or clips to secure.
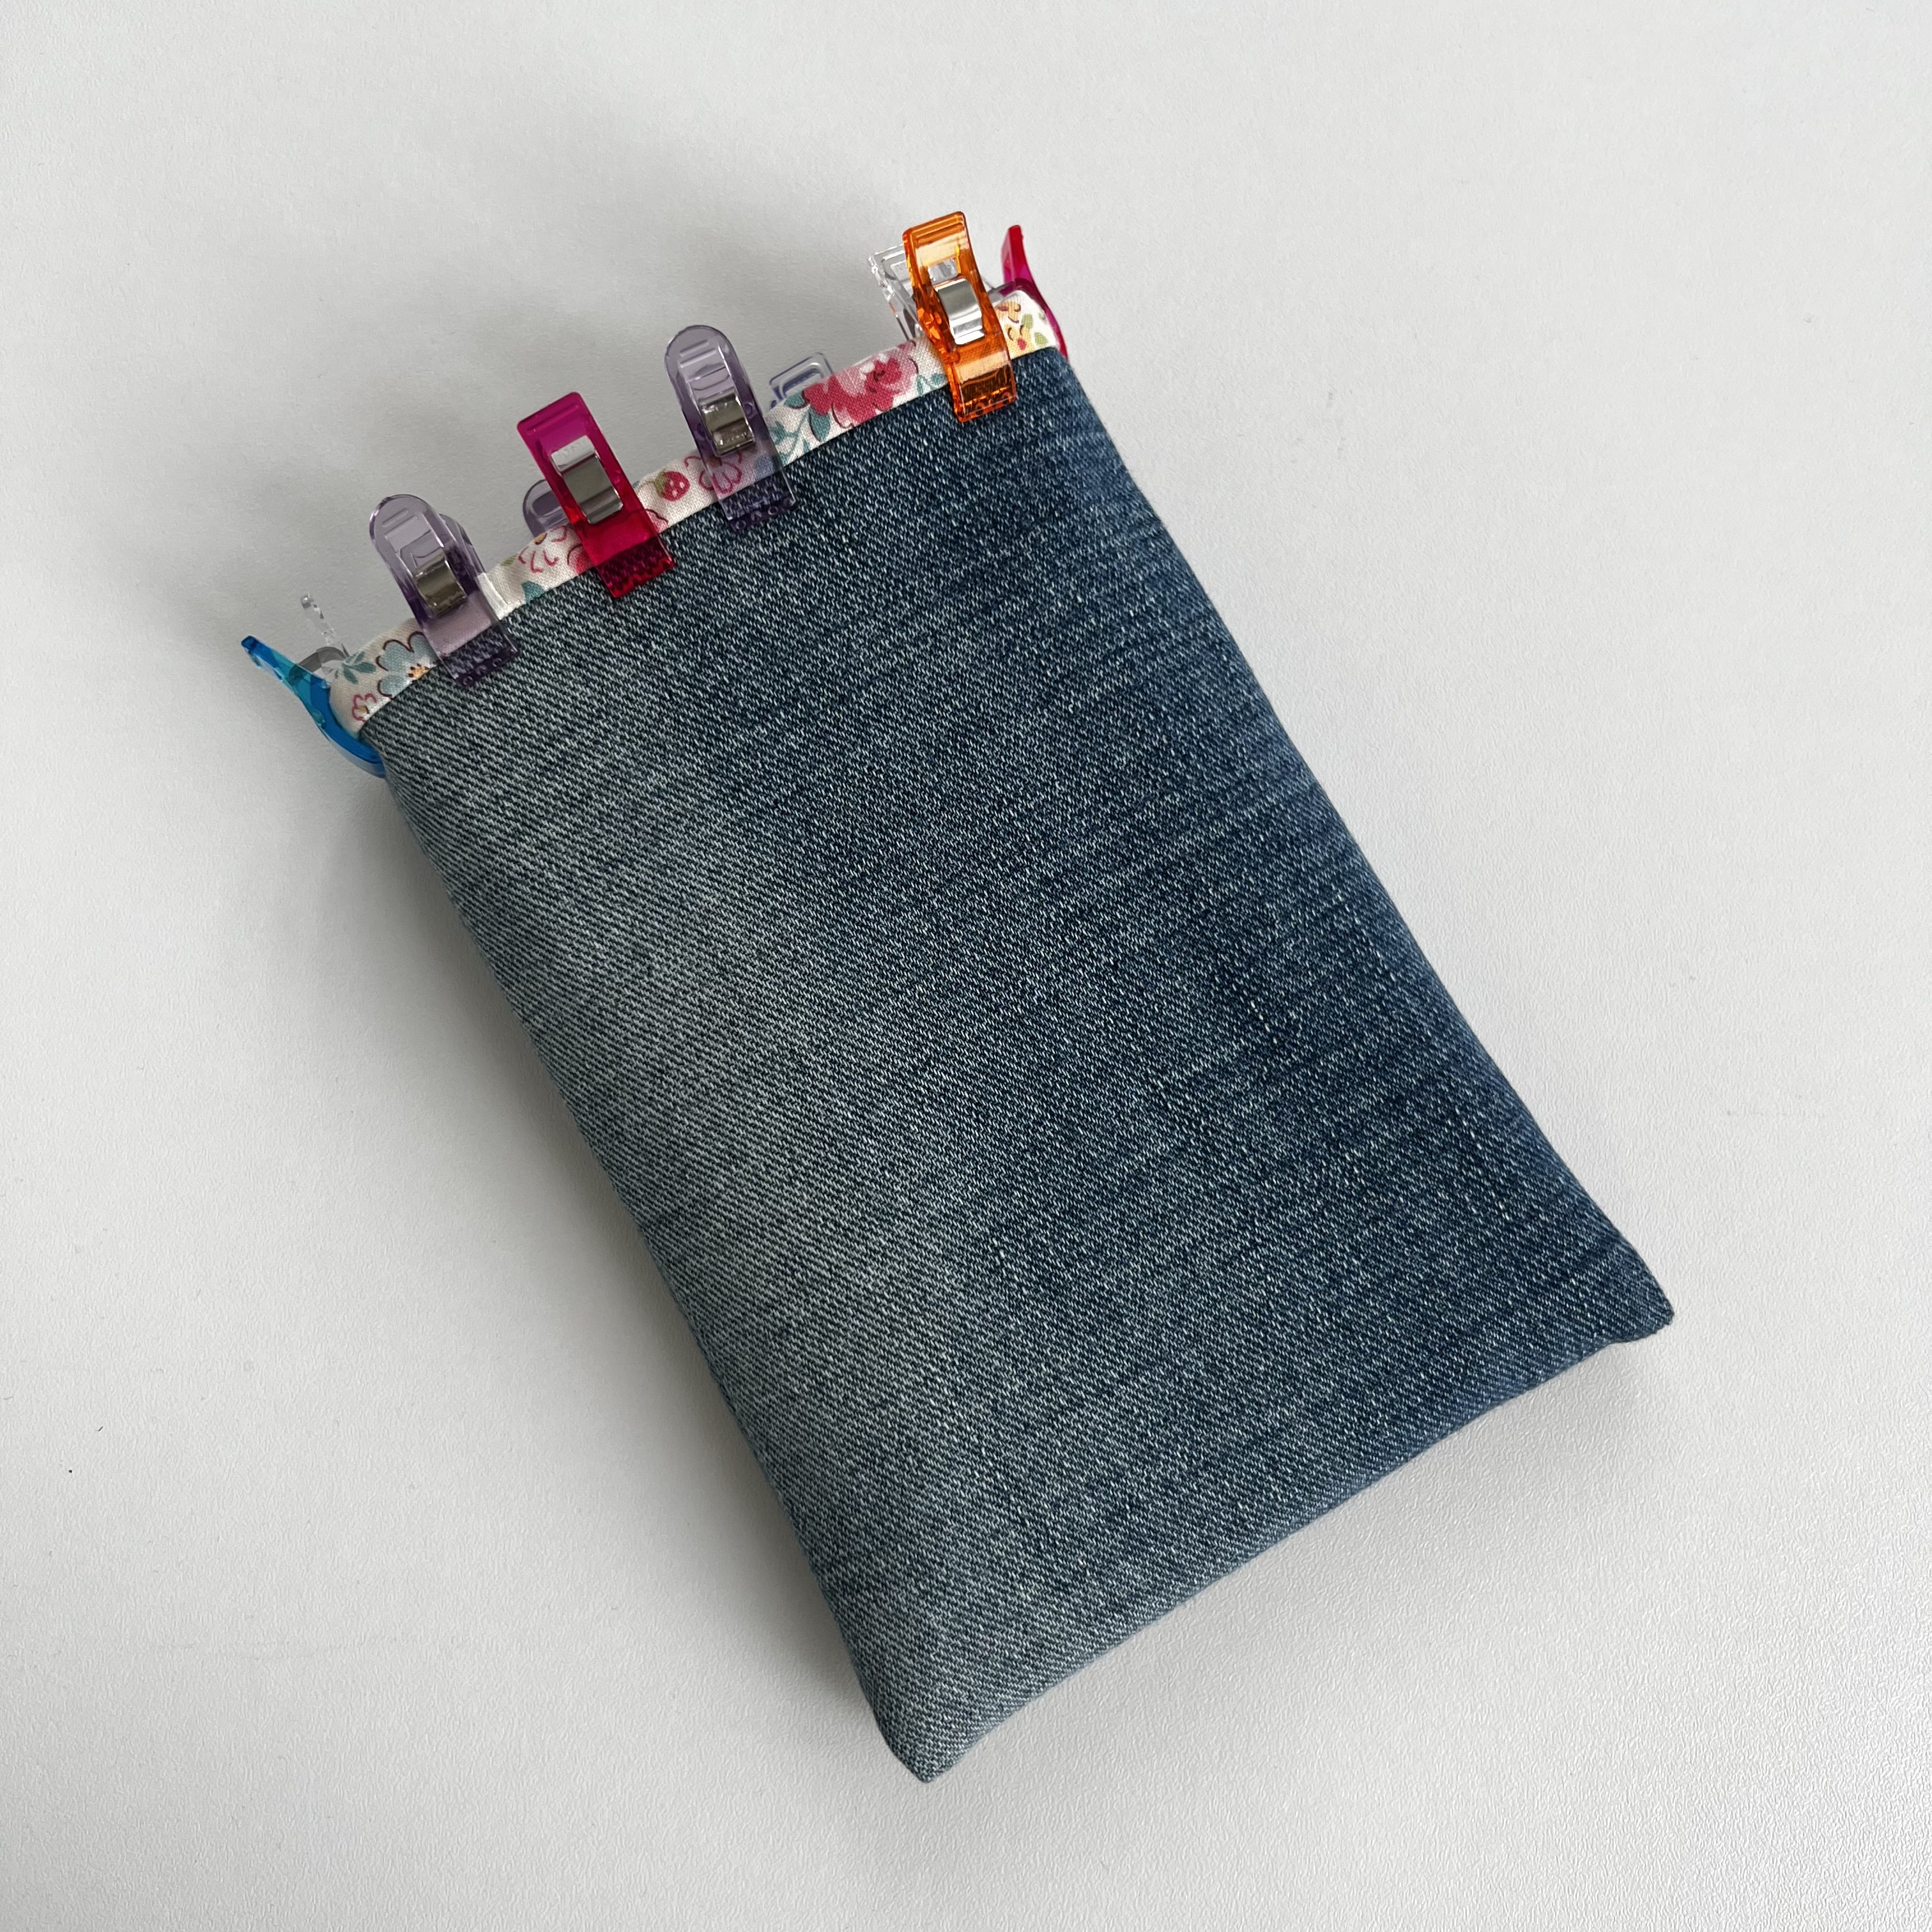
11. Hand stitch the binding to the lining with a ladder stitch using a fine needle.


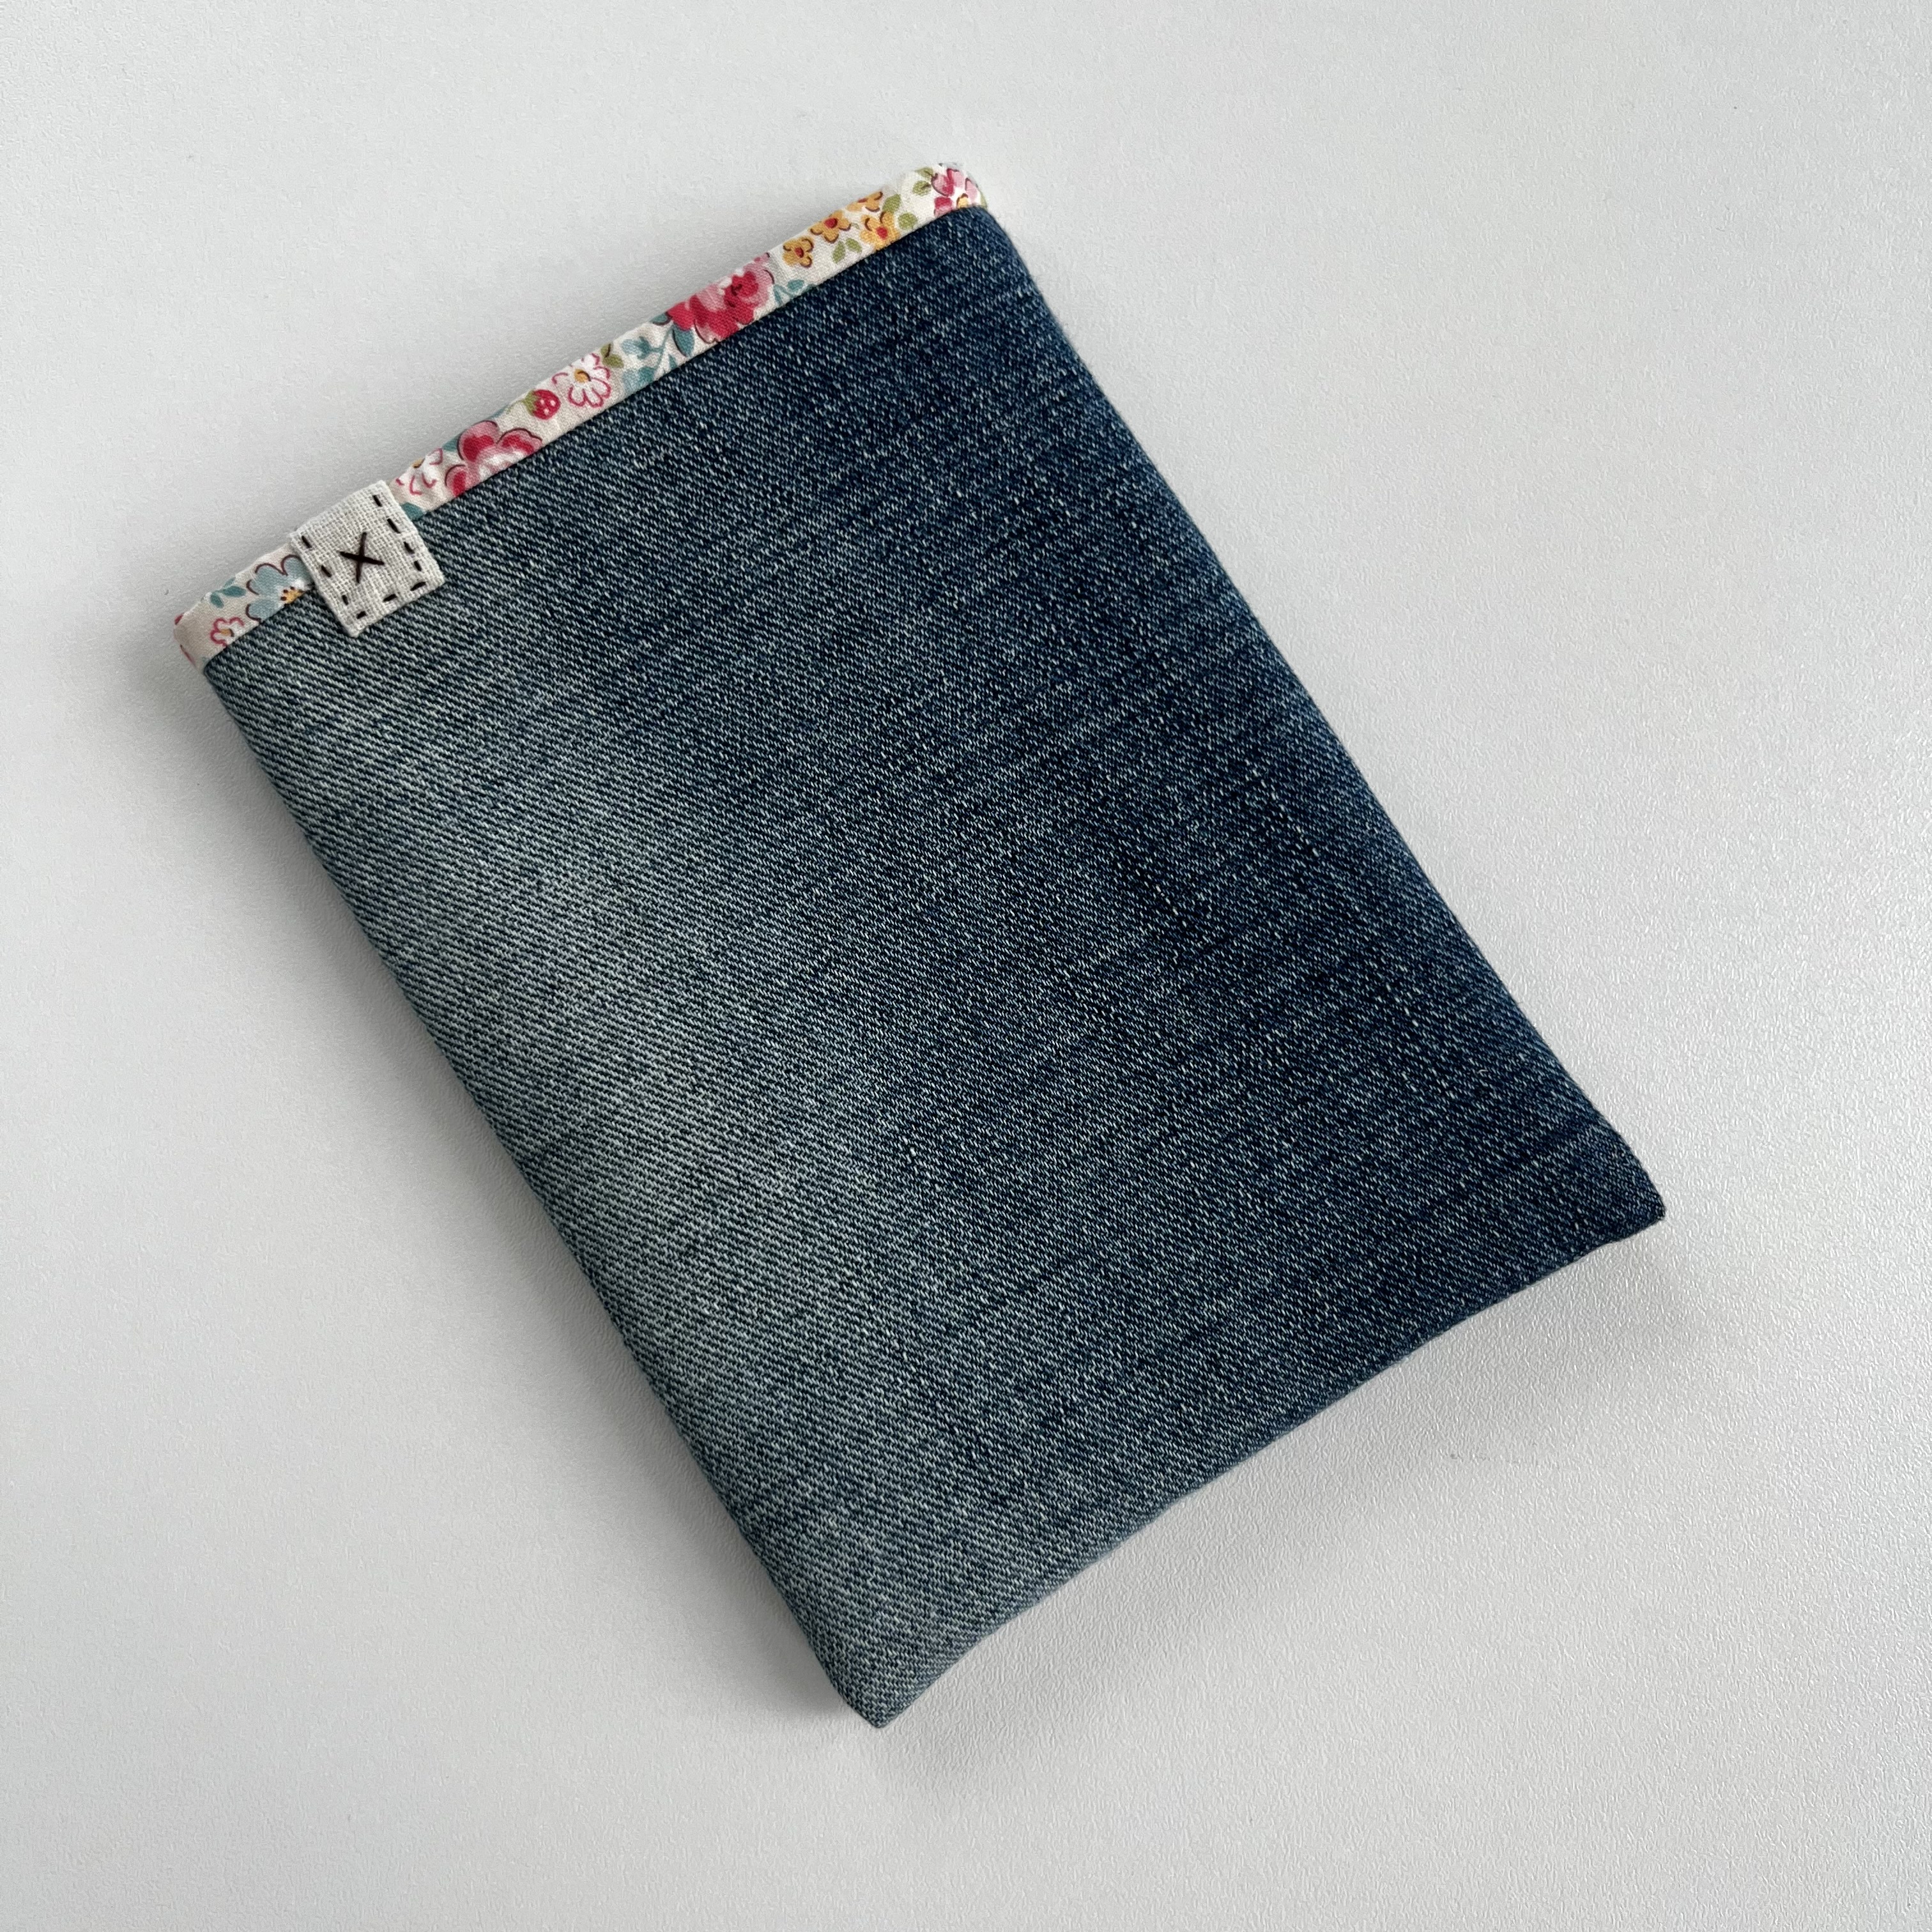
Now is time for the fun part. We will add a tiny tag to cover the joint (where the ends of binding meet) on the binding.
1. Take the small piece of hanky linen. Fold both long edges towards the centre. Press well with a warm iron. Using fine pins, pin the tag over the place where the ends of the binding meet.
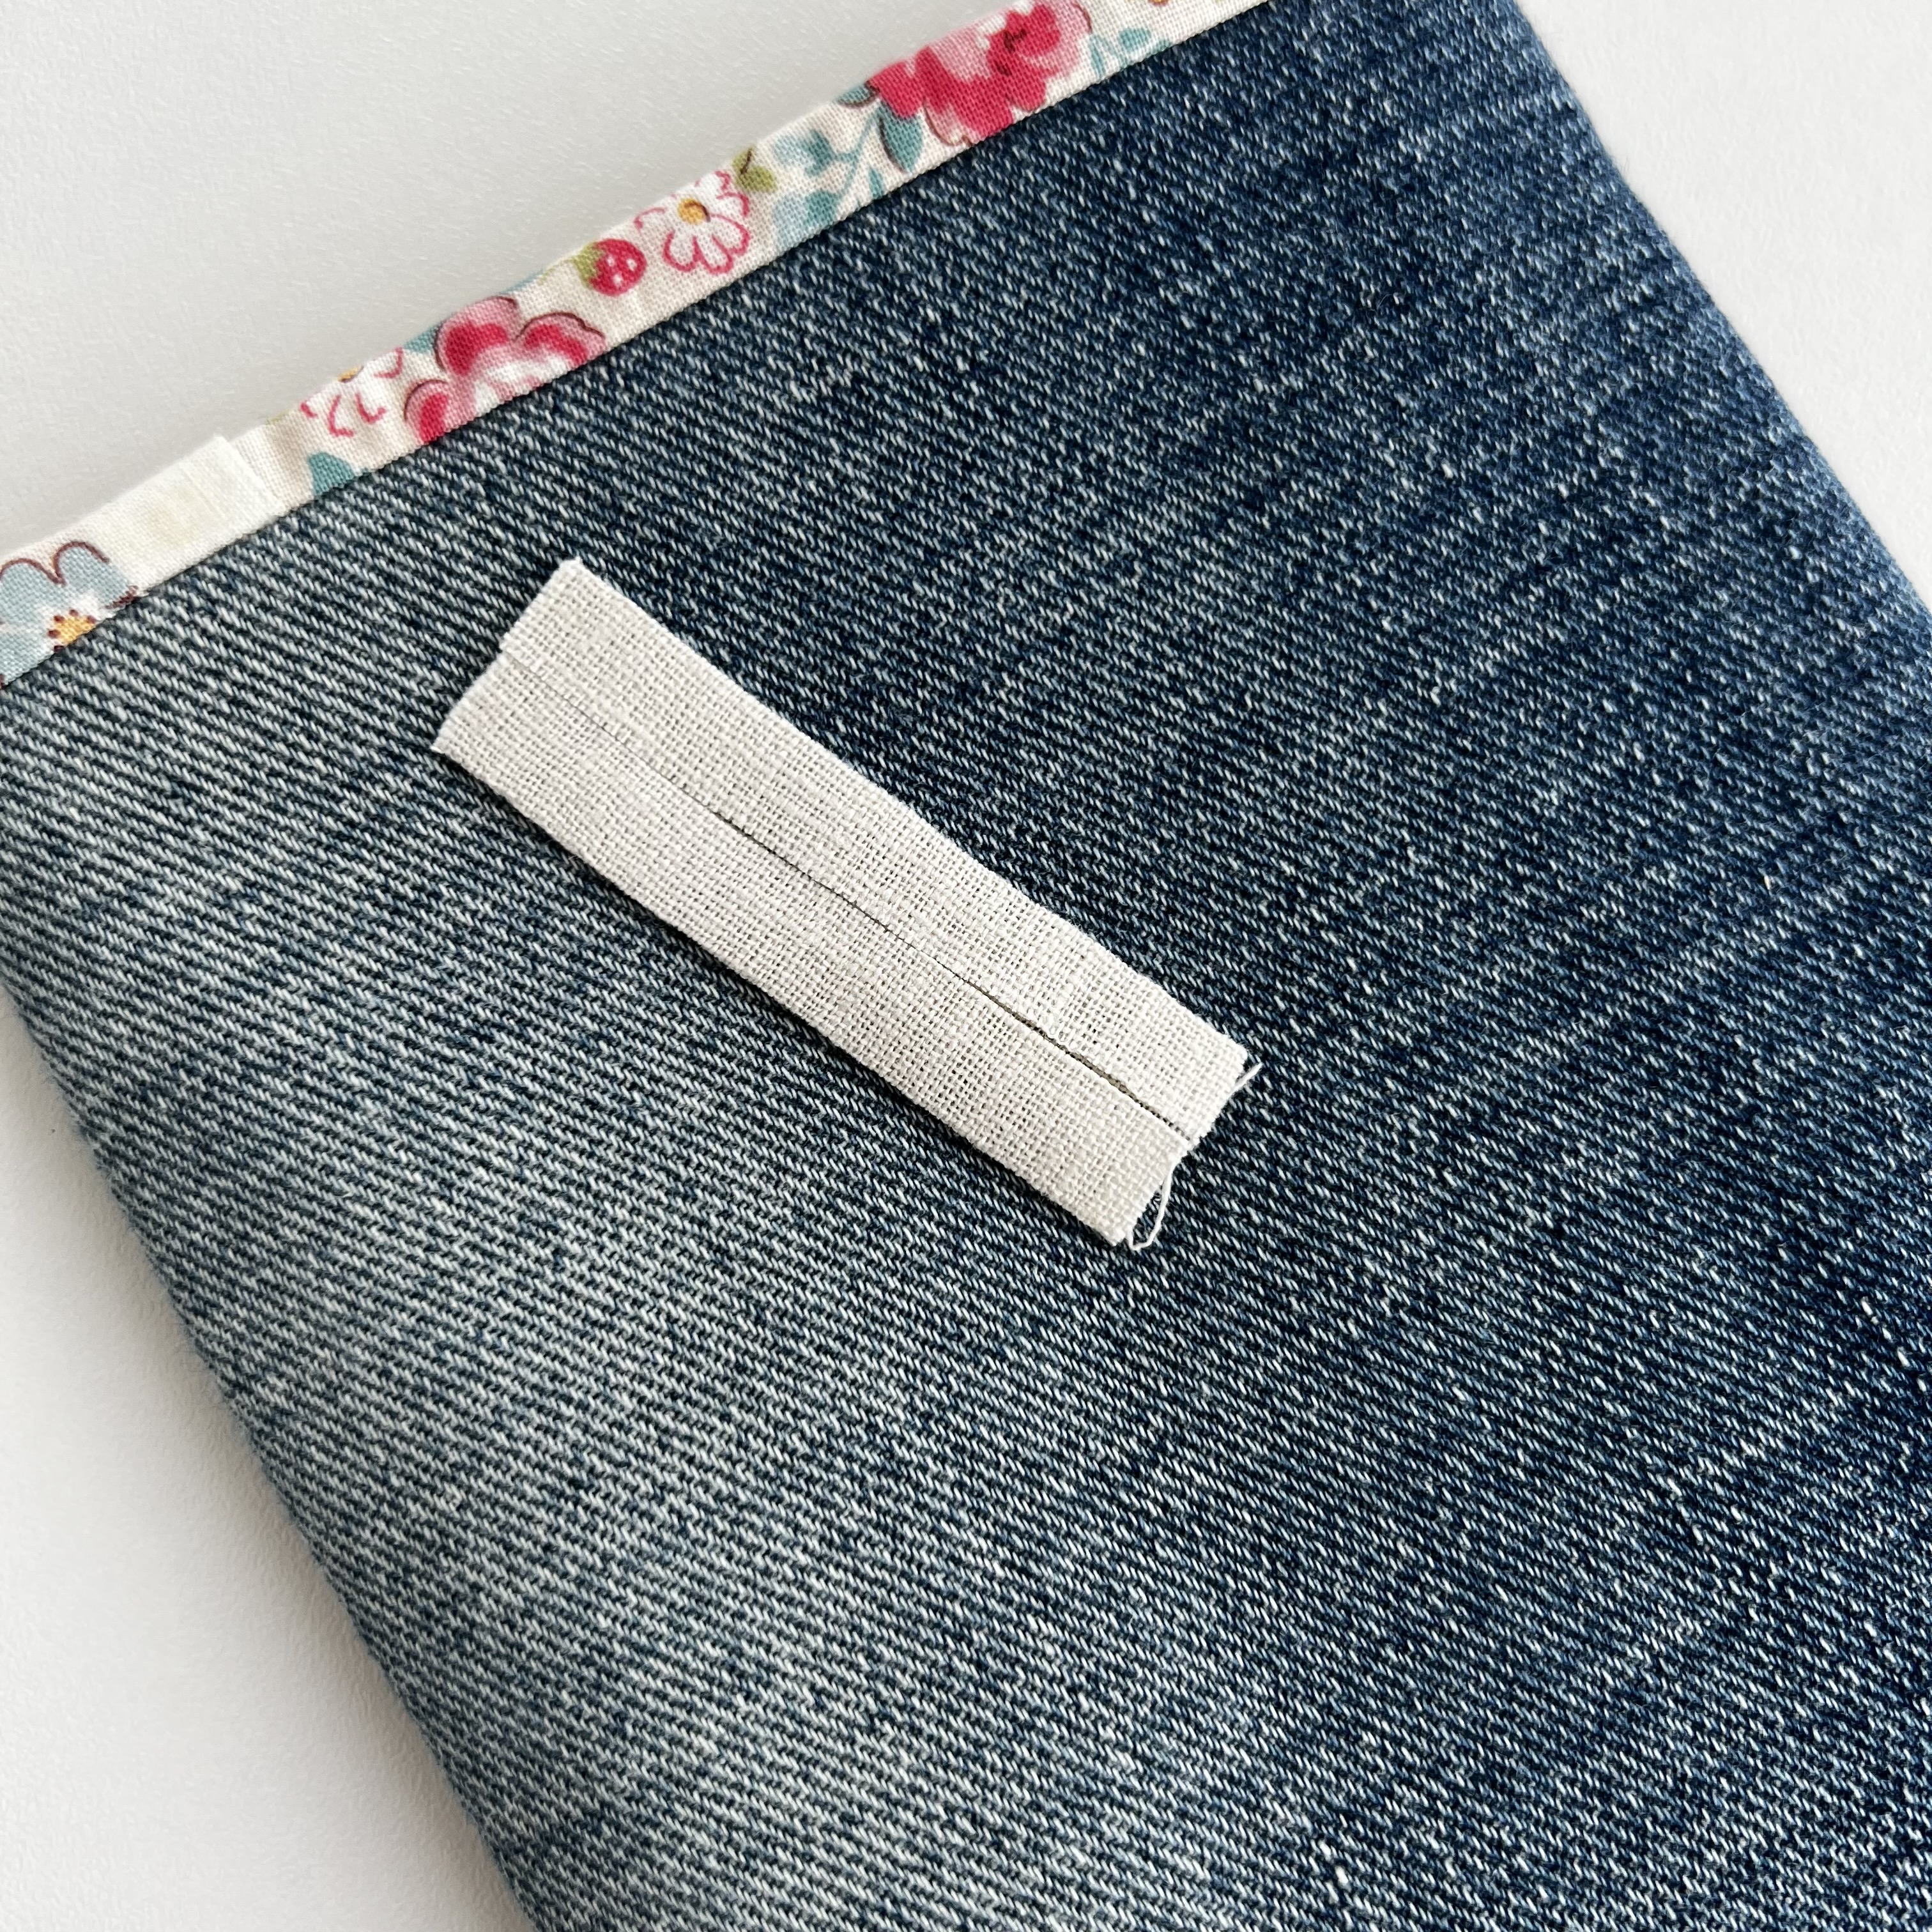


3. Using a fine needle and thread, attach the tag to the binding with a ladder stitch. When sewing closer to the short edge, gently push the folded fabric under with the needle and stitch the top layer.


4. Using dark brown thread, add tiny running stitches around the tag, and add a small cross in the middle.


So cute and very effective!
ReplyDeleteLove this. I have a new Kindle and will make this sleeve. Thank you for sharing.
ReplyDeleteThis is really neat, I will be making one with your instructions. Thank you for sharing, especially the finished edge. Love it!
ReplyDelete