Welcome to "A Season of Kindness" sewing with Sip Tea and EPP party and its hosts Irina and Larisa. Last year I shared with you Gift Tags and Postcard Coster tutorials and Irina shared her sweet Christmas Bauble Coaster and Scandinavian Christmas Ornament. This week Irina also shared darling Mini House Gift Box tutorial. This year I have designed this cute tiny tote that can be a lovely addition to any gift. You can put a few small treats in it or a gift card or a small toy. From my own experience I can tell that small children love to carry around tiny totes. You can easily use it in your sewing room for storage of some sewing notions as well.
The finished size is approximately 4" x 3.5". This pattern can be easily enlarged and turned into a much bigger tote. Add a woven fusible interfacing to the back side of linen for handles if you are making a larger version to give them a bit more strength and of course enlarge the width and length of the handles.
YOU WILL NEED
piece of linen 6" x 9" for the outer body
piece of fusible batting 6" x 9"
piece of cotton 6" x 9" for the lining
two pieces of linen 5" x 2" for the handles
small pieces of felt for the applique (green, brown and white) or any other embellishments
piece of fusible web for the felt applique
dark brown embroidery floss
fine sewing needle
rotary cutter and ruler
baking paper
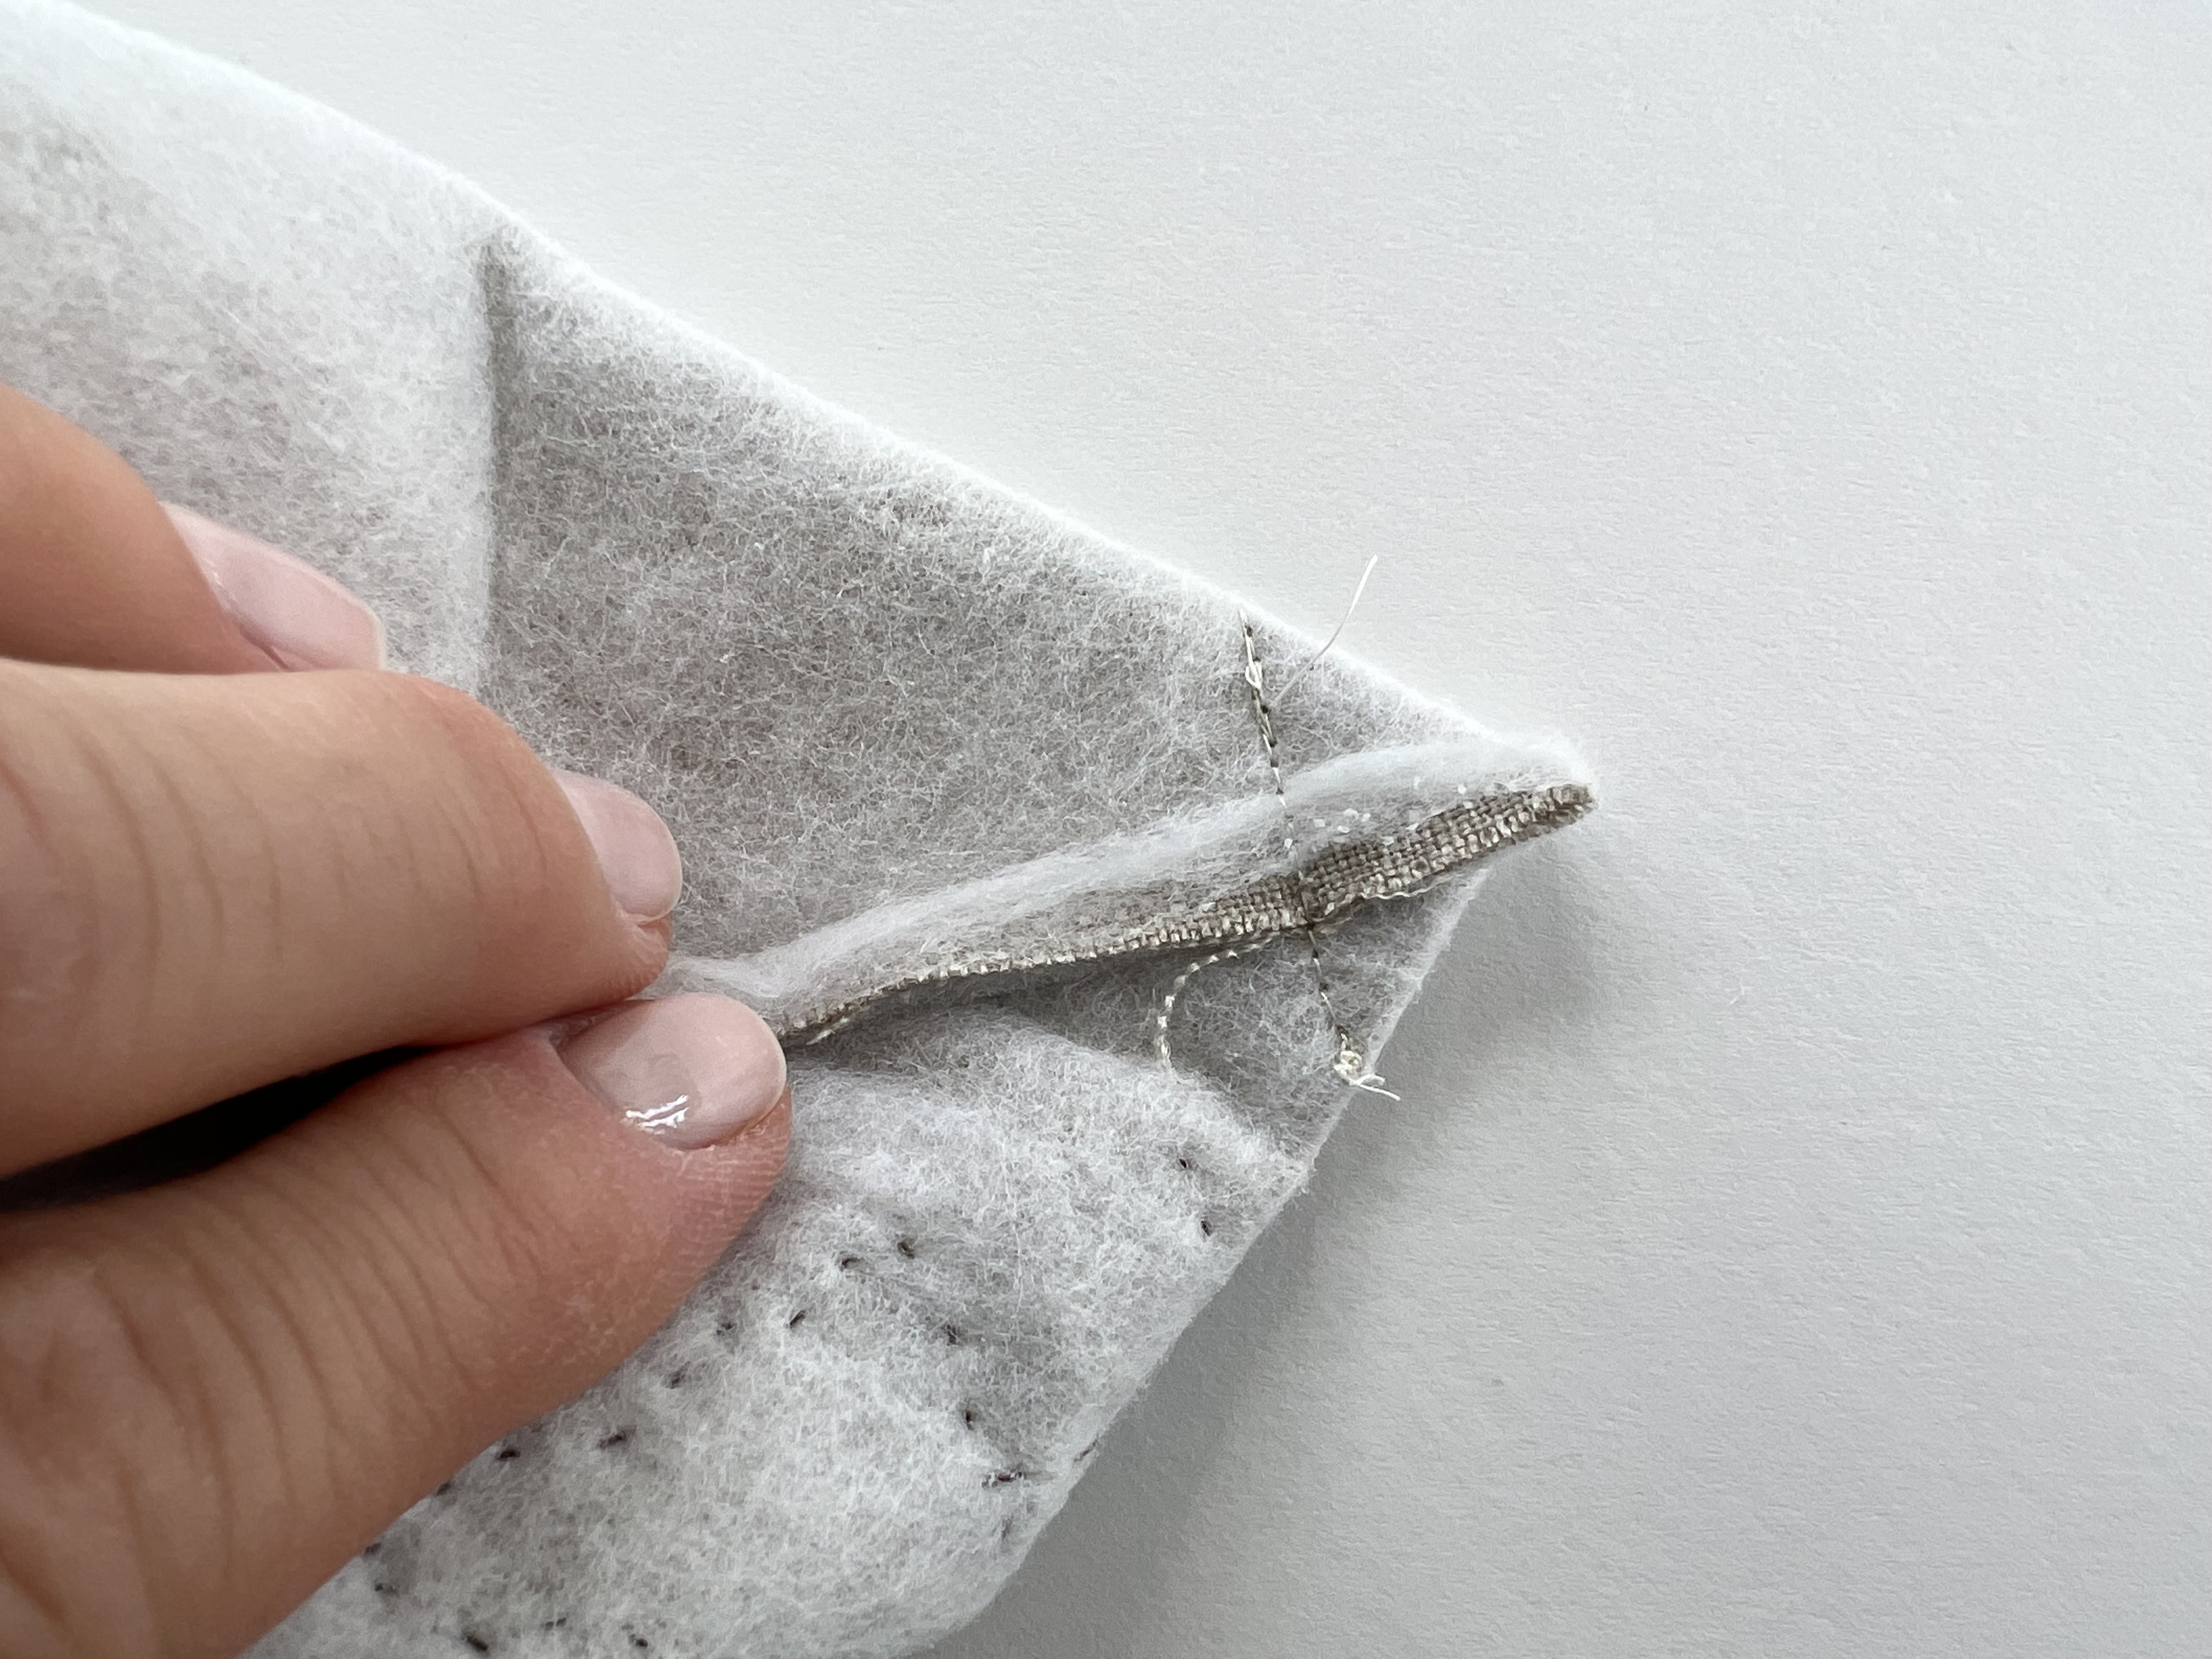
Before we begin, make sure to press all the fabrics with a warm iron that they are crease free. I love using backing paper when working with fusible web. It prevents the sticky material sticking to the ironing mat and my iron, and it also helps stop felt from burning. I used one sided fusible batting for this pattern. If you don't have fusible batting, use cotton or bamboo batting instead. Print the template provided below and let's begin.
THE EXTERIOR OF THE TOTE
1. Following the manufacture's instructions, apply the fusible batting to the back side of linen for the outer body of the tote. Fold it in half wrong sides together, position the template aligning the bottom edge of the template with the fold of the fabric and trace it with a water or heat removable pen. We are tracing it onto the right side of linen! Add 1/4" seam allowance on the sides and top.Using a quilter's ruler and a rotary cutter, cut 1/4" from the marked lines.
2. Open the piece and mark a horizontal line 1" above the fold. This is going to be the base of the applique. Mark about 3/4" from the top and side marked lines. This is the area for your design.
3. Apply the fusible web to the back side of the felt pieces. Trace the designs onto the backing paper and cut it out with small sharp scissors. Peel the paper off and position the design on the front of the tote on the base line. Make sure to place the trunks under the snow and under the trees. Use a piece of baking paper to iron the felt design. The marked lines are going to disappear, but that's absolutely fine, we don't need them anymore.
4. Use one strand of dark brown embroidery floss and a fine needle to attach the felt applique to the linen. You can use tiny running stitches or a blanket stitch. If you are using your own embellishment, make sure to keep it 1" from the fold and about 3/4" from the sides and top.
5. Fold the linen piece in half, right sides facing. Align all the edges and pin. Stitch along the sides with a 1/4" seam allowance. Backstitch the start and the end of the seams.
6. To square the bottom corners: pinch the bottom corners flat lining up the side seam and the fold on the bottom. Use pins to secure. Mark a line perpendicular to the seam 1/2" from the tip of the corner. The line should measure a bit less than 1". Stitch on this line, backstitch the start and the end of the seams. Trim the corners off with a 1/4" seam allowance. Turn the tote the right side out.
THE LINING
1.Fold the piece of cotton in half right sides together, position the template aligning the bottom edge of the template with the fold of the fabric and trace it with a water or heat removable pen. Add 1/4" seam allowance on the sides and top.Using a quilter's ruler and a rotary cutter, cut on the marked lines. Mark an opening on one side of the lining about 2" long.
2. Align all the edges and pin. Stitch along the sides with a 1/4" seam allowance. Backstitch the start and the end of the seams.
3. Squire the bottom corners following the instructions in step 6 for the exterior of the tote.
THE HANDLES
1. To make the handles, take one piece of linen 5" x 2". Press it well with a hot iron. Fold it in half lengthwise and press well. You might want to spray linen with a bit of water, this will help set the fold of the fabric better. Unfold and fold each half in half towards the fold one more time and press it well with fingers, then fold in half again and press well with a hot iron.
2. Stitch with a 1/8" or even smaller seam allowance along both edges.
PUTTING THE TOTE TOGETHER
1. Mark handle positions on the front and back of the tote on the right side. Position the ends of the handles between the marked lines and slightly over the edge, pin. Secure in place with a gathering* stitch sewing 1/8" from the edge or baste it by hand.
*Gathering stitch is the longest stitch on your machine. It is used for gathering fabric and for basting as well. It is a loose stitch and can be easily removed if needed.
2. Insert the tote (right side out) inside the lining (wrong side out), push the handles carefully inside. Align the side seams and the top raw edges. Pin.
3. Stitch around the opening with a 1/4" seam allowance. Overstitch the start of the seam to secure the seam.
4. Turn the tote the right side out through the opening in the lining. Hand stitch the opening closed with a ladder stitch. Carefully push the lining inside the tote. Press with a warm iron.
BEAUTIFYING THE TOTE
Using one strand of dark brown embroidery floss, stitch around the top of the tote with tiny running stitches. Make one stitch at a time and sew through all layers so that the stitches are visible on the inside too. You can add some sparkles as well.
If you are more of a visual learner, then you might find this video useful when sewing this tiny tote.
OPTIONAL
You can use any whimsical fabric as an applique instead of the felt applique. You can add a magnetic snap or even a small pocket on the outside. The options are really endless here. I hope you enjoy sewing this Teeny Tiny tote this holiday season and enjoy even more gifting it to special Little Ones in your life.
This pattern is easy enough to sew with your older children. They can design their own appliqué and attach it with tiny stitches with ease.
This free tutorial has been exclusively designed for "A Season of Kindness" with Sip Tea and EPP, our weekly slow stitching event on Instagram for those who love sewing and crafting. Please respect the time and effort Irina and I put in the creating of our projects for Sip Tea and EPP. This pattern is FOR PERSONAL USE AND GIFTS ONLY. If you make a Teeny Tiny Tote, please share it on IG under the hashtags #sipteaandepp #stitchingnotespattern and tag @stitchingnotes so I can see and admire your beautiful work!


So adorable Larisa!
ReplyDeleteSo nice, thanks for sharing
ReplyDeleteThank you for such quality content.
ReplyDelete