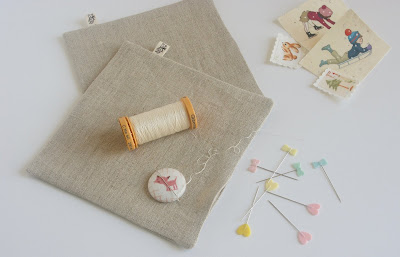
Two years ago I made a set of Christmas coasters using my ever so favourite Belle and Boo fabric. I planned to use them only during the holiday season, but they turned out to be very popular, that I decided to keep them all year round. Every time the late night tea is served I tend to use only these coasters. They do bring joy and make us smile. I though it would be nice to spread the joy at this special time of the year so I wrote a quick tutorial for you to make your own Lovely Postcard Coasters.
The coasters are very quick to make that they can be a last minute Christmas gift for someone you love. All you need is just some linen and pretty scraps. They can be sewn entirely by hand or machine. It's all up to you.
The coasters are very quick to make that they can be a last minute Christmas gift for someone you love. All you need is just some linen and pretty scraps. They can be sewn entirely by hand or machine. It's all up to you.
Things you need for one coaster:
- two piece of linen 6 1/4" x 6 1/4" for front and back
- one piece of batting 5 3/4" x 5 3/4"
- one piece of cute fabric about 2 1/2" x 2"
- fusible web
- one fabric stamp (use this Cute Fabric Stamps Tutorial)
- brown thread
- ribbon
- fabric stamps and ink (optional)
1. Layer the batting, back fabric (facing the right side up) and front fabric (facing the right side down) and pin all the layer together. Pin a small piece of ribbon in the top right corner and mark the seam line and the opening about 2" with an erasable pen.
2. Stitch on the marked line making sure to backstitch the beginning and end of the seam. Trim the corners with small sharp scissors.
3. Turn the coaster the right side out, carefully push the corners out using a blunt object. Make sure not to shift the binding. If it shifts a bit, make sure to flatten it before you stitch the opening closed.
4. Press well with a hot iron and blind stitch the opening closed by hand using a thin needle. My favourite thread is Gutermann 100% cotton #919. It blends in really well with almost any colour.
5. Now is the time to play with your cute scrap and fabric stamp. Apply fusible web on the back of your pretty scrap and trim to the required size.
Position the picture slightly off the centre of the coaster to the right and up. Fuse the cute picture only at this stage!
6. Change the thread to brown on your machine and set the stitch length to the shortest. Stitch around the picture close to the edge. Don't try to keep the stitching straight, a little bit of crookedness would only give some extra charm to your design.
Give it a good press with a hot iron and stitch around the edge of the coaster with a 1/4" seam allowance.
7. Change the thread back to the light one, but keep the length of the stitch short. Position the fabric stamp on top of the bottom left corner of the picture and fuse. Stitch around the stamp base and then around the picture inside the stamp so you have two seams.
Your coaster is pretty much ready now to be used or to be gifted. You can leave it as it is or add more details to it. Be adventurous and creative here.
To add some lines, simply mark two lines in the top left corner and three in the bottom right corner. Using the brown thread again, stitch each line twice. Once again, do not be precise and let the stitching be uneven for that particular handmade look. Now you can add some ink stamps if desired and you are done!
As always, I would ask you if you use this pattern and publish any photos on your media, please make sure to link back to this page or my blog. If you publish any photos of your coaster on Instagram, please use the #stitchingnotespattern hashtag. I would love to see your work! Happy sewing and Merry Christmas! Larisa xox


What kind of ink do you use to stamp fabric? Does it launder okay?
ReplyDeleteLarisa they are gorgeous!! thank you very much for the tutorial, especially your tips on making the project look handmade xx
ReplyDeleteSo pretty. I would be so happy if I received these as a gift. x
ReplyDeleteThese are so super cute!! Love, love them!!
ReplyDeleteThese are so precious! Thank you for sharing this tutorial.
ReplyDelete