- piece of thin metal
- old scissors
- photo frame (without glass)
- thick pretty paper or thin cardboard
- blue tack
- wool felt
- pinking shears (optional)
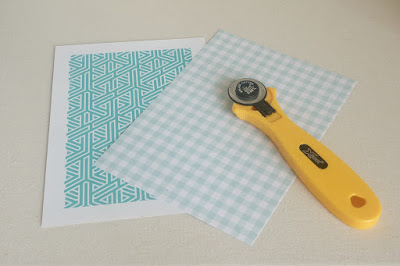
Step 2: Using the paper from the photo frame as a guide, cut a piece of pretty paper the same size.
Step 3: Take a piece of blue tack and stretch it carefully so it becomes thin and attach to the inside of the backing board of the frame.
Step 4: Attach the piece of metal onto it. Then top it with the paper and assemble the frame. Please note that you do not need the glass.
Step 5: I call this part "Beautify" because we are going to add some pretties to the frame. I am going for a simple flower design made of wool felt with three leaves. I keep a small tin full of felt scraps just for projects like that.
Using a pair of pinking shears, cut out three small leaves.
Then cut once more around each edge of the leaves snipping off every pointy edge so you get tiny zigzags. Cut out a simple flower and a round middle. I used three tiny yellow beads for the middle of the flower.
Step 5: Assemble the leaves and a flower together with a few stitches.
Attach the flower to the frame using a small piece of blue tack or a glue gun, and now it is the time for the "Play" part. Place your needle minders on your frame. You can stand the frame or hang it on a wall. I have to say that rearranging the needle minders is really fun and every time I look at this "piece of art" I want to buy or make more needle minders. Have fun! Larisa xox
P.S.: The magnet that I use to hold the needle minder in place on my embroidery or sewing, is kept on the back side of the frame so it can be easily found when I need it or I simply use another needle minder on the back of the embroidery or sewing. :-)


That's soooo clever! Thank you for the inspiration!!!
ReplyDeleteI am so glad you like and find it inspiring! I have to say that it's so much better now to find my needle minders and look lovely together. :-) Thank you for visiting! Larisa xo
DeleteI love this!! Thank you for this tutorial.
ReplyDeleteI am glad you like it, Rhonda! I put this little frame of the wall next to me sewing table and use it every day. It's so much easier this way and pretty too. :-) Thank you for stopping by!
DeleteCan you tell me if you have a post on how to make the needle minders themselves? They are just darling and I have never seen one before coming across your blog on Pinterest! Love your posts and I'm a follower now!
ReplyDeleteThank you for stopping by! I don't have a tutorial for that, but a needle minder is simply a fabric covered button with a magnet attached on the back. It is very easy to make.
DeleteLove it! I am going to make one for my needle minders. Just curious though, do you think a think glass tile would work if you didn't have a thin piece of tin/metal?
ReplyDelete