
Welcome to our last week of Sip Tea and EPP Sew Along! It's been a wonderful adventure that we shared with Irina @nordiccrafter and all of you who joined us by sewing with us, leaving comments on our posts and simply liking our work. Thank you so very much!
Today I would like to share with you the way I make gift tags. A small gift tag can add a lot of charm and love to any gift. Once you see how easy it is to make the base for your gift tag, you would want to create tags not only for Christmas, but for any special occasion. So gather your scraps and let's get crafty!

- Two pieces of linen (slightly bigger than you want your gift tag to be)
- One piece of white cotton (this goes between the two pieces of linen to stiffen the tag)
- Fusible web
- Scraps of wool felt (ivory/white, yellow and orange)
- Metal eyelet
- Ribbon or thin cord
- Scissors (fabric and craft)
- Hear removable pen
- Small ruler
- Rotary cutter
- Iron
If you prefer, you can watch a quick video tutorial on my YouTube Channel.
1. Press well all pieces of fabric with a warm iron that they are wrinkle free. Apply fusible web to the wrong side of white cotton. Then fuse it to a piece of linen. This is the base for the tag. I use white cotton to stiffen up the tag. You can use any other colour, but keep in mind that it might show through linen.


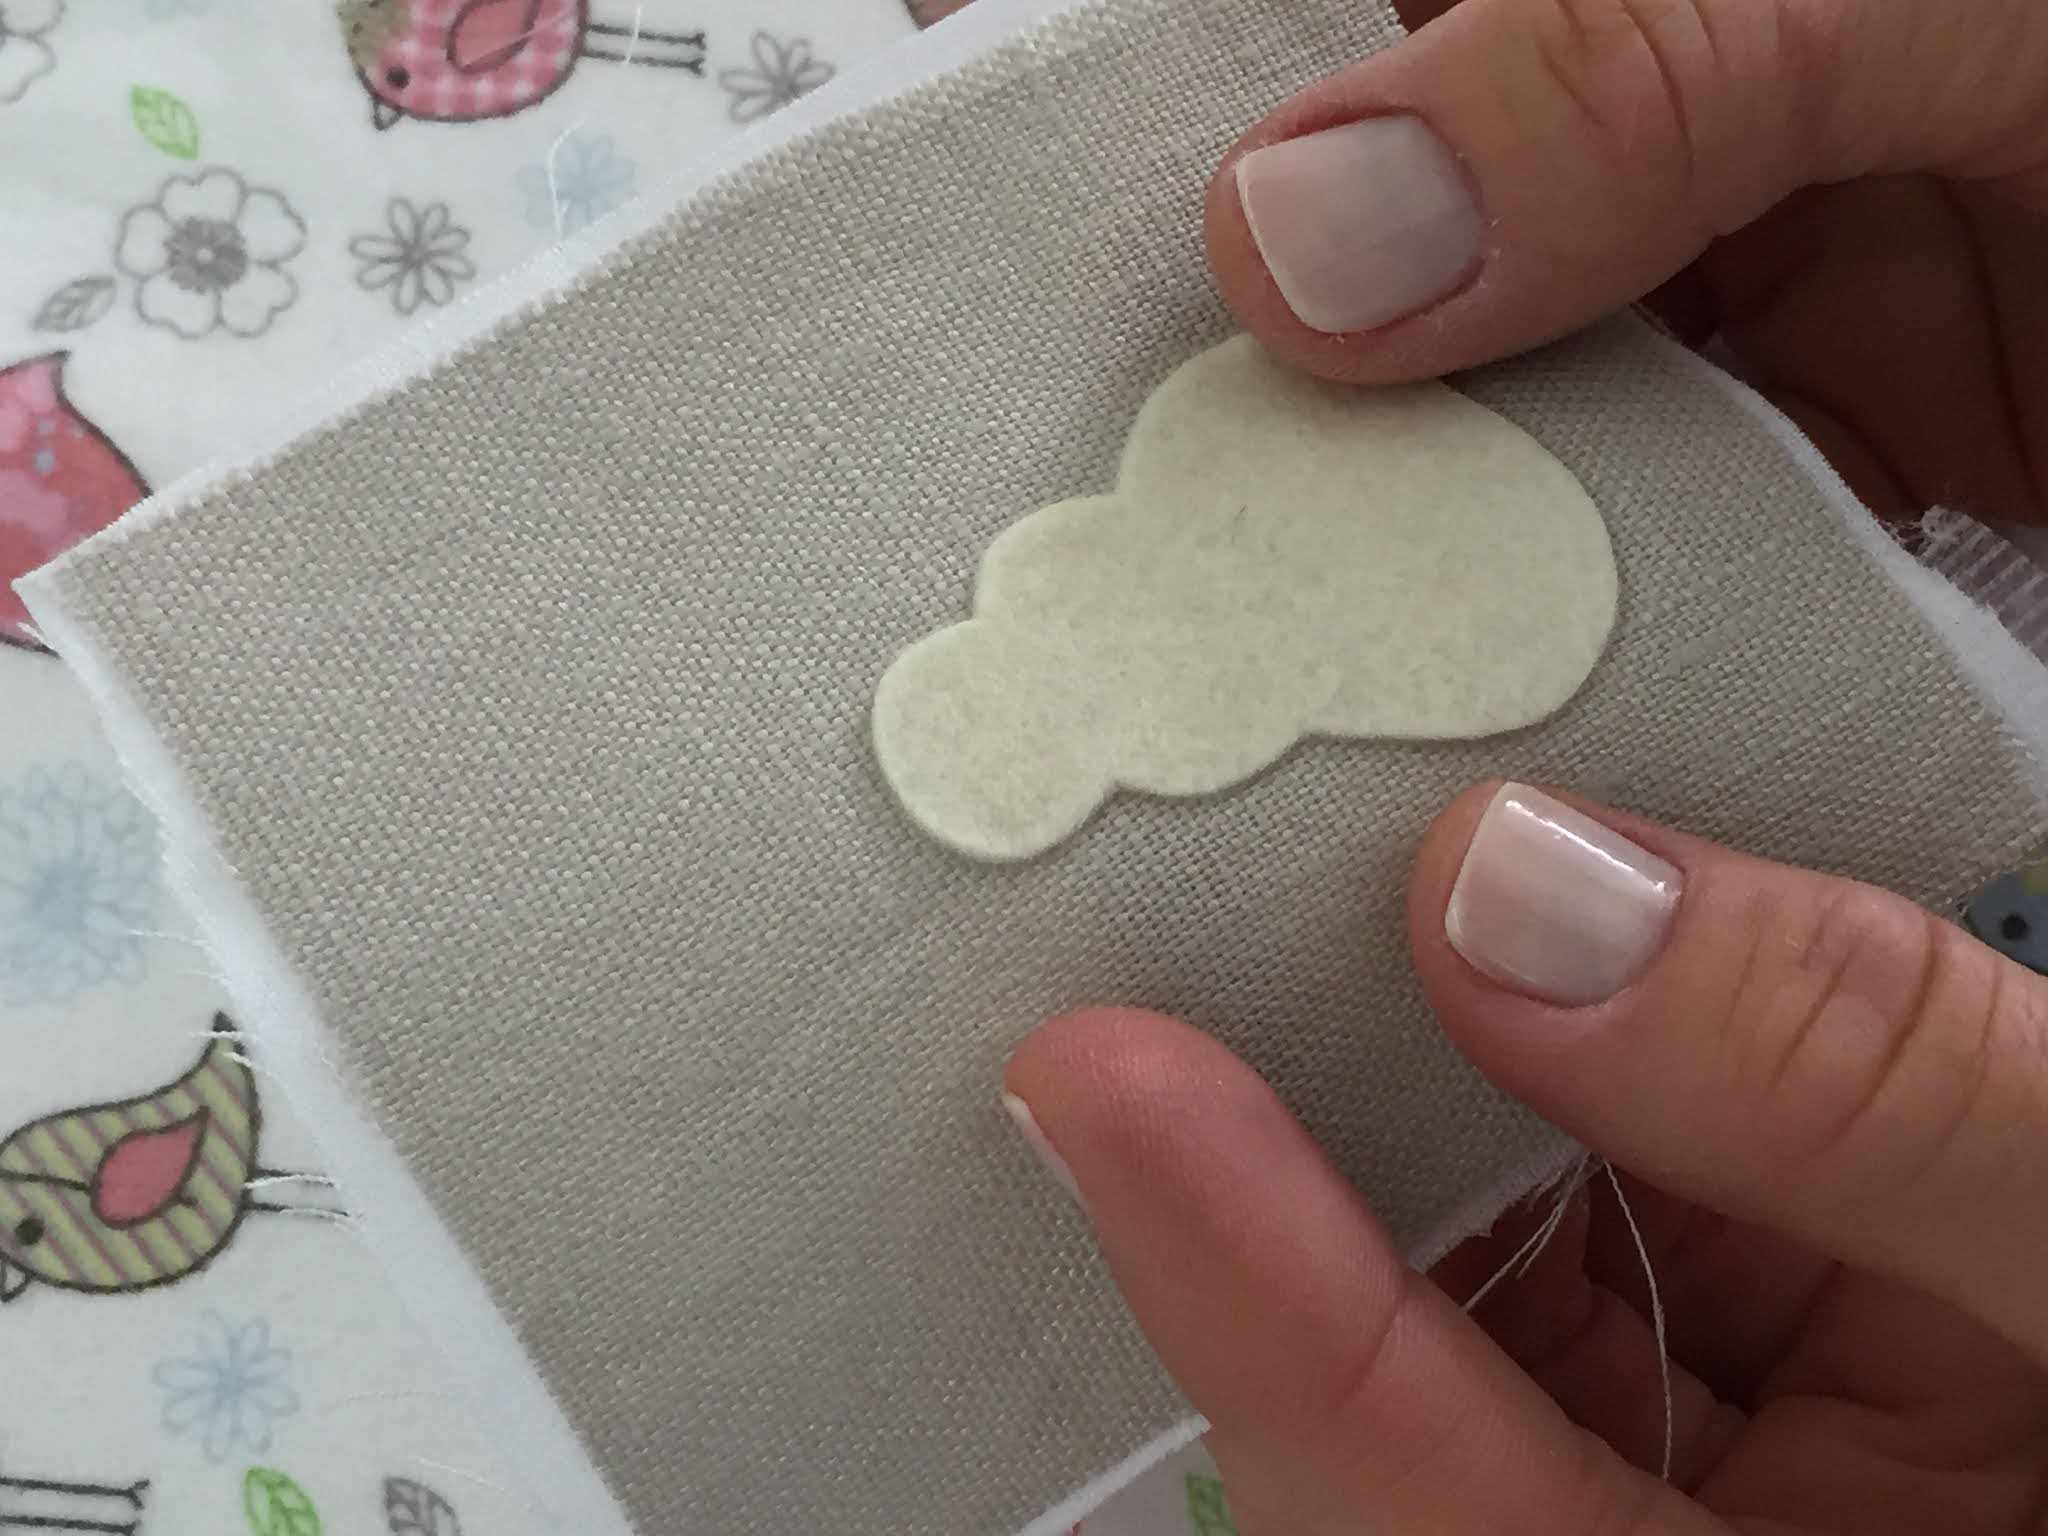
2. Apple fusible web to a piece of white or ivory felt. Be careful when ironing felt as it might burn easily. I like to use a piece of baking paper to prevent any fusible web sticking to the iron and to prevent the burning of felt. Draw a simple snowman shape and cut it out using small sharp scissors. You don't have to make your drawing look perfect because you want it to look handmade. So three blobs will be just perfect.


3. Apply fusible web to yellow and orange felt. I drew a frying pan for the hat and a carrot for the nose. You can use grey felt and make a bucket, or any other colour felt you have and make a top hat. You can even add a scarf to your snowman. Be creative!


4. Baking paper is your best friend here. :-) Play around with positioning of all the elements, but keep in mind that you need a bit more space at the top of your tag for the eyelet, so place the snowman closer to the bottom edge. Once you are happy with the placement of the elements, fuse the BODY ONLY of the snowman to the prepared linen base using warm iron and a piece of baking paper.

5. Set your machine to the shortest stitch length. Using dark brown thread, stitch all around the snowman adding details as you go. You can go around twice to give it more definition. If you are comfortable with free motion, go ahead and stitch freely, but you can simply go slowly turning your work carefully like I did to keep the curves smooth.

6. Iron on the hat and the carrot. Stitch them in place.


7. For the eyes, I used a piece of embroidery floss in dark brown colour. I simply put two small crosses, but you can do French or Colonial knots.

8. Using a heat removable pen, draw hands and stitch them. Again, stitch a few times over the same sketch to give it more definition. They don't have to be perfect, just like sticks you would find if you were to make a real snowman. :-)


9. Once your design is ready, apply fusible web to the back of the base and fuse it to other piece of linen. That will cover all the stitches on the back and keep your tag nice and neat.

10. Using a ruler and a rotary cutter, trim the top corners or you can keep your tag rectangular. Stitch around the tag with a 1/8" seam allowance in dark brown thread and the shortest stitch set on your machine.

11. Install an eyelet. If you don't have an eyelet, use a piece of ribbon. Before fusing a piece of linen to the back side of the tag, trim all the sides first, then insert the ribbon at the top and fuse the pieces together.

12. Use a piece of ribbon or cord to finish your tag.

If you would like to make a tag with a Christmas tree, place small strips of fabrics overlapping on a piece of fusible web and fuse with a warm iron. Then cut out a triangle. Use a small piece of wool felt or brown fabric for the trunk. Fuse it on to the tag base and stitch around. Simple!
See my older post if you need a bit more inspirations with gift tag making. Make sure to visit Irina's blog to check out her tutorial "Easy Christmas ornaments from upcycled denim" that she is sharing tonight. I am sure with all this information you would be able to create your own amazing gift tags in no time at all.

Happy crafting! Larisa xo
Gracias por el tutorial. Muy lindas las etiquetas
ReplyDeleteGrab personalized metal or any material luggage tags with your own photos online. Talk to our Production Manager Direct for Travel Luggage Tags 07360238910.
ReplyDeleteEverything You Need to Know About Round Swing Tags in the UK