
Tips for using fusible foam and quilting.
Welcome to the second week of Spring Mystery Project Sew Along for the Sip Tea and EPP party with Irina @nordiccrafter and Larisa @stitchingnotes. We are absolutely smitten with all the delightful tumbler arches you have been making during the past week. Once again, we would like to thank you all for sewing with us and trusting us to lead you on this mystery adventure.

Our plan for this week is:
1. Applying foam interfacing
2. Marking quilting lines
3. Quilting by machine or hand
4. Attaching binding
Applying foam interfacing
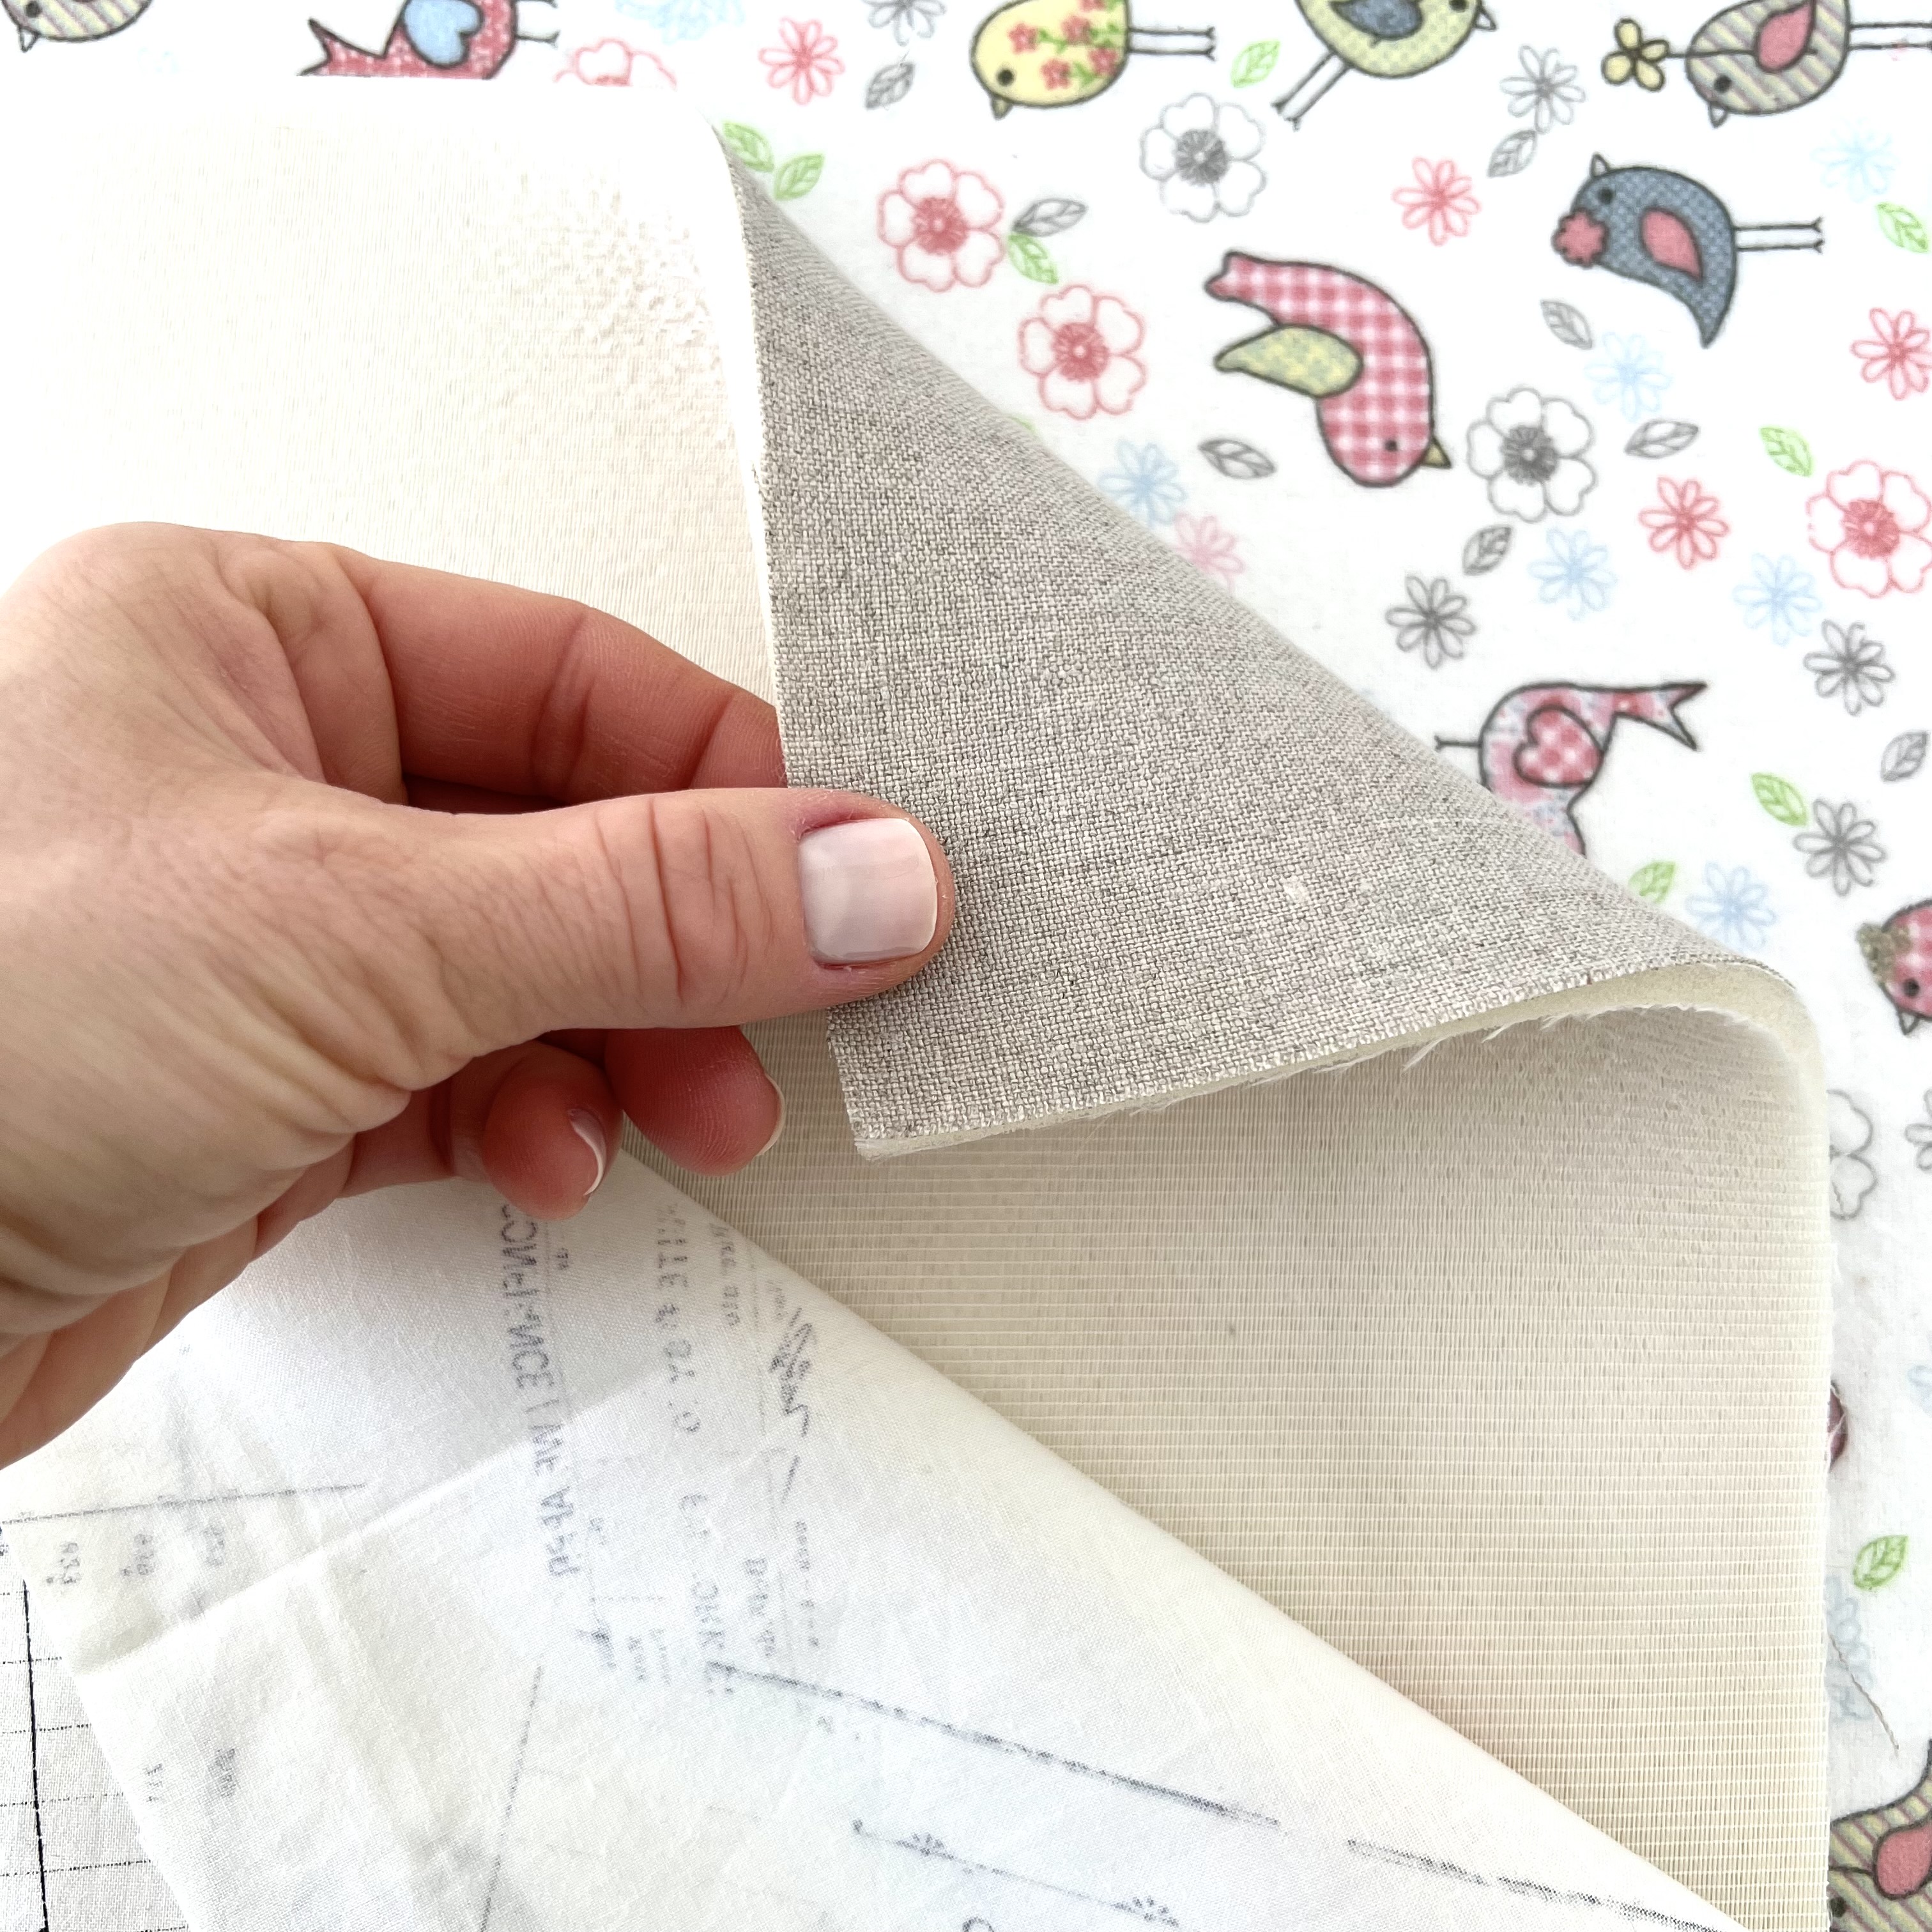
We shall start with making a quilt sandwich from the background fabric, fusible foam and quilting cotton pieces. They are all the same size 8 1/2" x 11" (21.6 x 27.9cm).
Irina and I are using different types of fusible foam interfacing. Irina uses double sided fusible foam and I use one-sided fusible foam. If you don't have fusible foam, use two layers of standard batting. It would work well too.
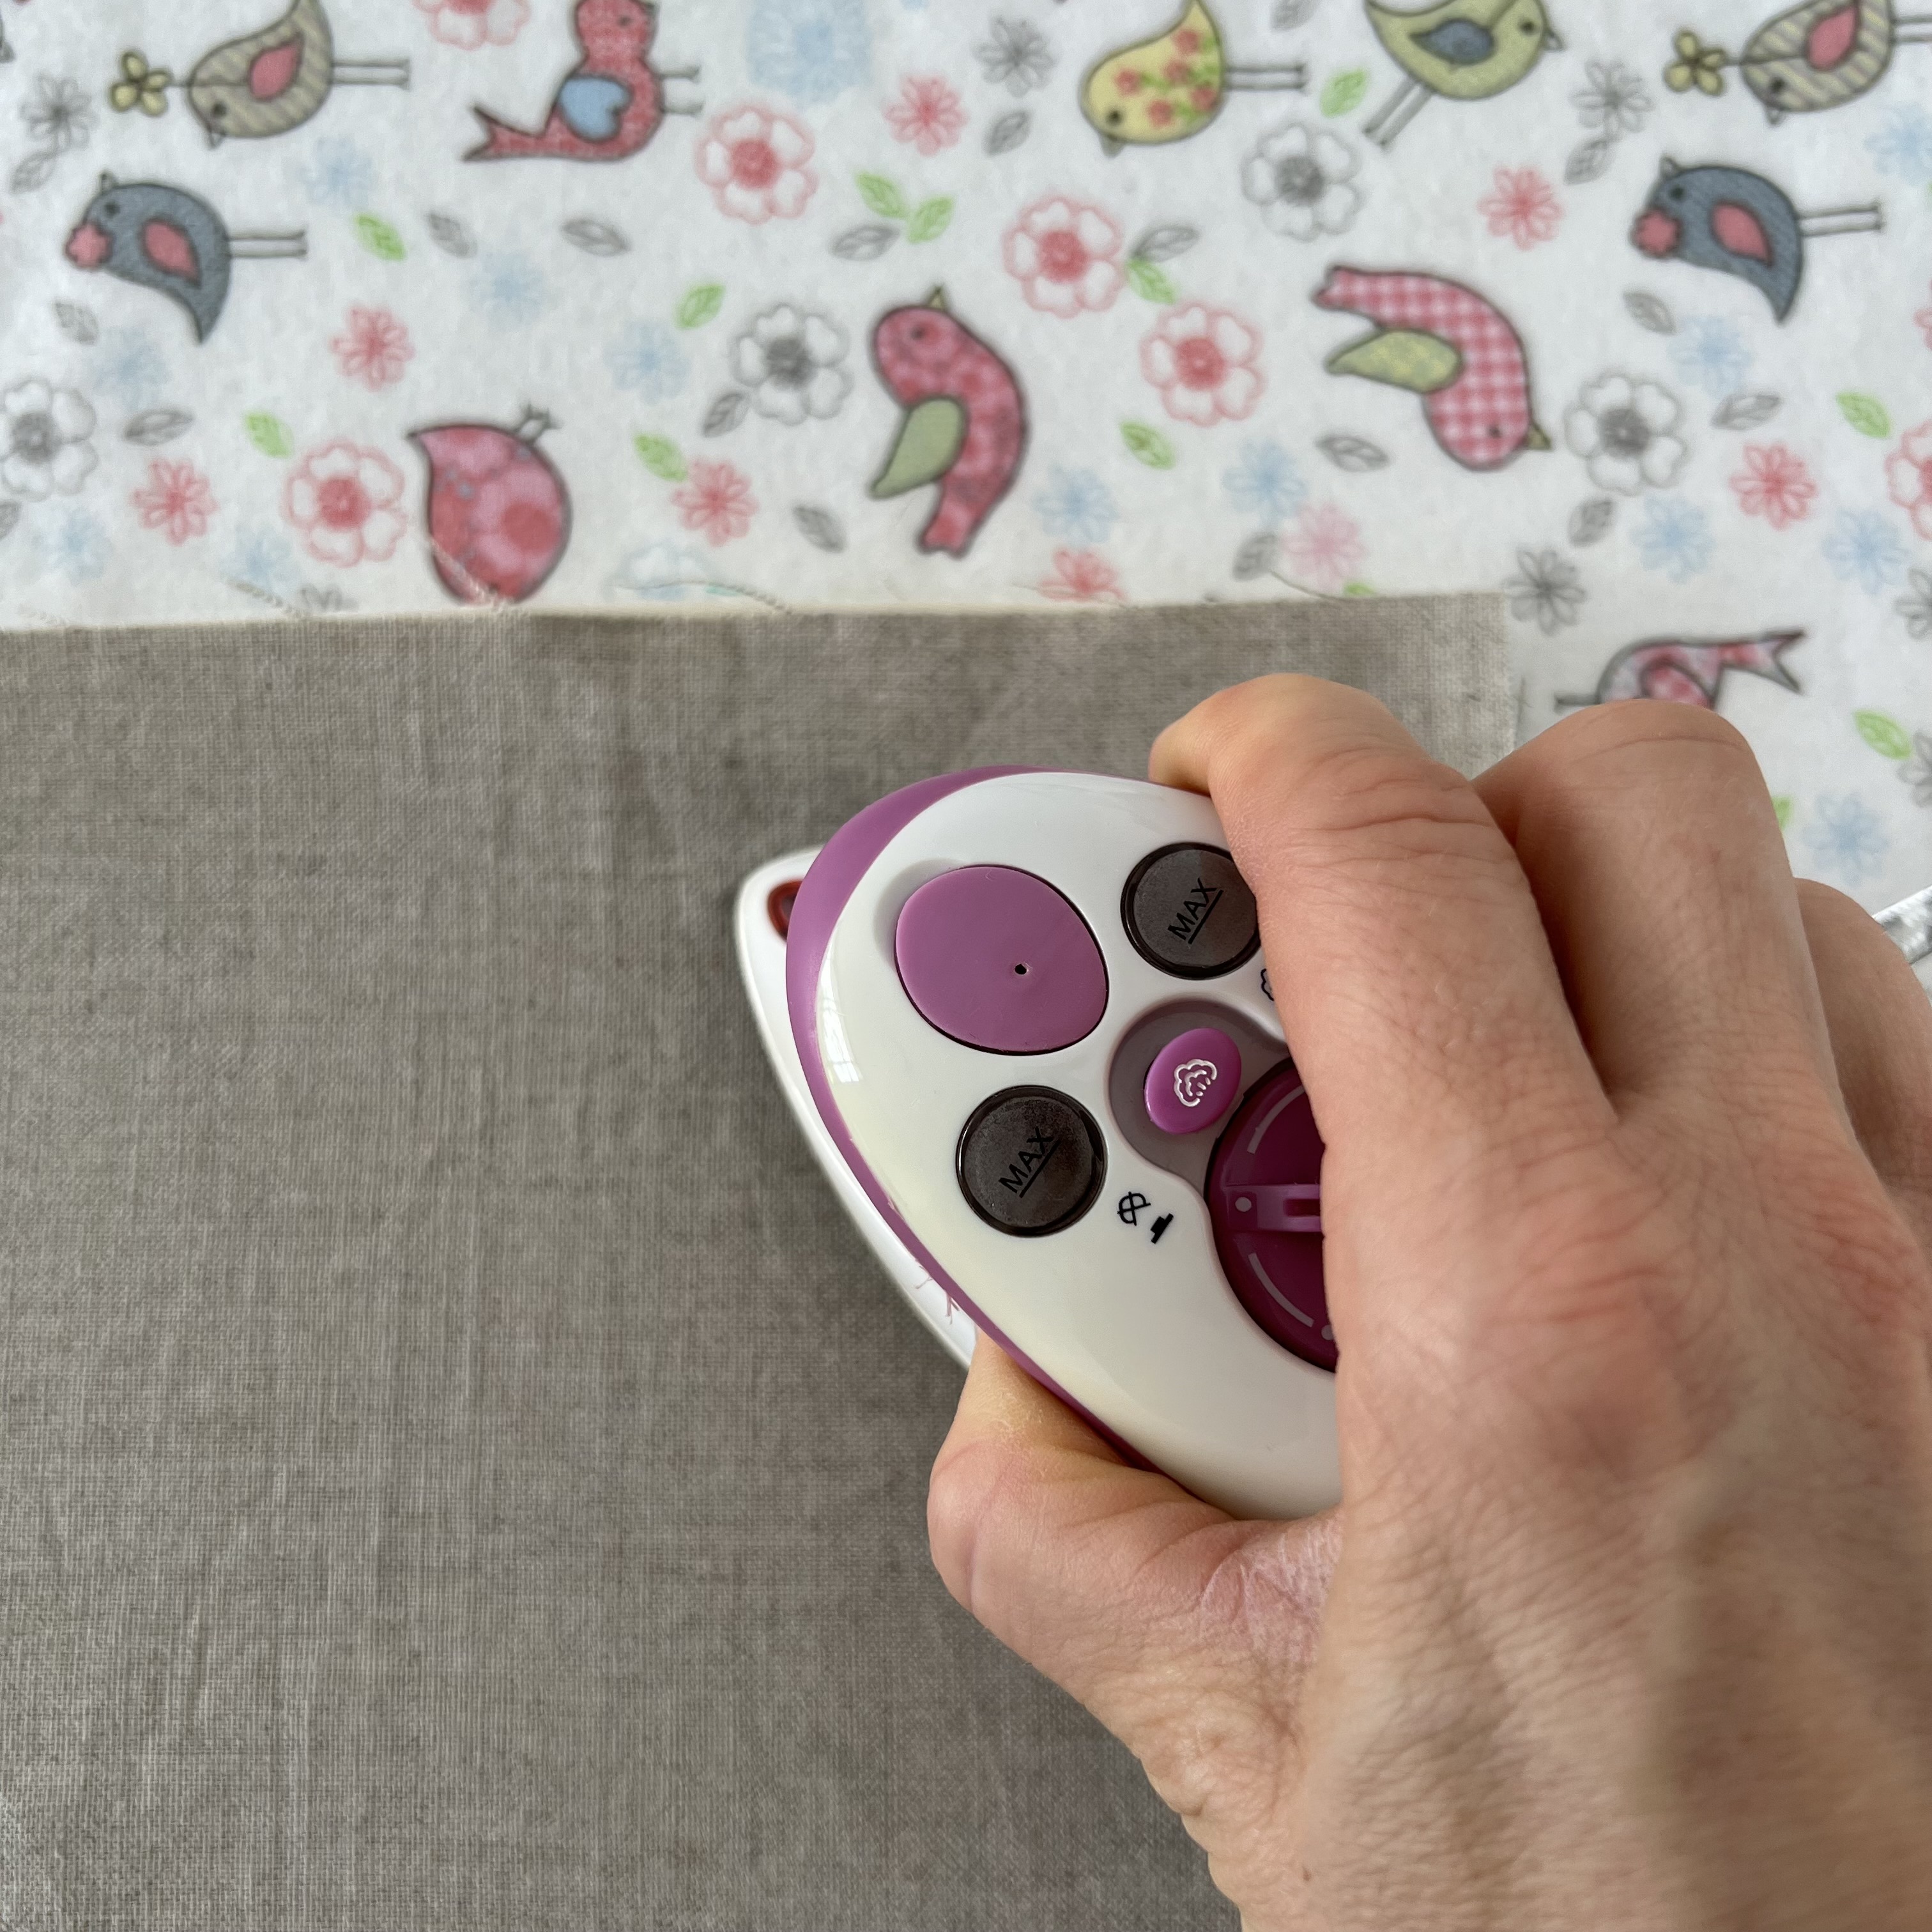
Often when you open a package with fusible foam it has folding creases. It is easy to get rid of them by using steam in your iron. Please go to Irina's @nordiccrafter Instagram to see how she does that.
1. If using fusible double-sided foam, align the solid colour linen or quilting cotton that is the background fabric for your arch on top of the foam piece with the quilting cotton at the bottom, making sure the foam faces the Wrong Side of the fabrics. Starting from the centre, fuse the fabric towards the sides with a warm iron moving from the centre to the sides, first on the background fabric side and then on the quilting cotton side. Since linen tends to shift, after fusing it check if you need to trim any excess of fabric around the foam.
Please go to Irina's blog and Instagram to see more photos and videos.
2. If using one-sided fusible foam like me, align the solid linen or quilting cotton that is the background fabric for your arch on top of the foam piece and fuse two layers together using a warm iron. Starting from the centre, glide the iron towards the sides. Then flip the piece over and place the piece of quilting cotton on top of foam. Give another gentle press with a warm iron and use pins or wonder clips to hold it together if needed. The non-fusible side of the foam is quite "sticky" and the cotton stays in place nicely.


Marking quilting lines
1. Place the template in the middle of your fabric/foam sandwich and trace it. I like to use this rock covered with Liberty scraps as my weight, but you can use pins to hold the template in place. I am using Frixion ball pen that is easily removed with a press of a warm iron.

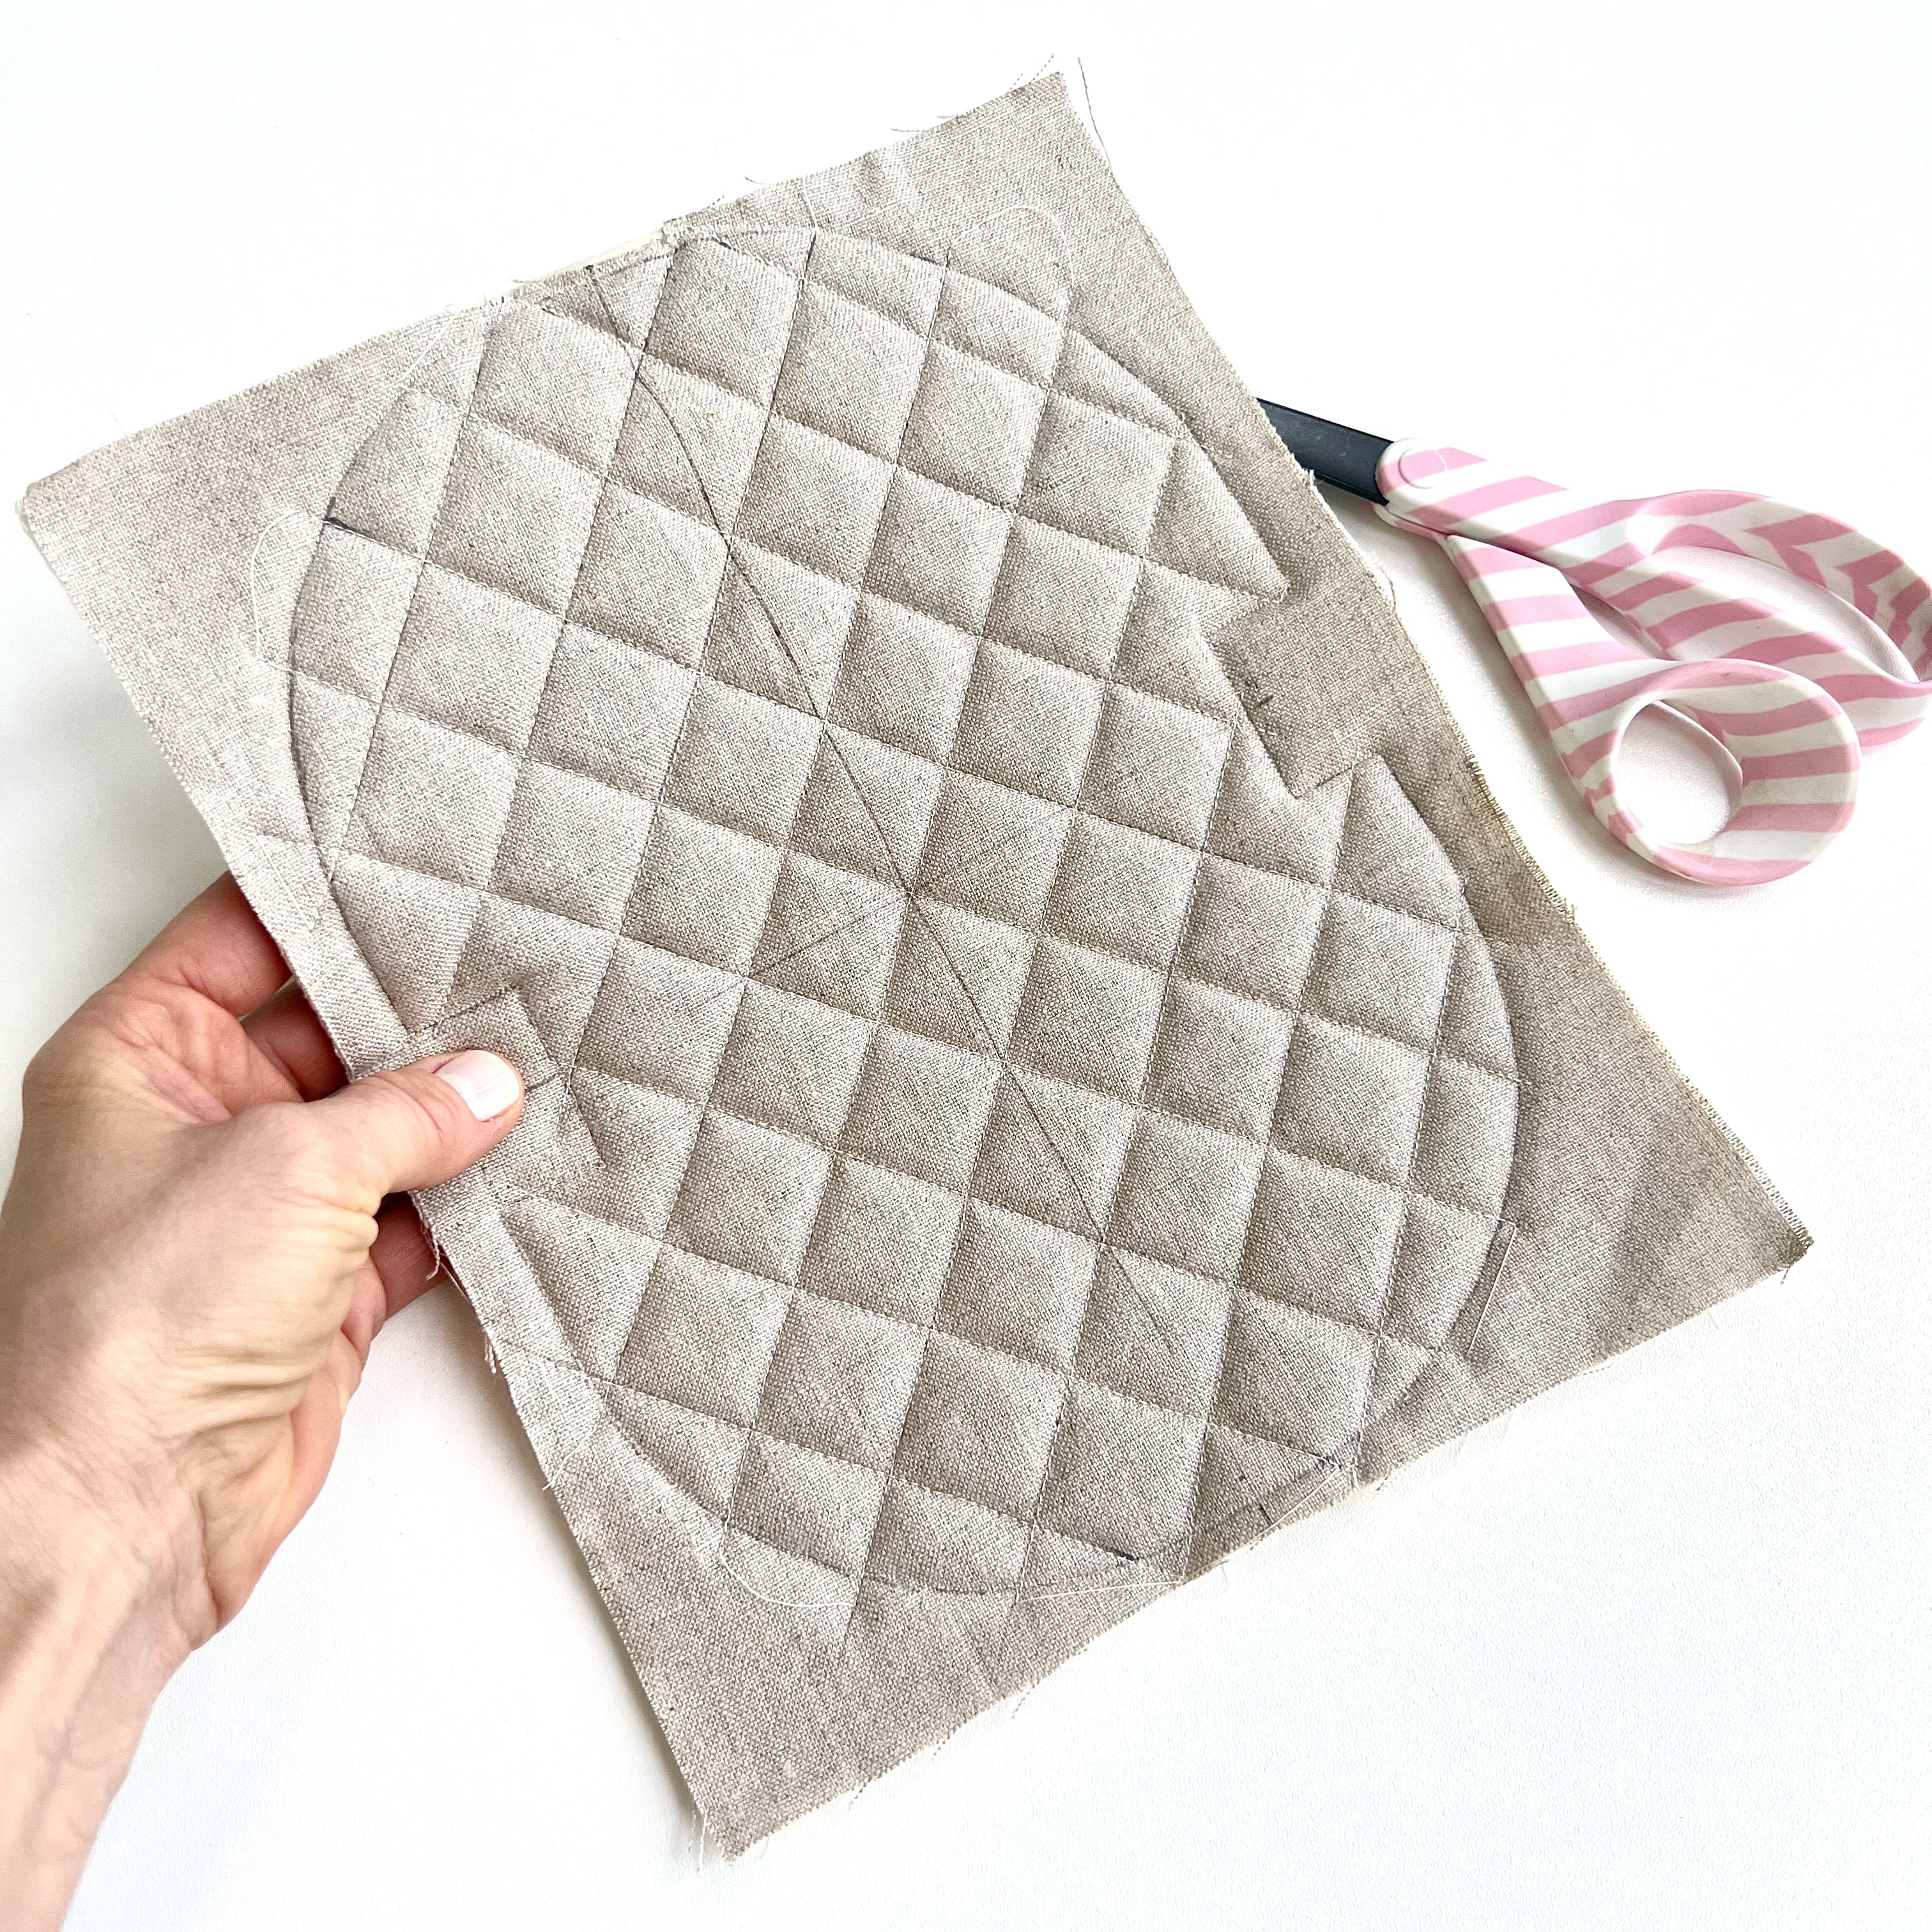
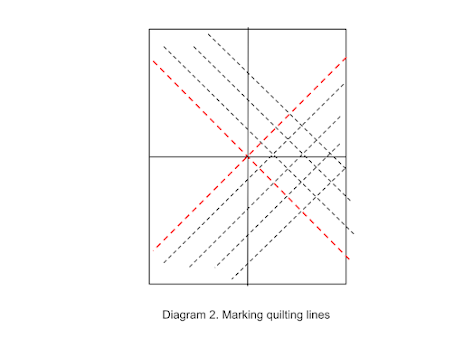
2. Mark cross-hatch quilting lines as shown in Diagram 2 at the end of this post. Start with the vertical and horizontal centrelines, then mark diagonal lines at 45 degrees (red), then space the lines 1” (2.5cm) apart.
To mark horizontal and vertical centrelines, fold the paper template in half lengthwise to mark the vertical centreline. Unfold and fold it again across to mark the horizontal centreline, unfold. Place the template on the quilted sandwich matching the outlines of the template and make the centrelines.


Please make sure to visit Irina's blog to read her tips on making a perfect cross-hatch quilting.
Quilting
1. Machine quilt through the 3 layers with the regular stitch length (2.5). Use a regular sewing machine foot and alternate direction of your sewing for each line. I like to start from the central line and move away from centre to the side. Make sure to pause from time to time and check the back of your sandwich so it is wrinkle free. I don't cut my thread after each seam, but instead I lift the foot at the end of a seam and pull my work gently positioning the next line under the foot.


If hand quilting, quilt only inside the traced template.
2. Once finished, decrease the stitch length to 2.0 or even shorter (I went with 1.0 ) and stitch around on the marked outline to secure the quilting.

3. Using sharp scissors, cut around the template with about 1/8" seam allowance from the stitched line.
Come back tomorrow for the instructions on how to bind your piece.
Happy quilting! Larisa xo
hI, where can i find the pattern please ? thanks. have a nice day
ReplyDeleteThis is a really informative article for readers and you have provided an excellent details in your post APPRECIATED!!!.
ReplyDelete